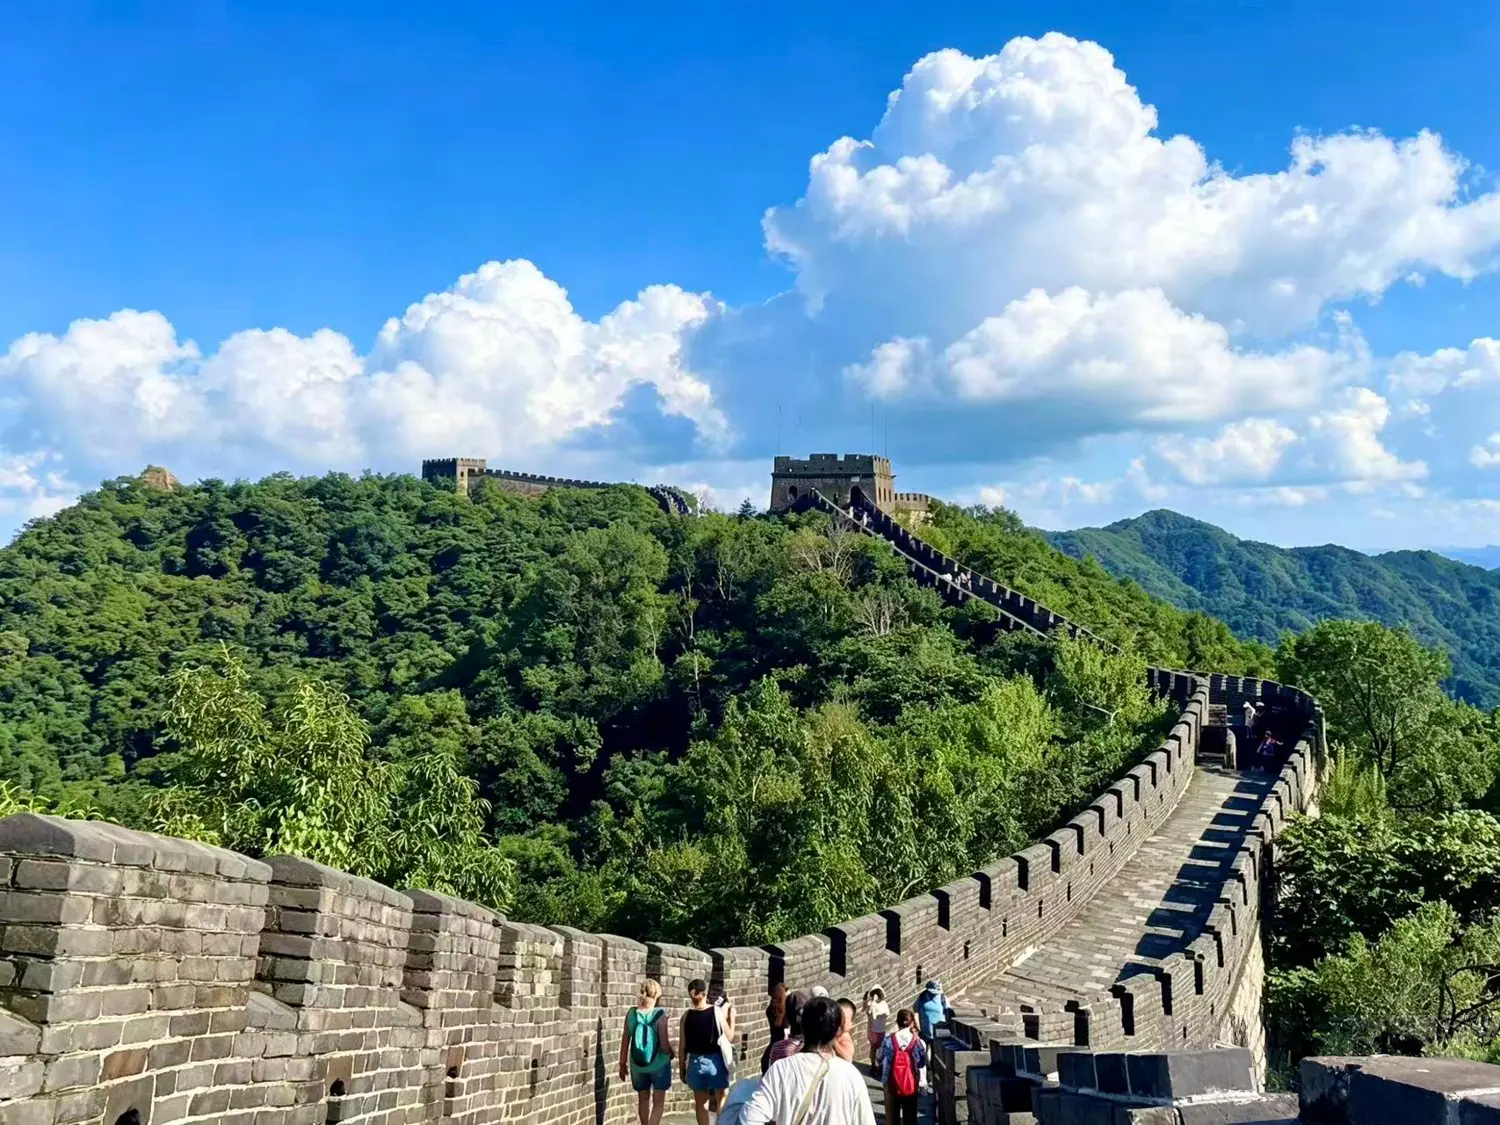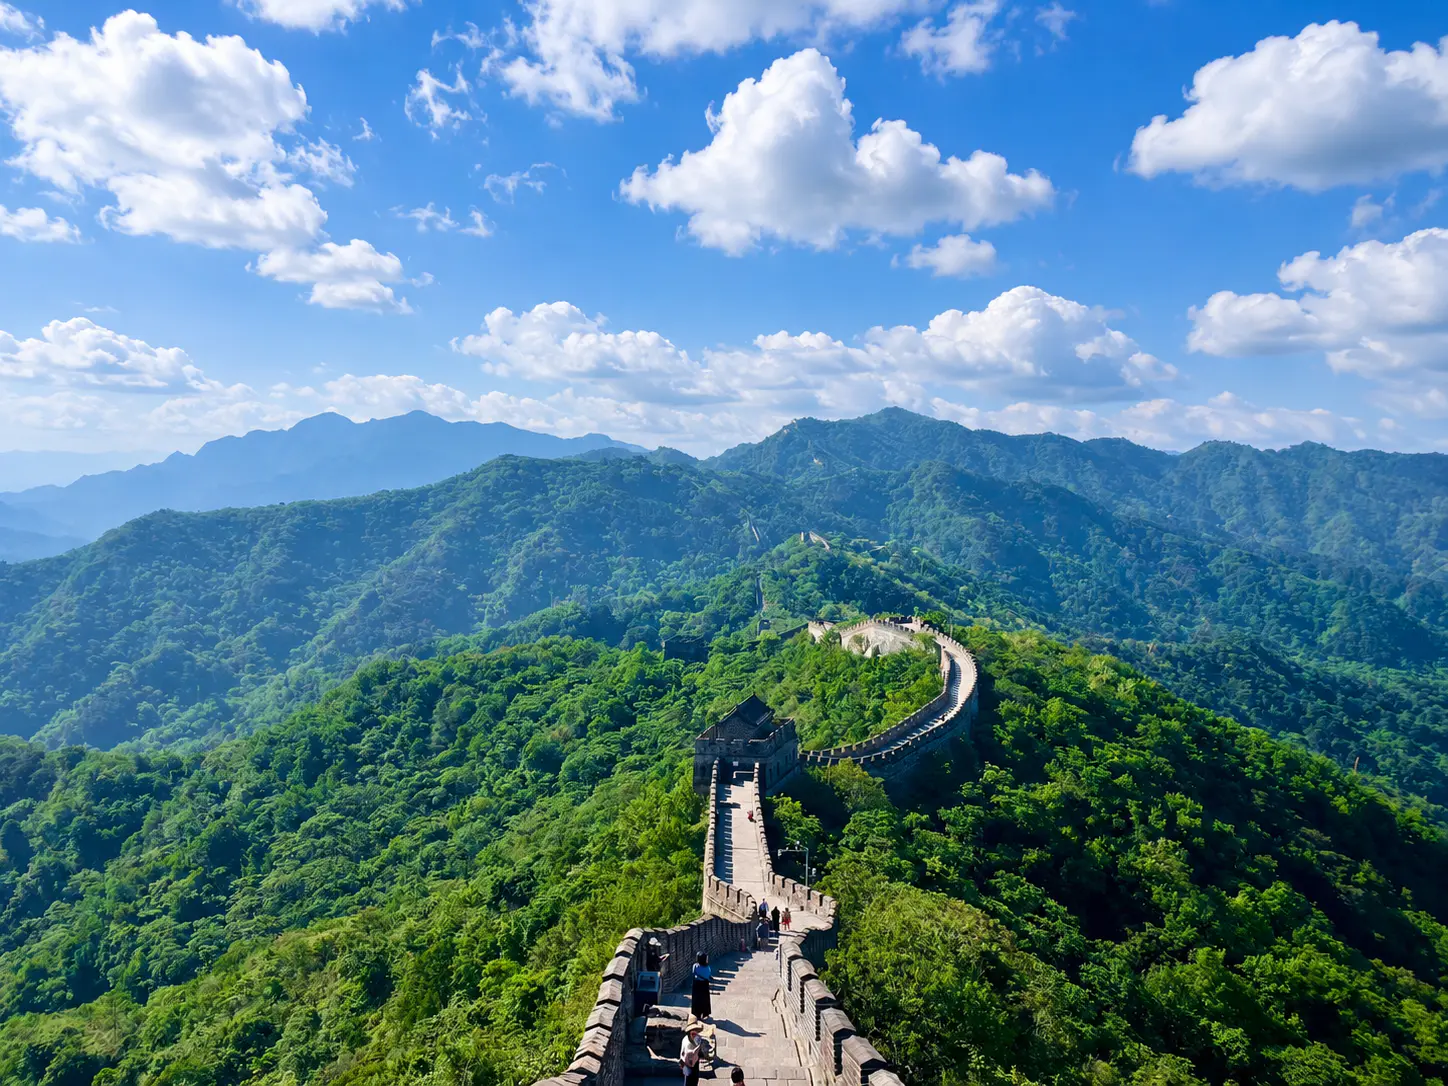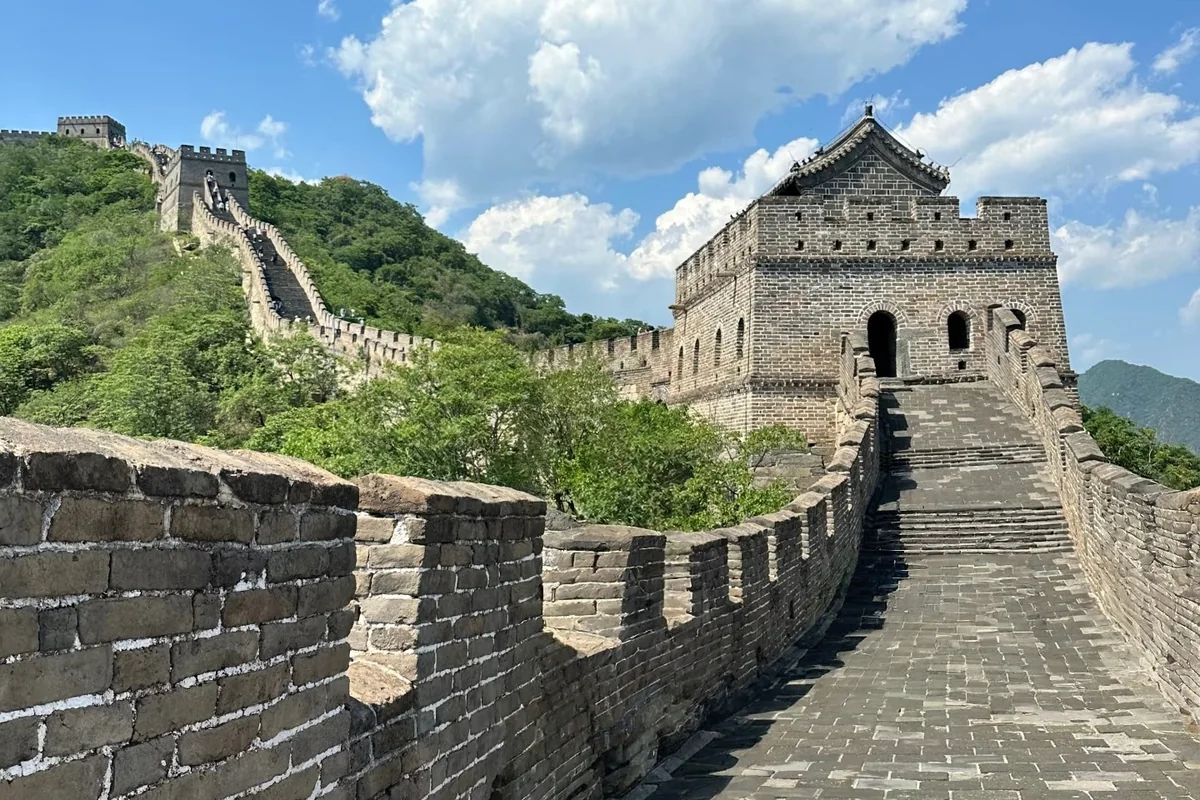
Mutianyu watchtowers: how the ridge is numbered
Mutianyu numbers its open daytime visitor watchtowers 1–20 along the ridge. The count is a navigation aid — not every tower needs a long stop, but the sequence explains where you are between the east chairlift, middle landmarks, and west cable car.
- East zone (Towers 1–6): Dajiaolou at Tower 1, Zhengguantai / Mutianyu Pass at Tower 4, chairlift and toboggan access at Tower 6.
- Middle zone (Towers 7–13): Connector between ride hubs; Tower 10 Glass Steps and Tower 11 Outer Branch Wall are the signature architecture stops.
- West zone (Towers 14–20): Cable car at Tower 14, Hero Slope at Towers 19–20, Towers 21–23 are beyond the current open daytime section.
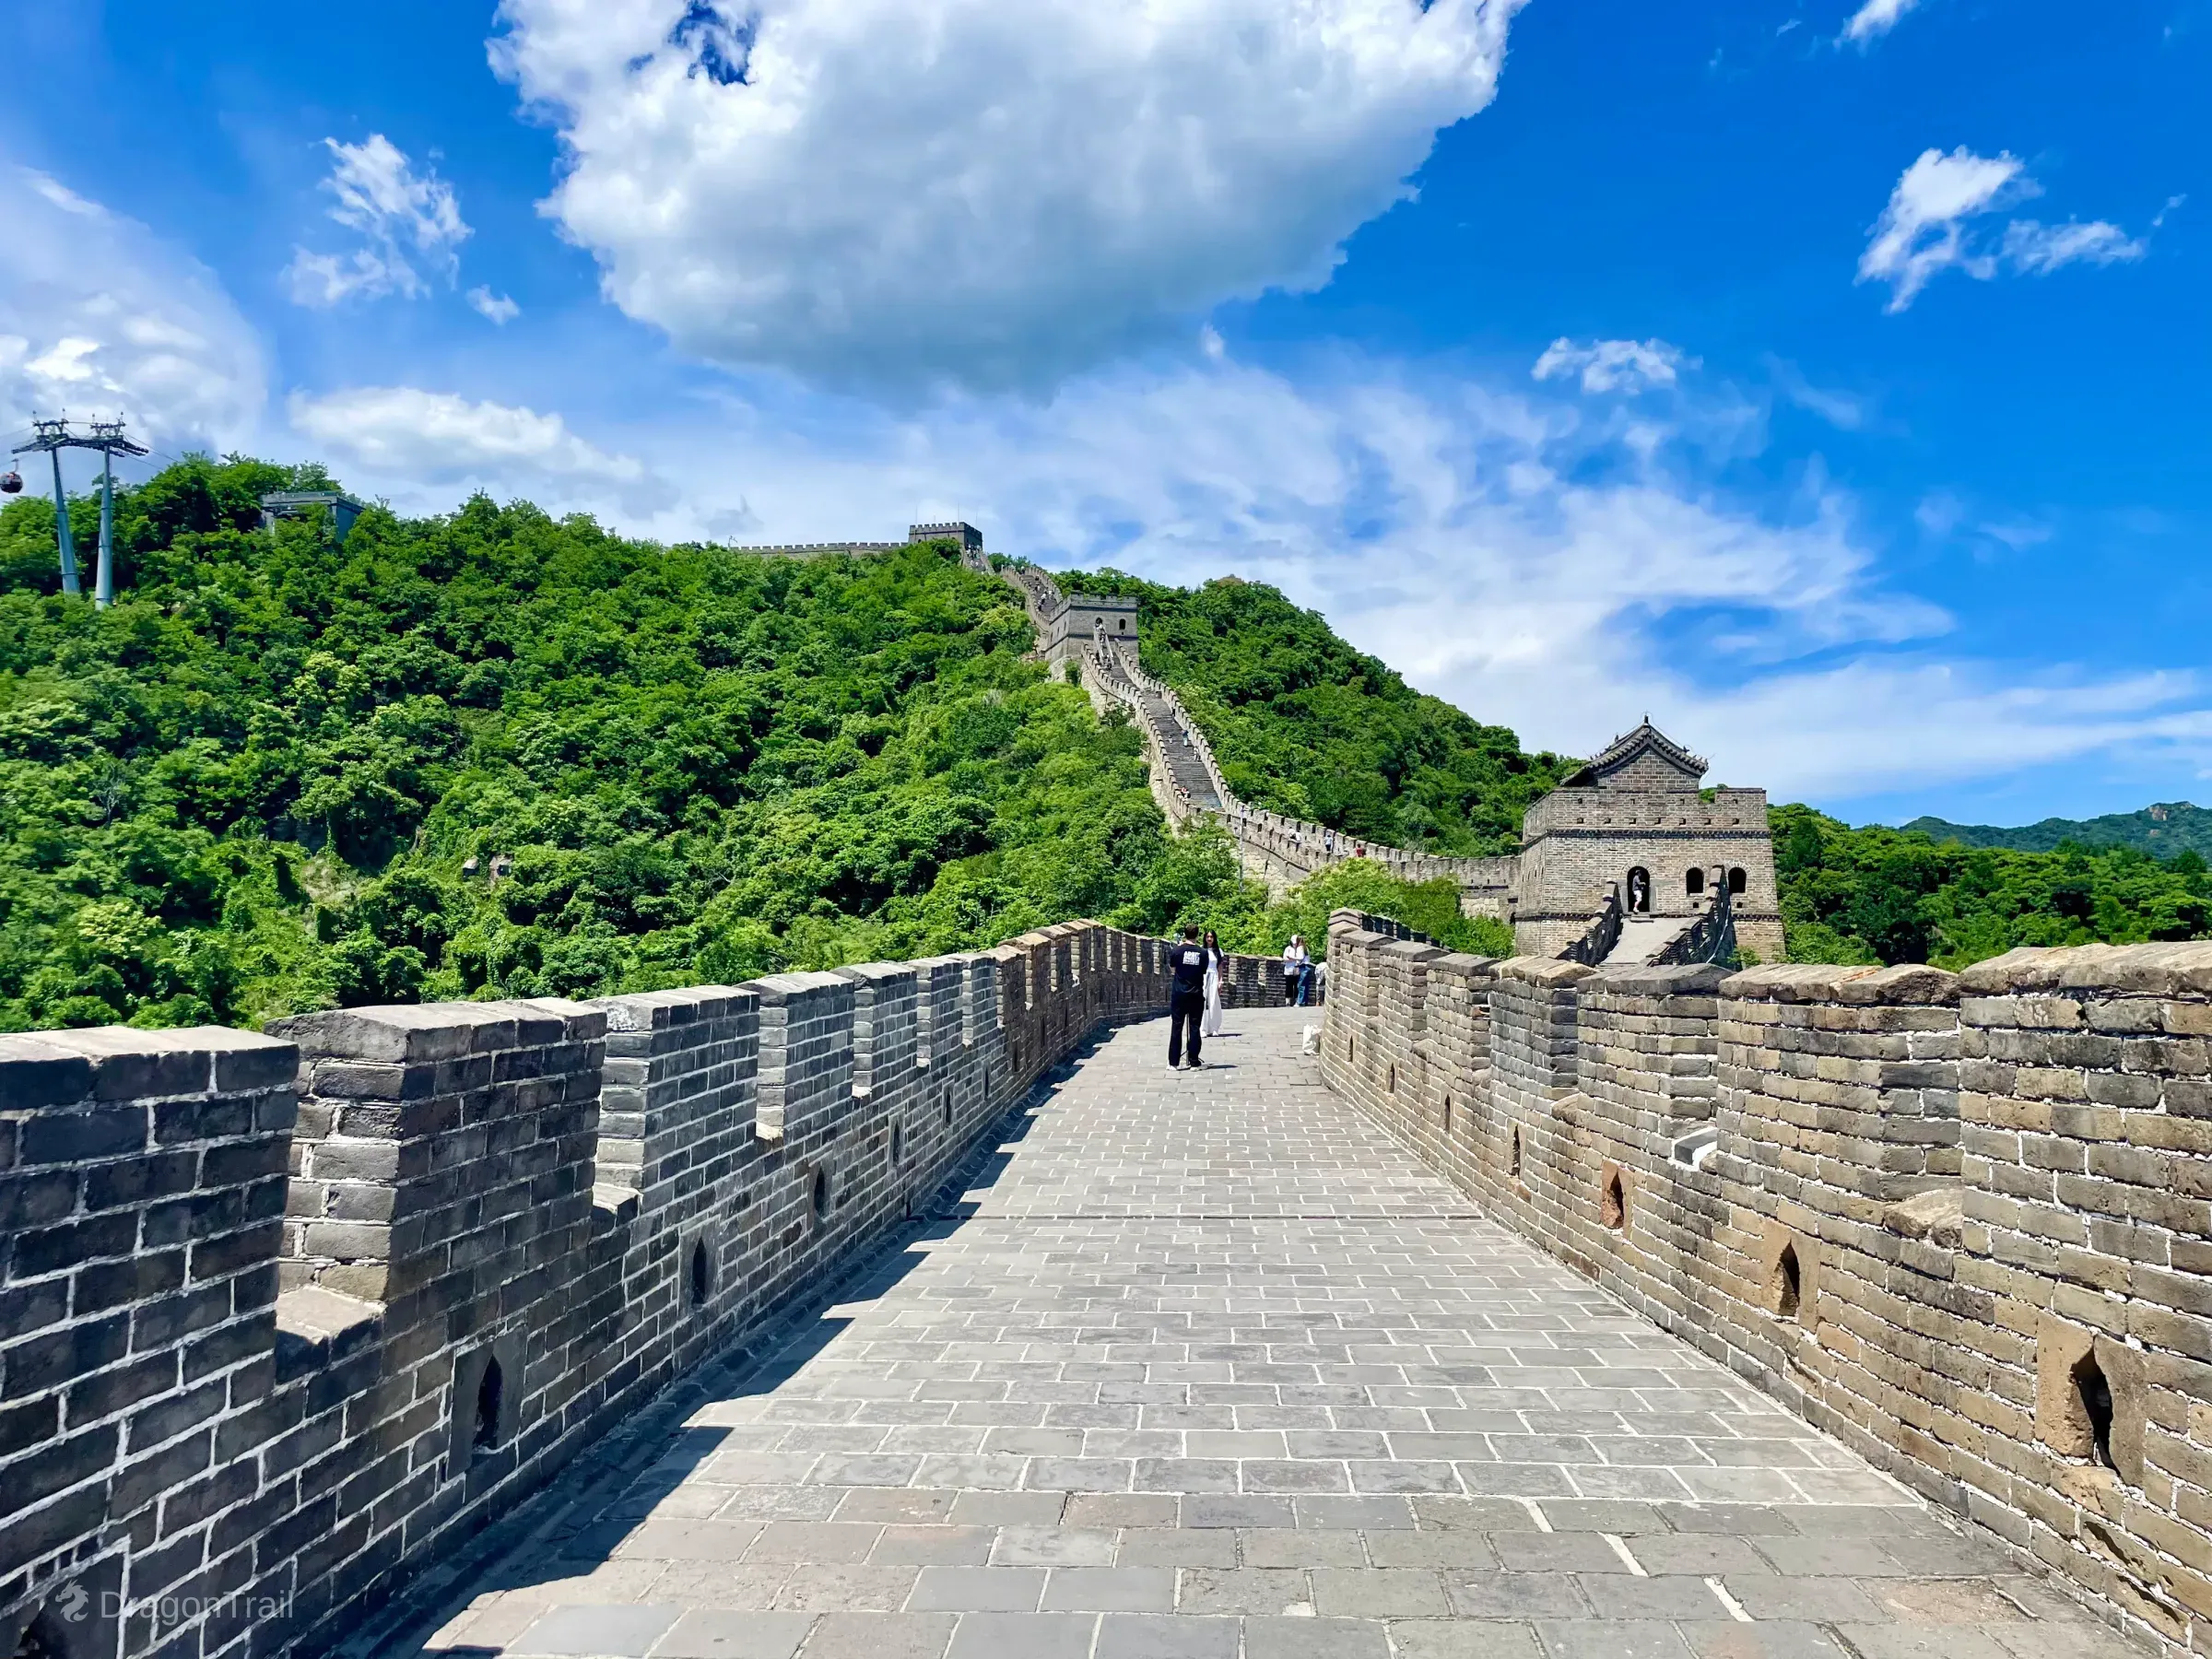
Tower / area — why it matters
| Tower/area | Why it matters |
|---|---|
| Tower 1 | Dajiaolou / eastern landmark |
| Tower 4 | Zhengguantai defensive complex |
| Tower 6 | East chairlift/toboggan access |
| Tower 8 | Distinctive interior |
| Tower 10 | Glass Steps area |
| Tower 11 | Branch-wall area |
| Tower 14 | West cable-car access |
| Tower 20 | Hero Platform / major west climb |
| Towers 21–23 | Far-west extension |
East Mutianyu Watchtowers: Towers 1–6
The east zone is the chairlift and toboggan side. Full east-route walkers push to Dajiaolou at Tower 1; shorter loops anchor on Tower 6 and optionally dip toward Zhengguantai at Tower 4.
Tower 1 — Dajiaolou (Big Corner Tower)
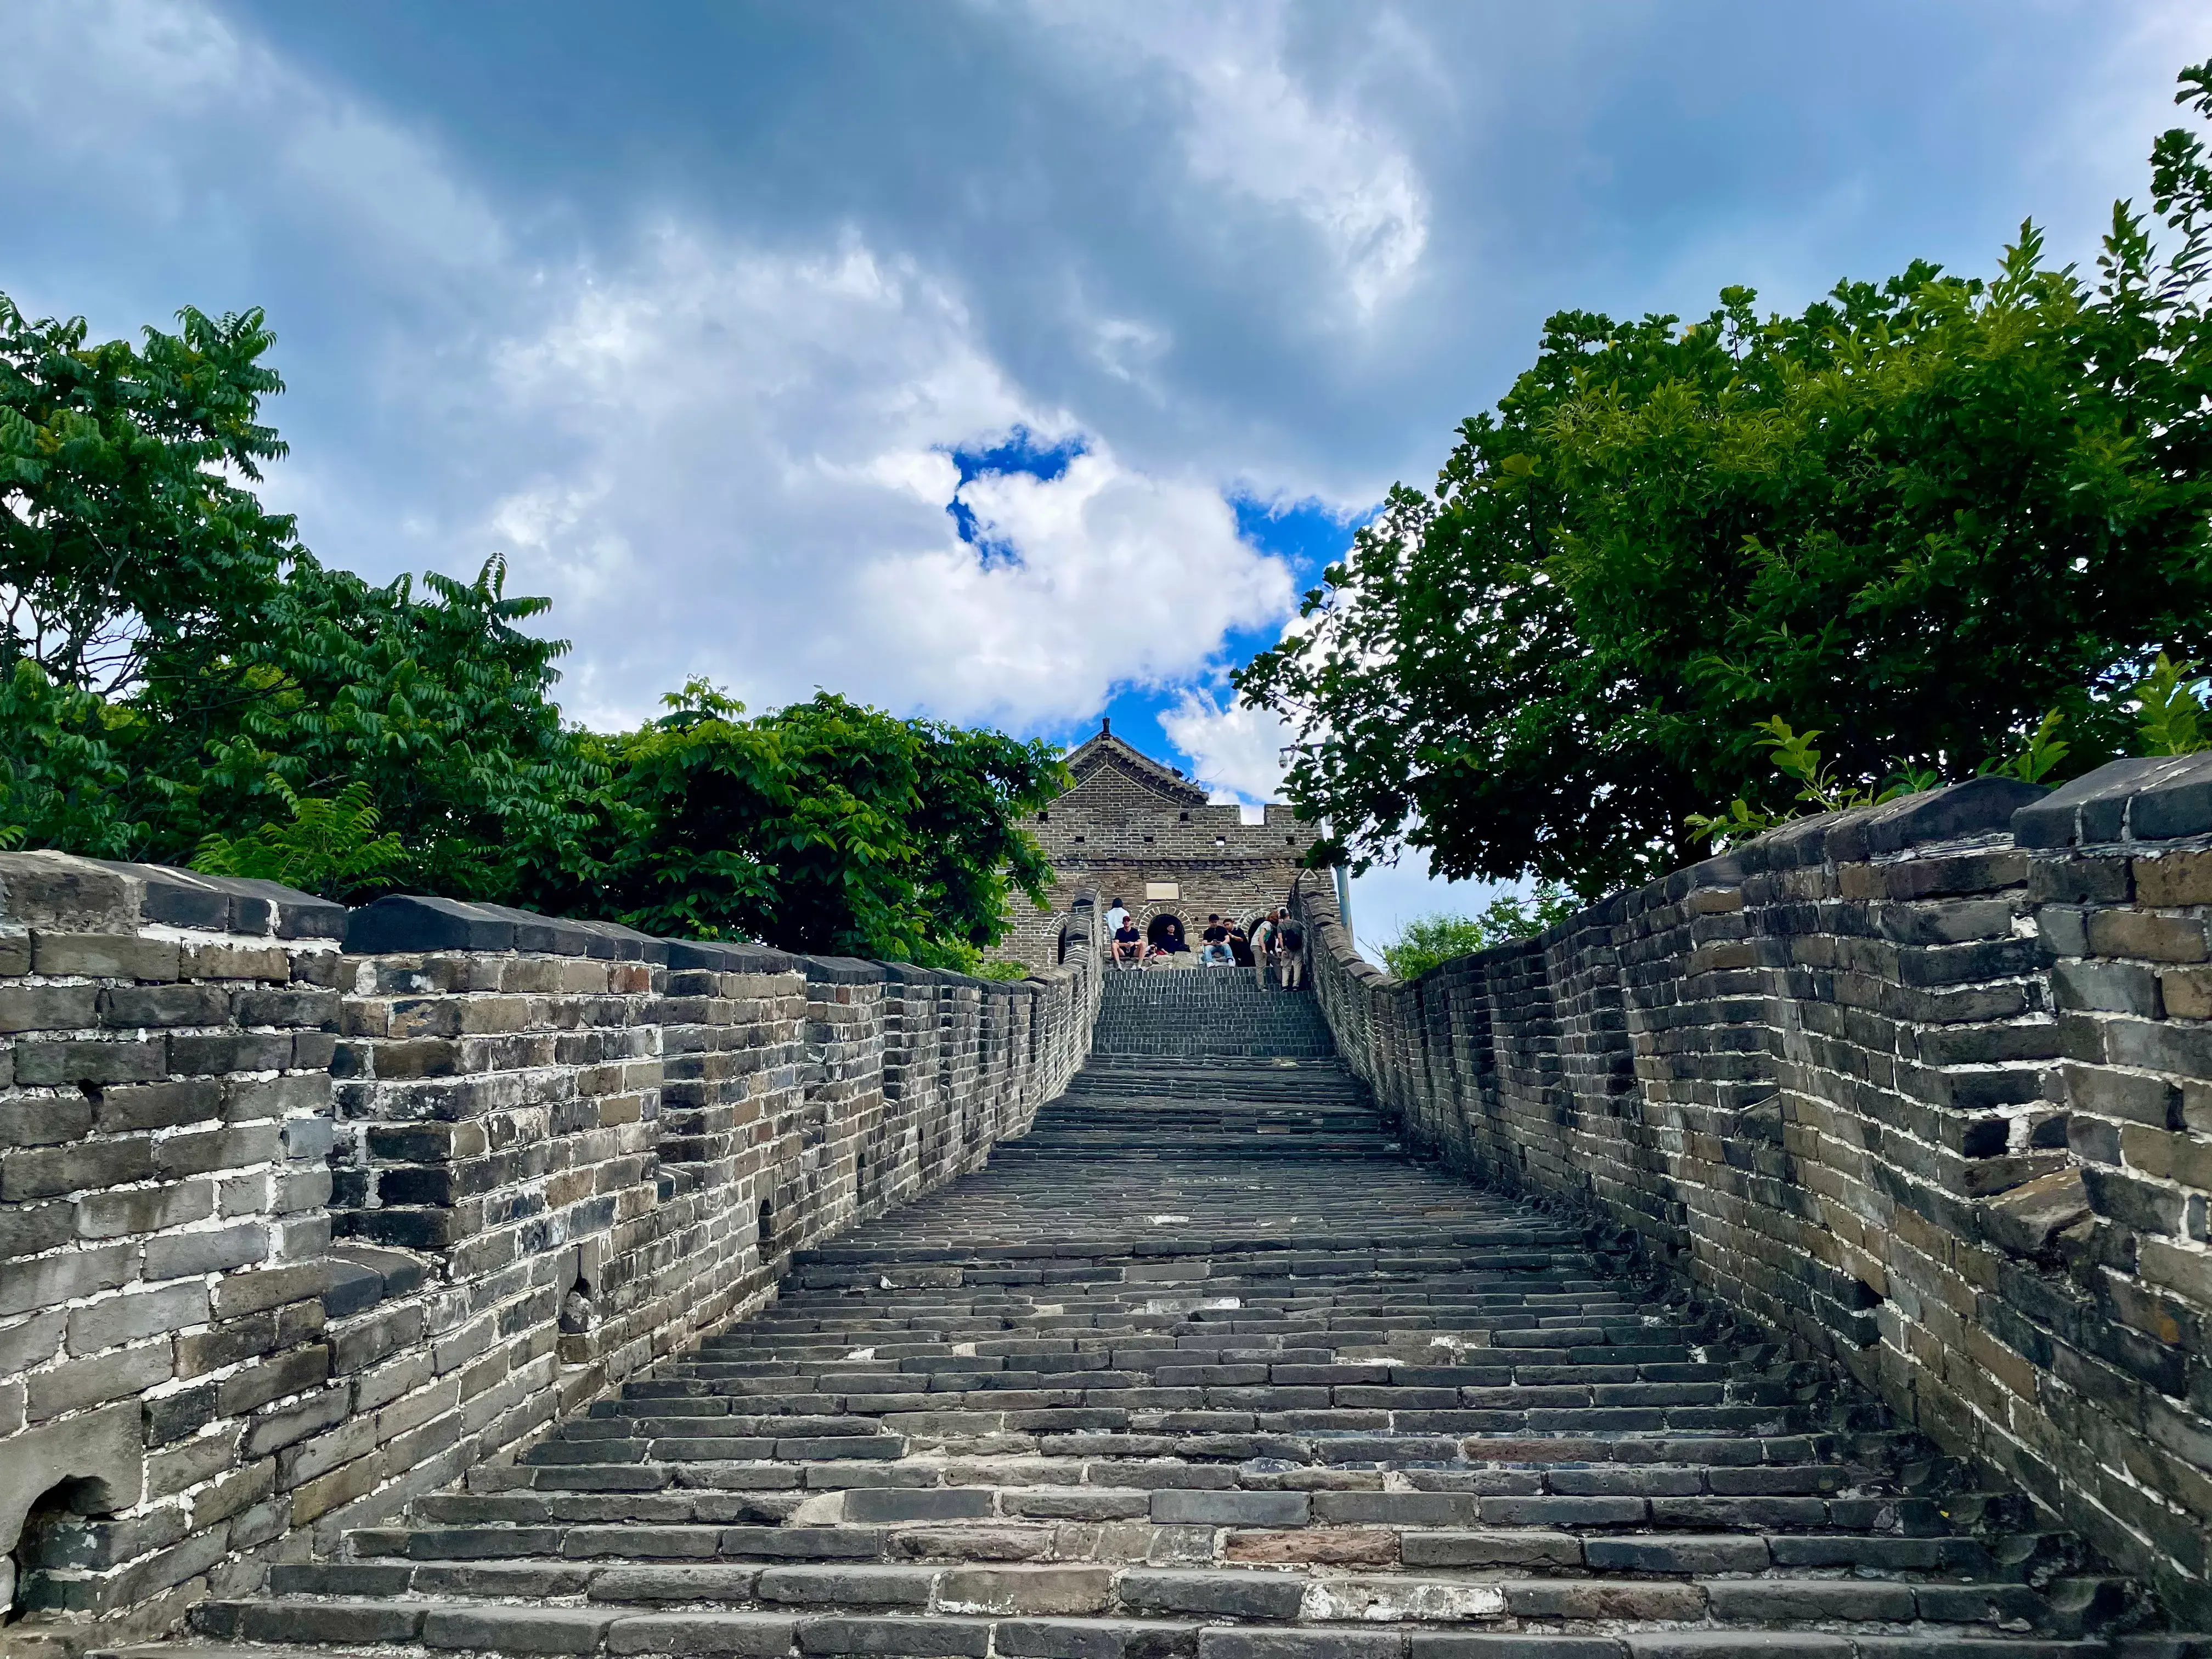
Approaching Tower 1, Dajiaolou, at the eastern end of the main Mutianyu visitor route.
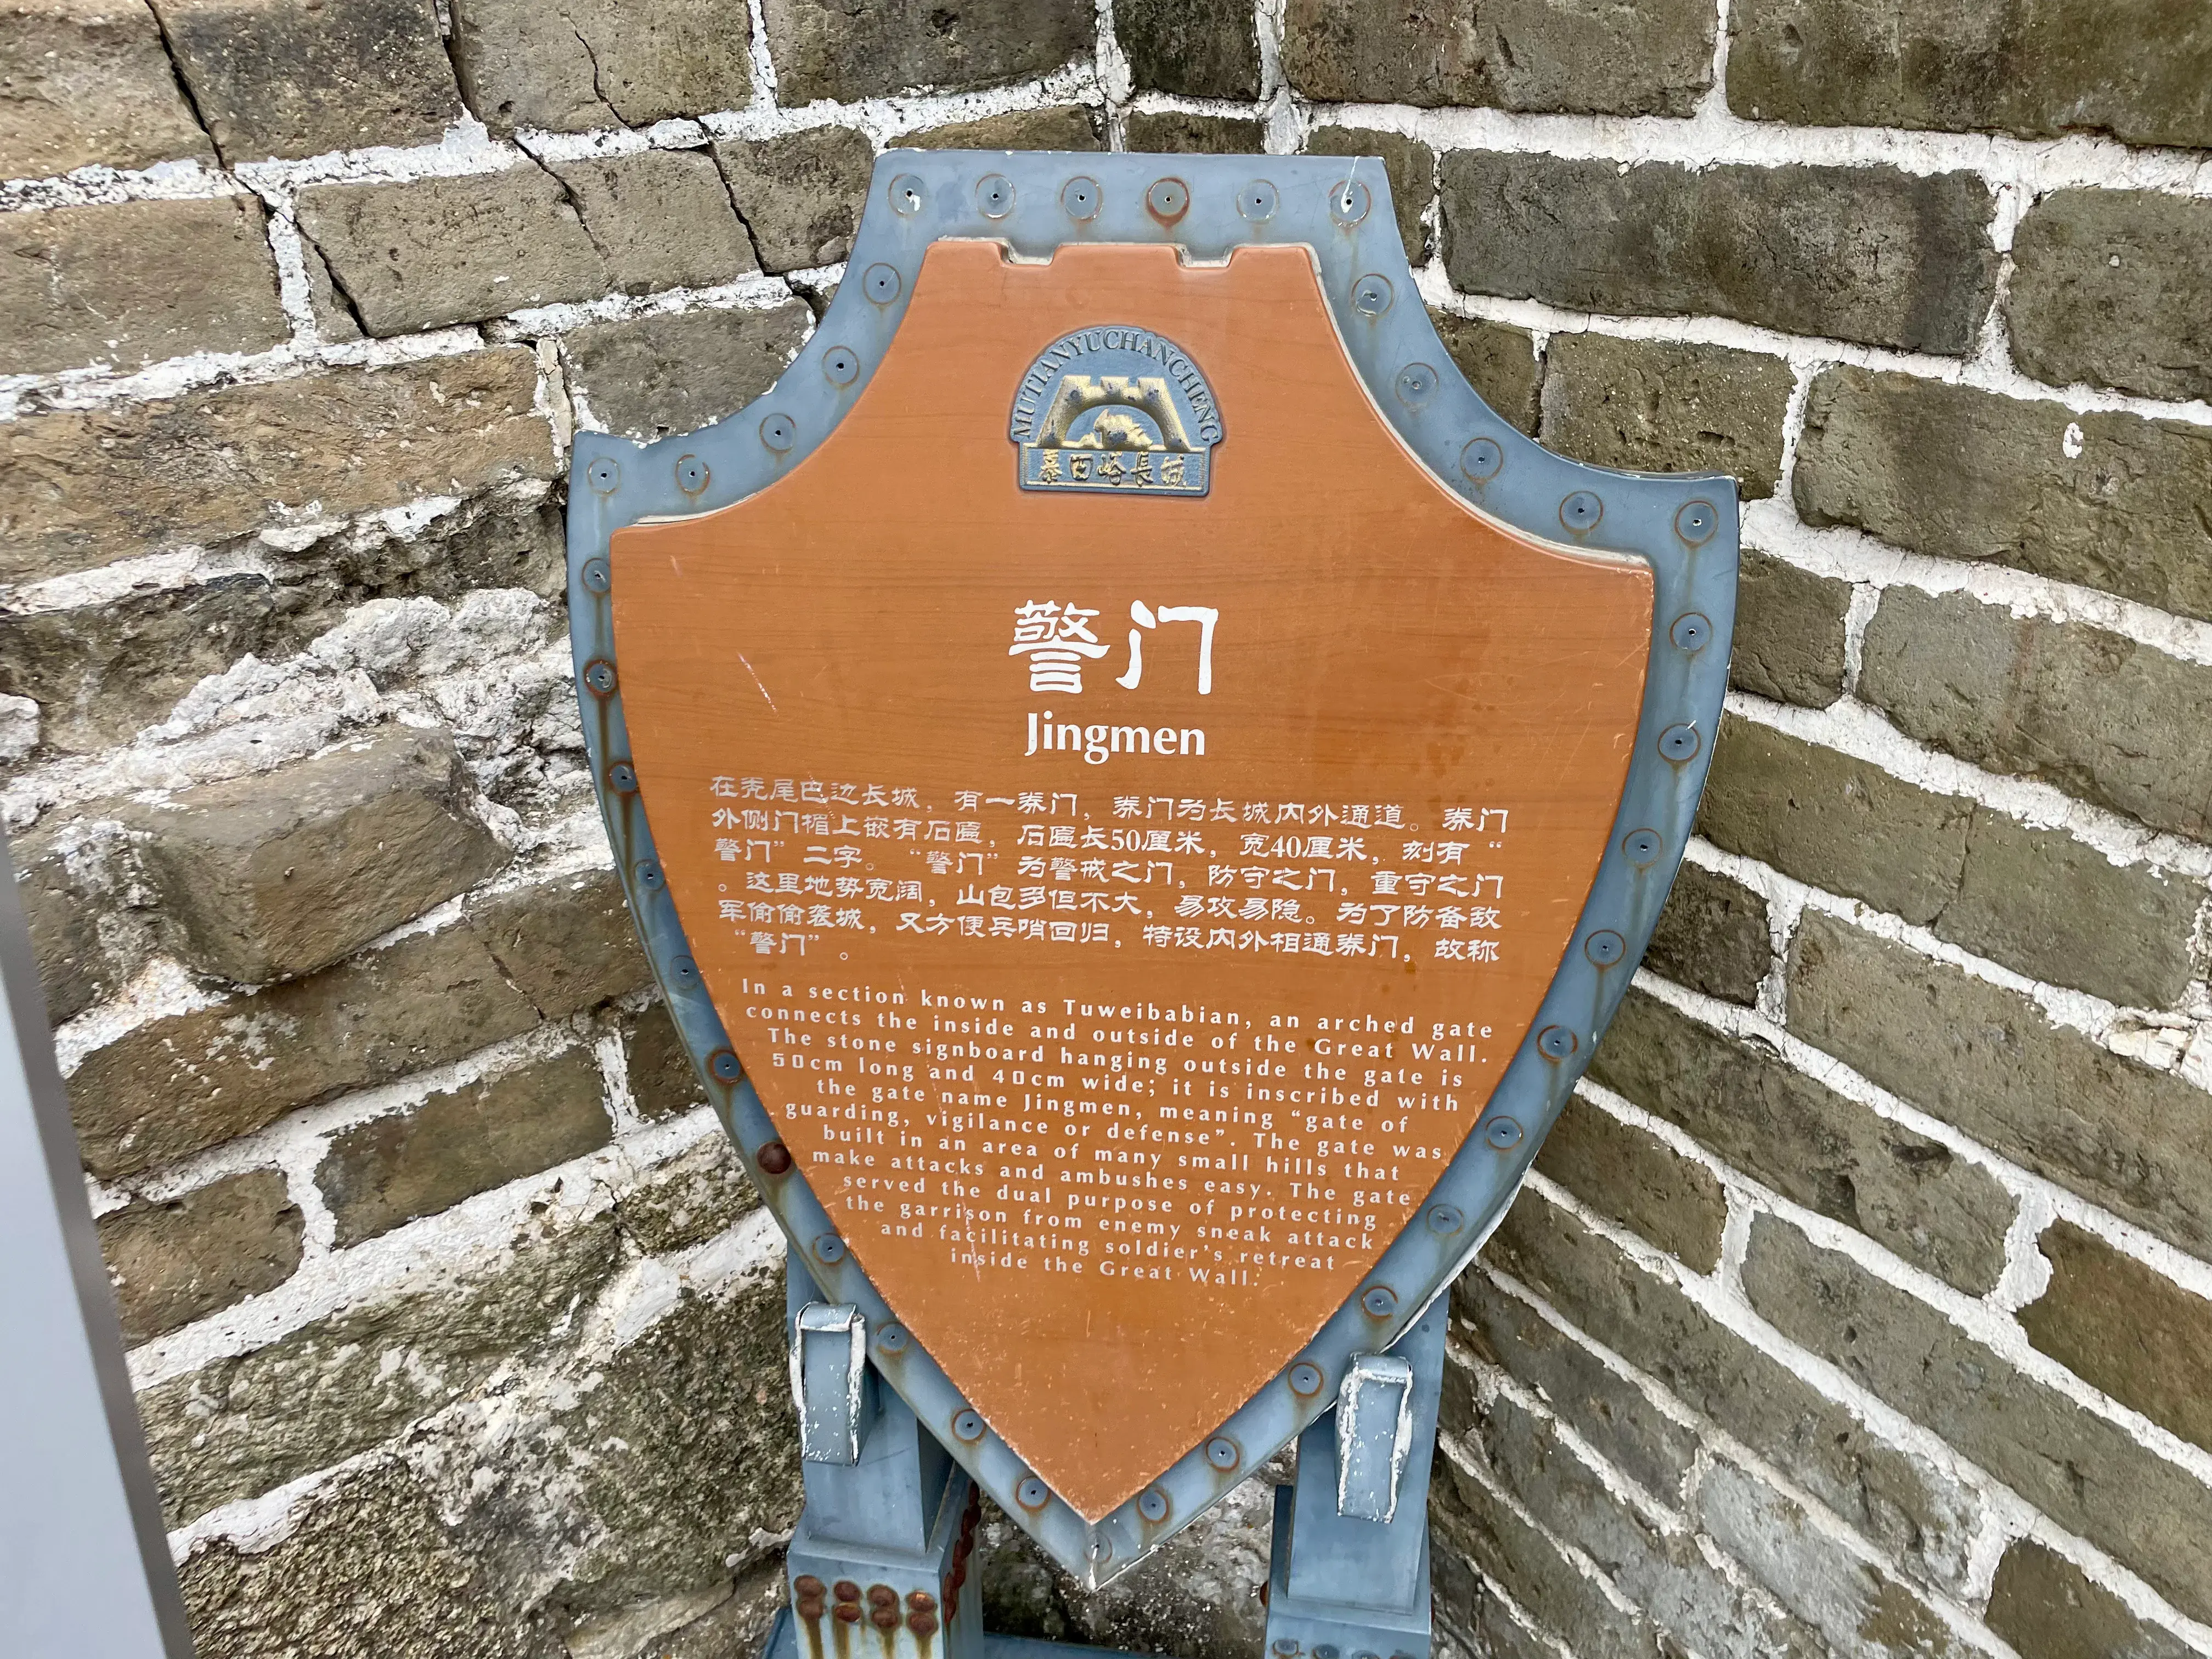
Tower 1 — Dajiaolou — is the Great Corner Tower at the eastern high point of Mutianyu's open section. The lower level uses crisscrossing vaulted passages for movement and defence. Jingmen, the arched warning gate, sat near this end for vigilance and retreat.
 Click to enlarge
 Click to enlarge
Tower 2 — Steep Eastern Stair Section
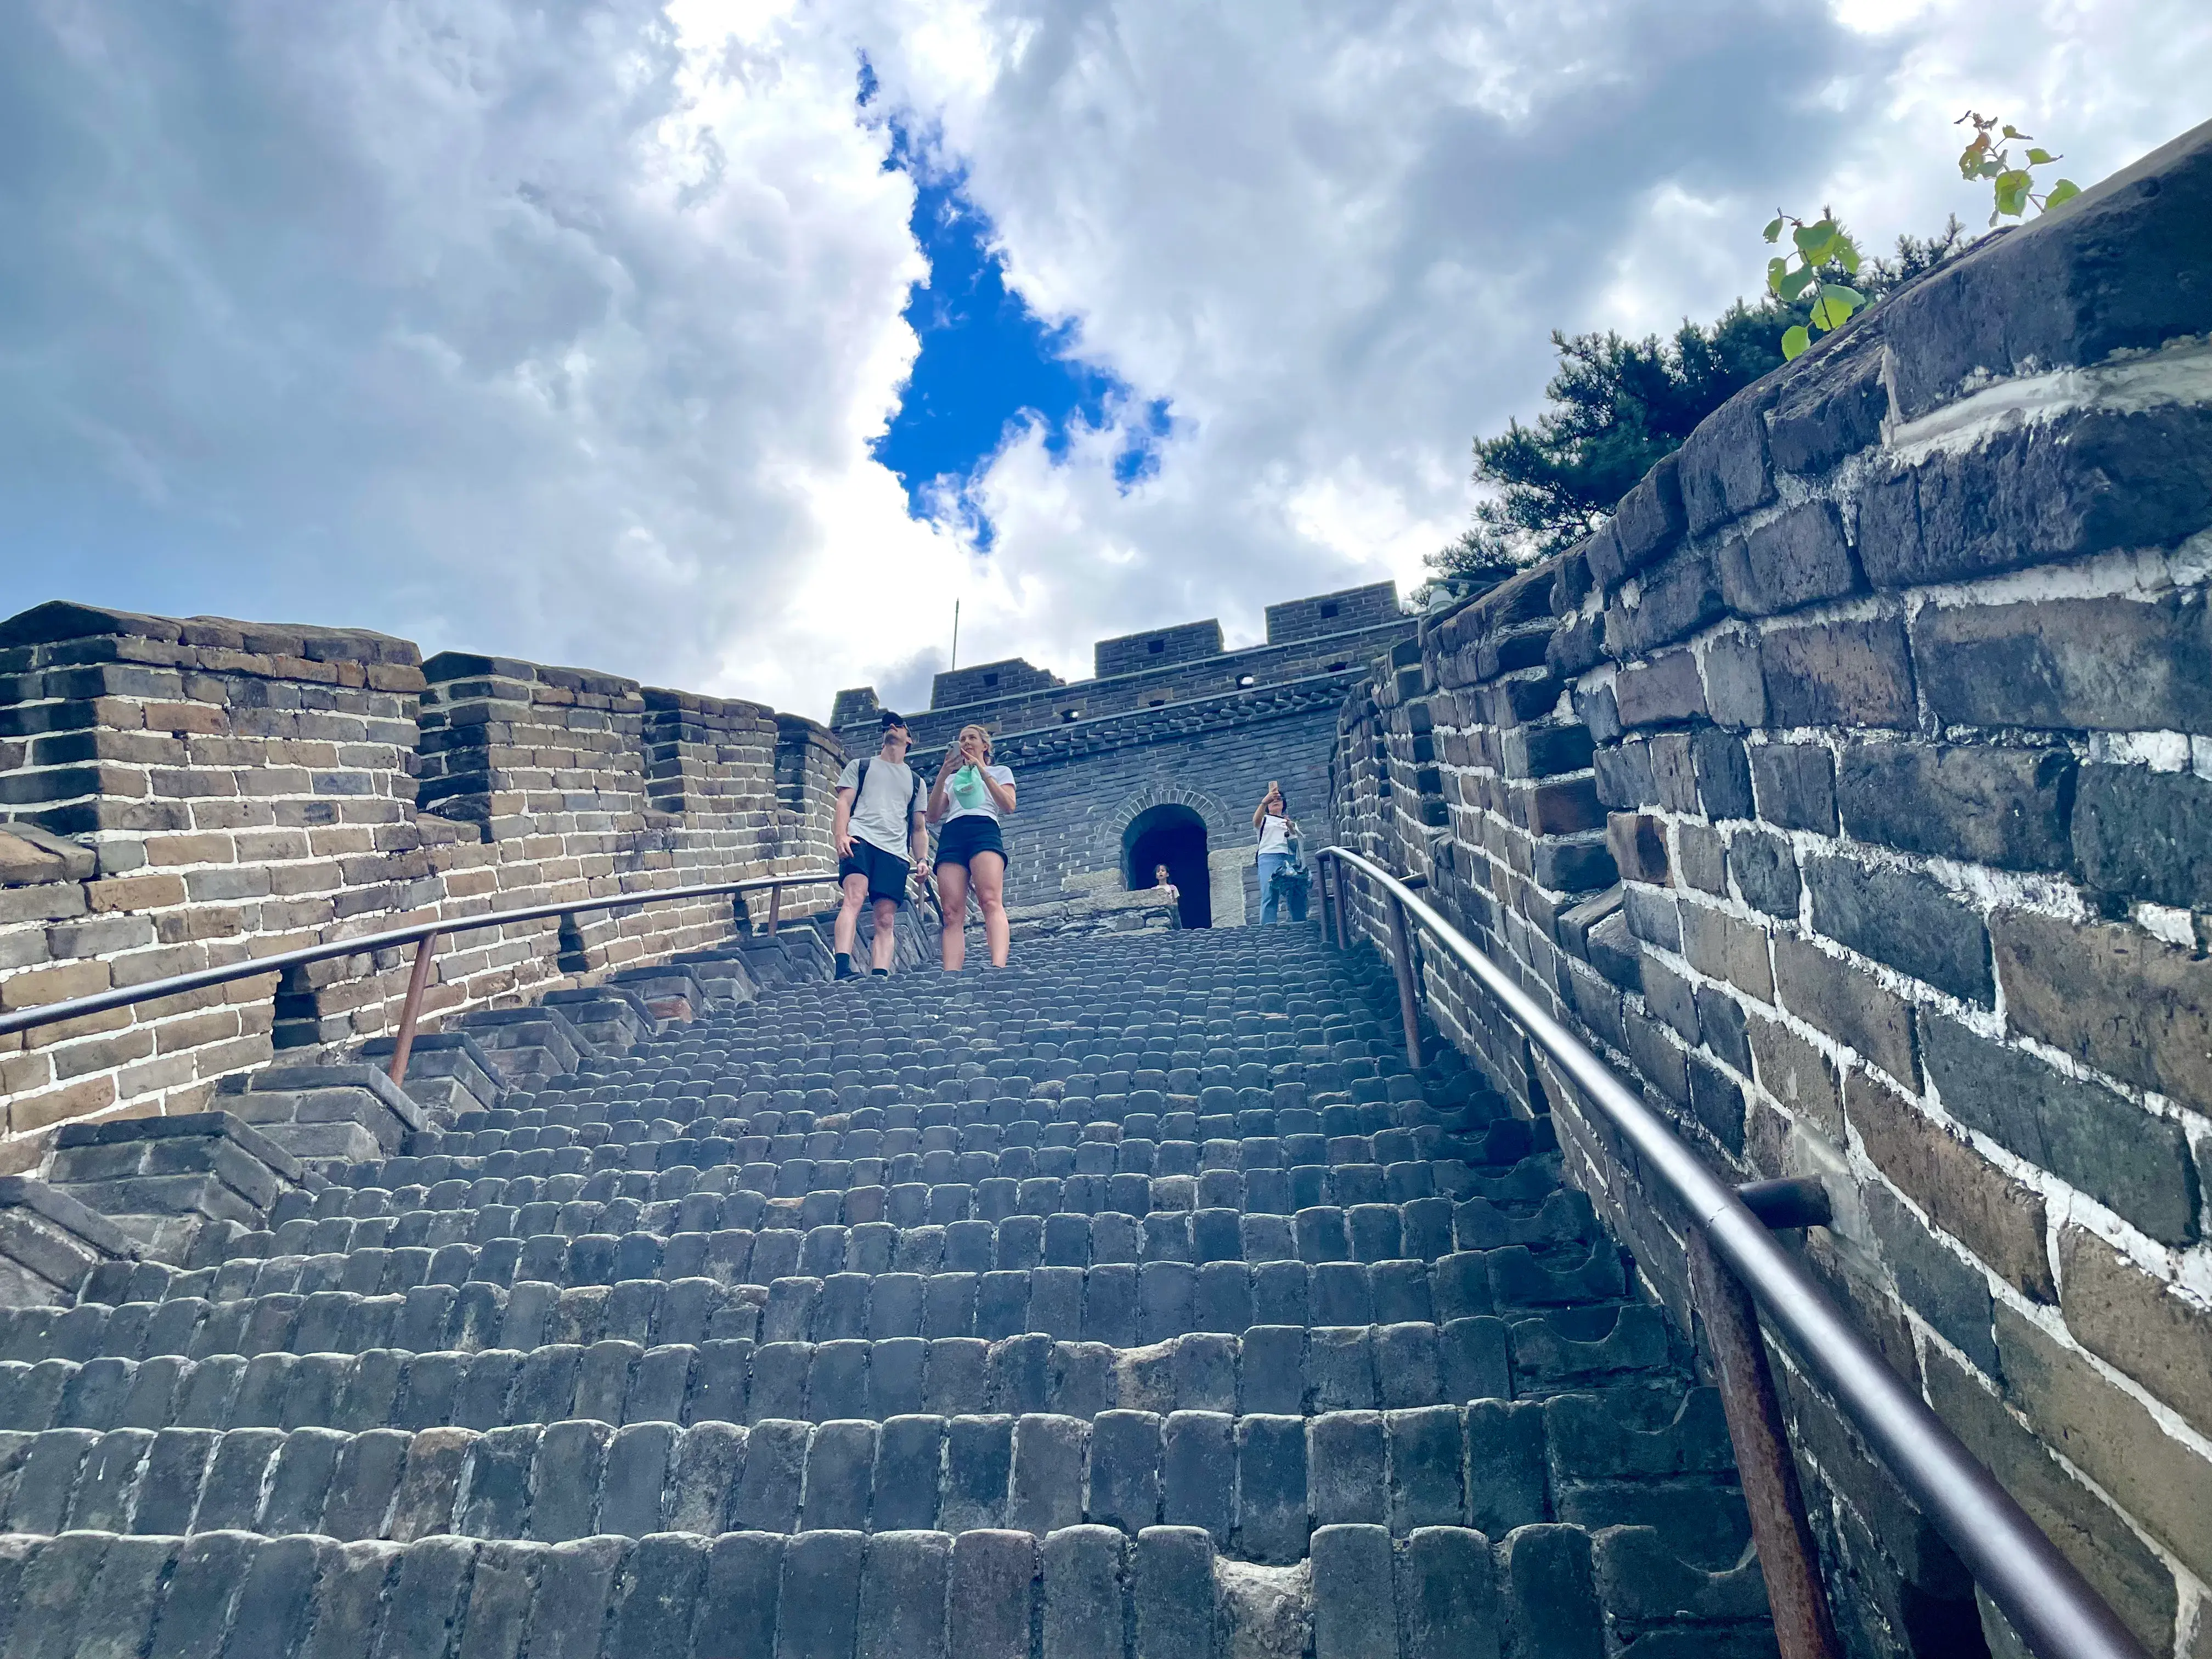
Steep restored stairs on the climb through the early eastern towers.
Tower 2 sits on the steep climb west of Dajiaolou. Restored stairs and a handrail help visitors move between the early towers — a clear taste of Mutianyu's stair rhythm before Zhengguantai.
Tower 3 — The Climb Toward Zhengguantai
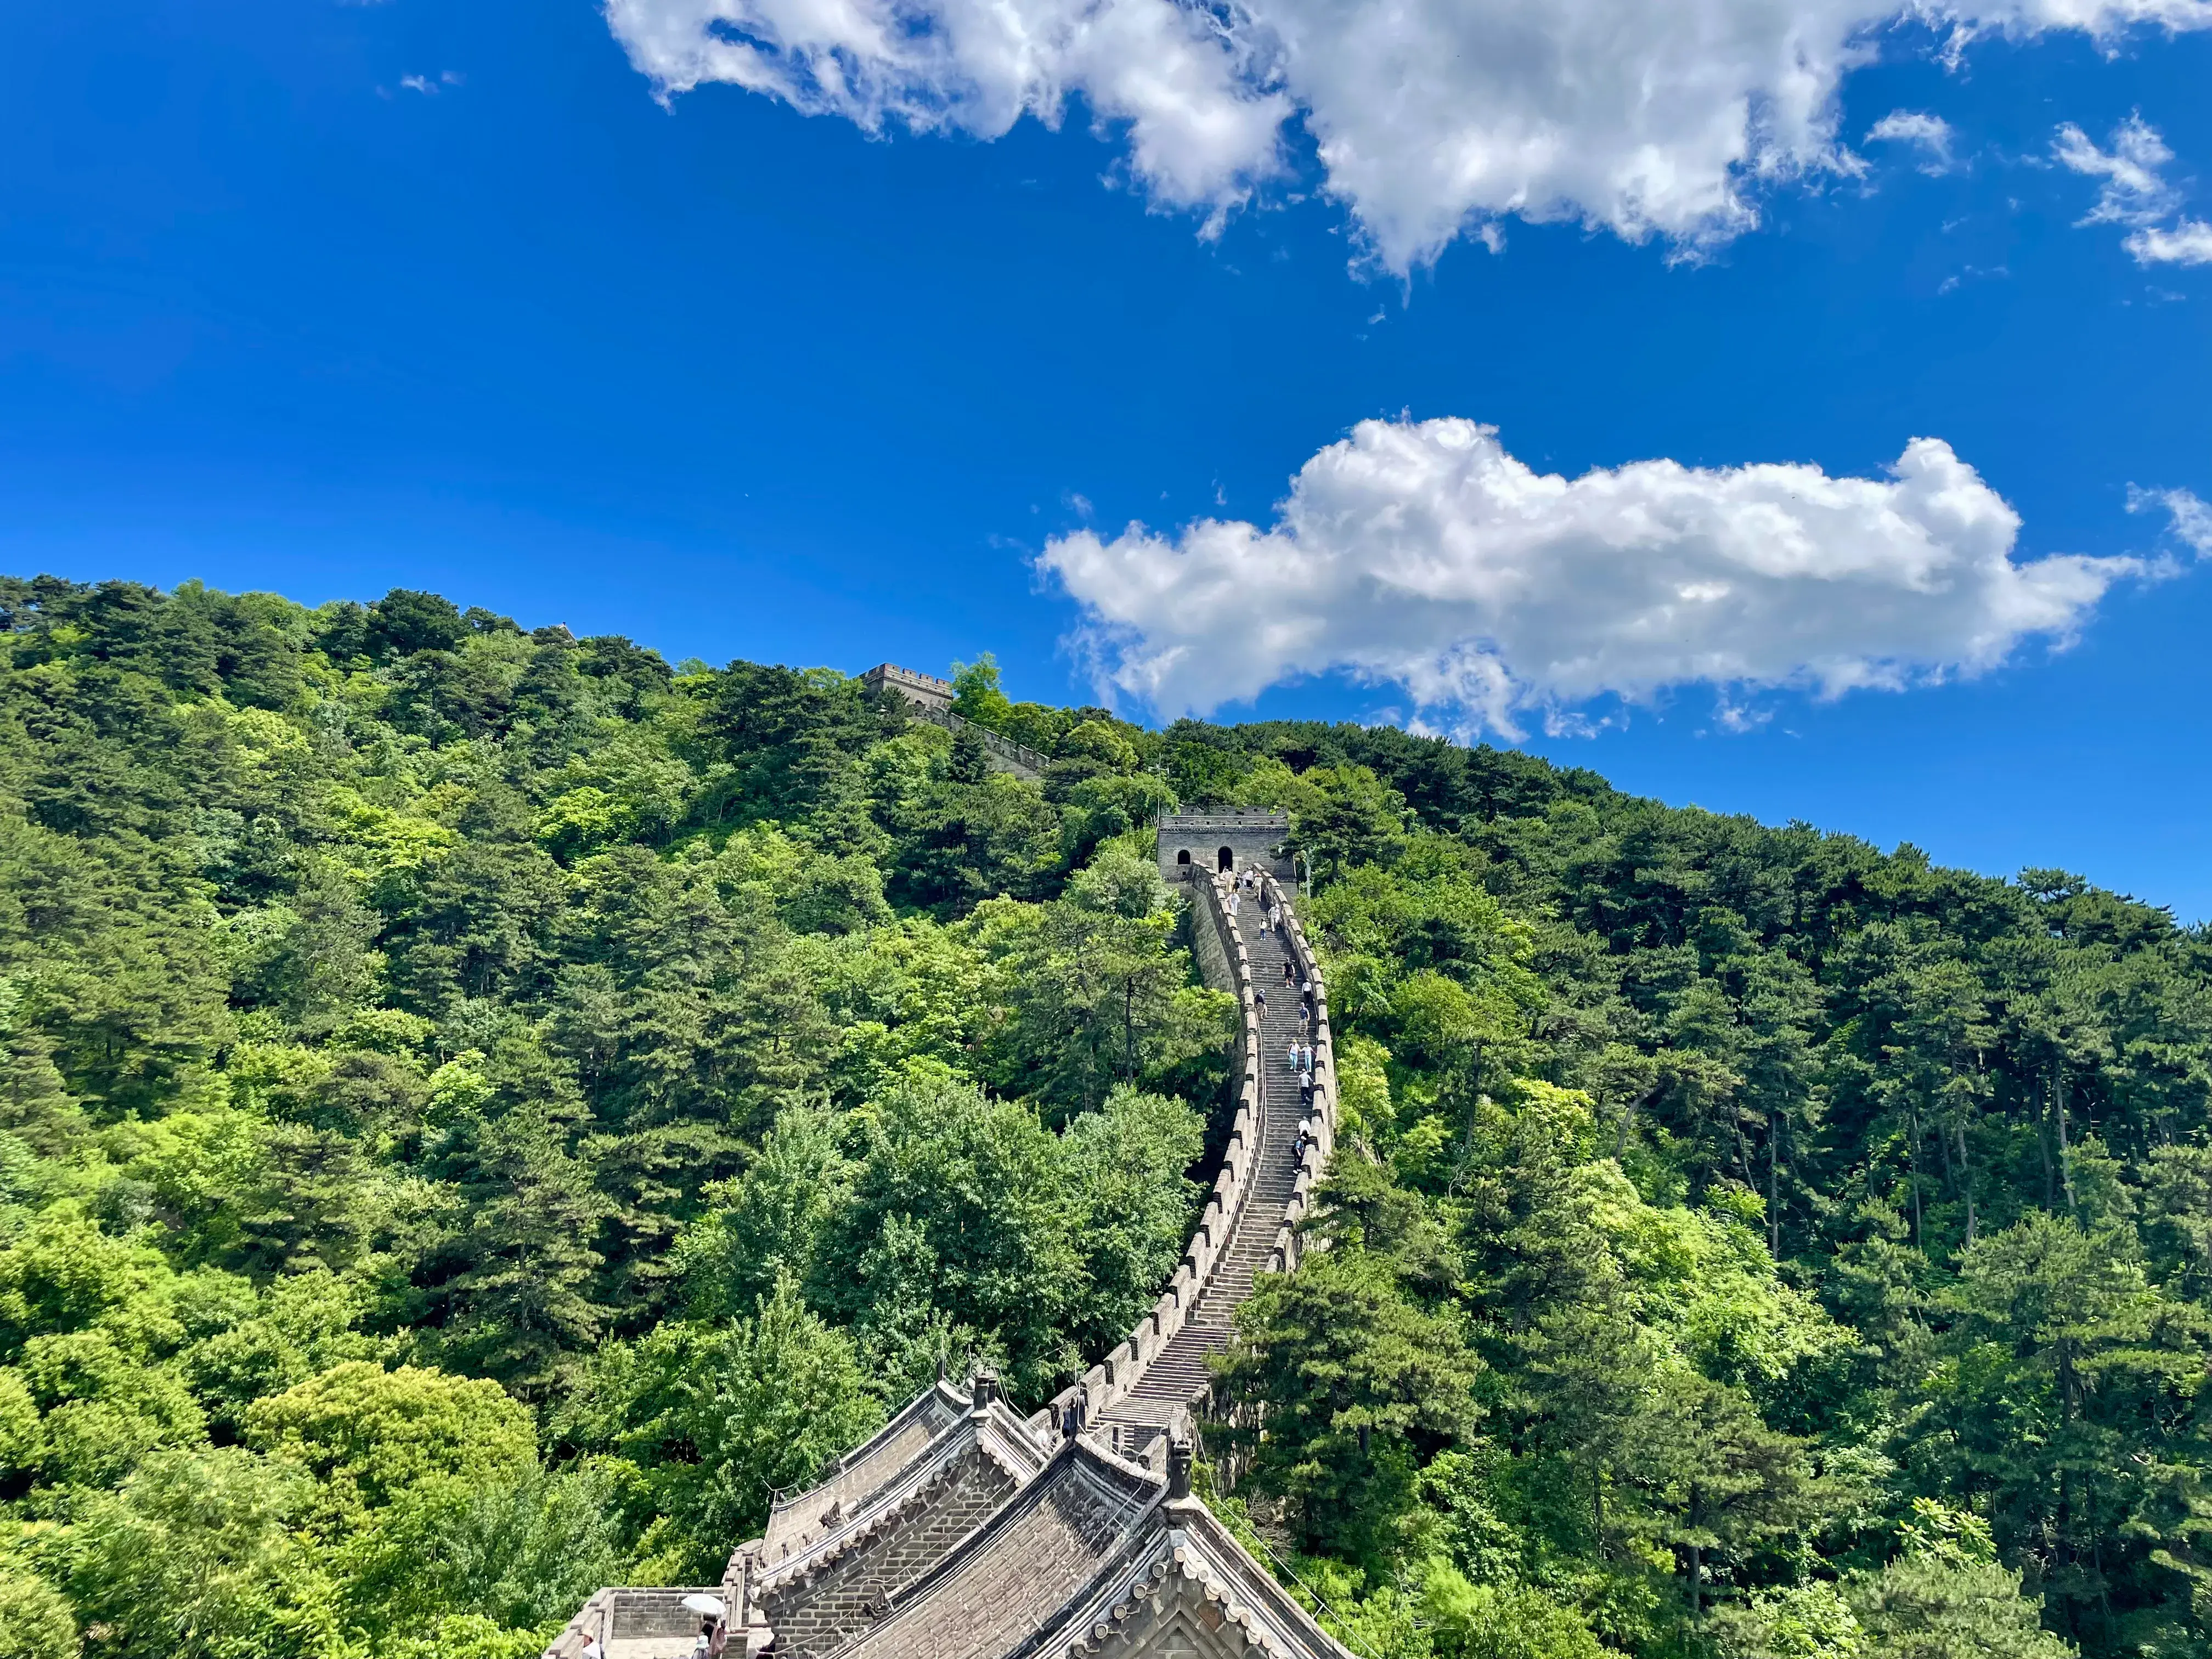
The restored ridge wall climbing between Towers 3 and 4 toward Zhengguantai.
Tower 3 sits on the climb toward Mutianyu Pass. The wall between Towers 3 and 4 rises along a restored ridge segment before the Zhengguantai platform at Tower 4.
Tower 4 — Zhengguantai
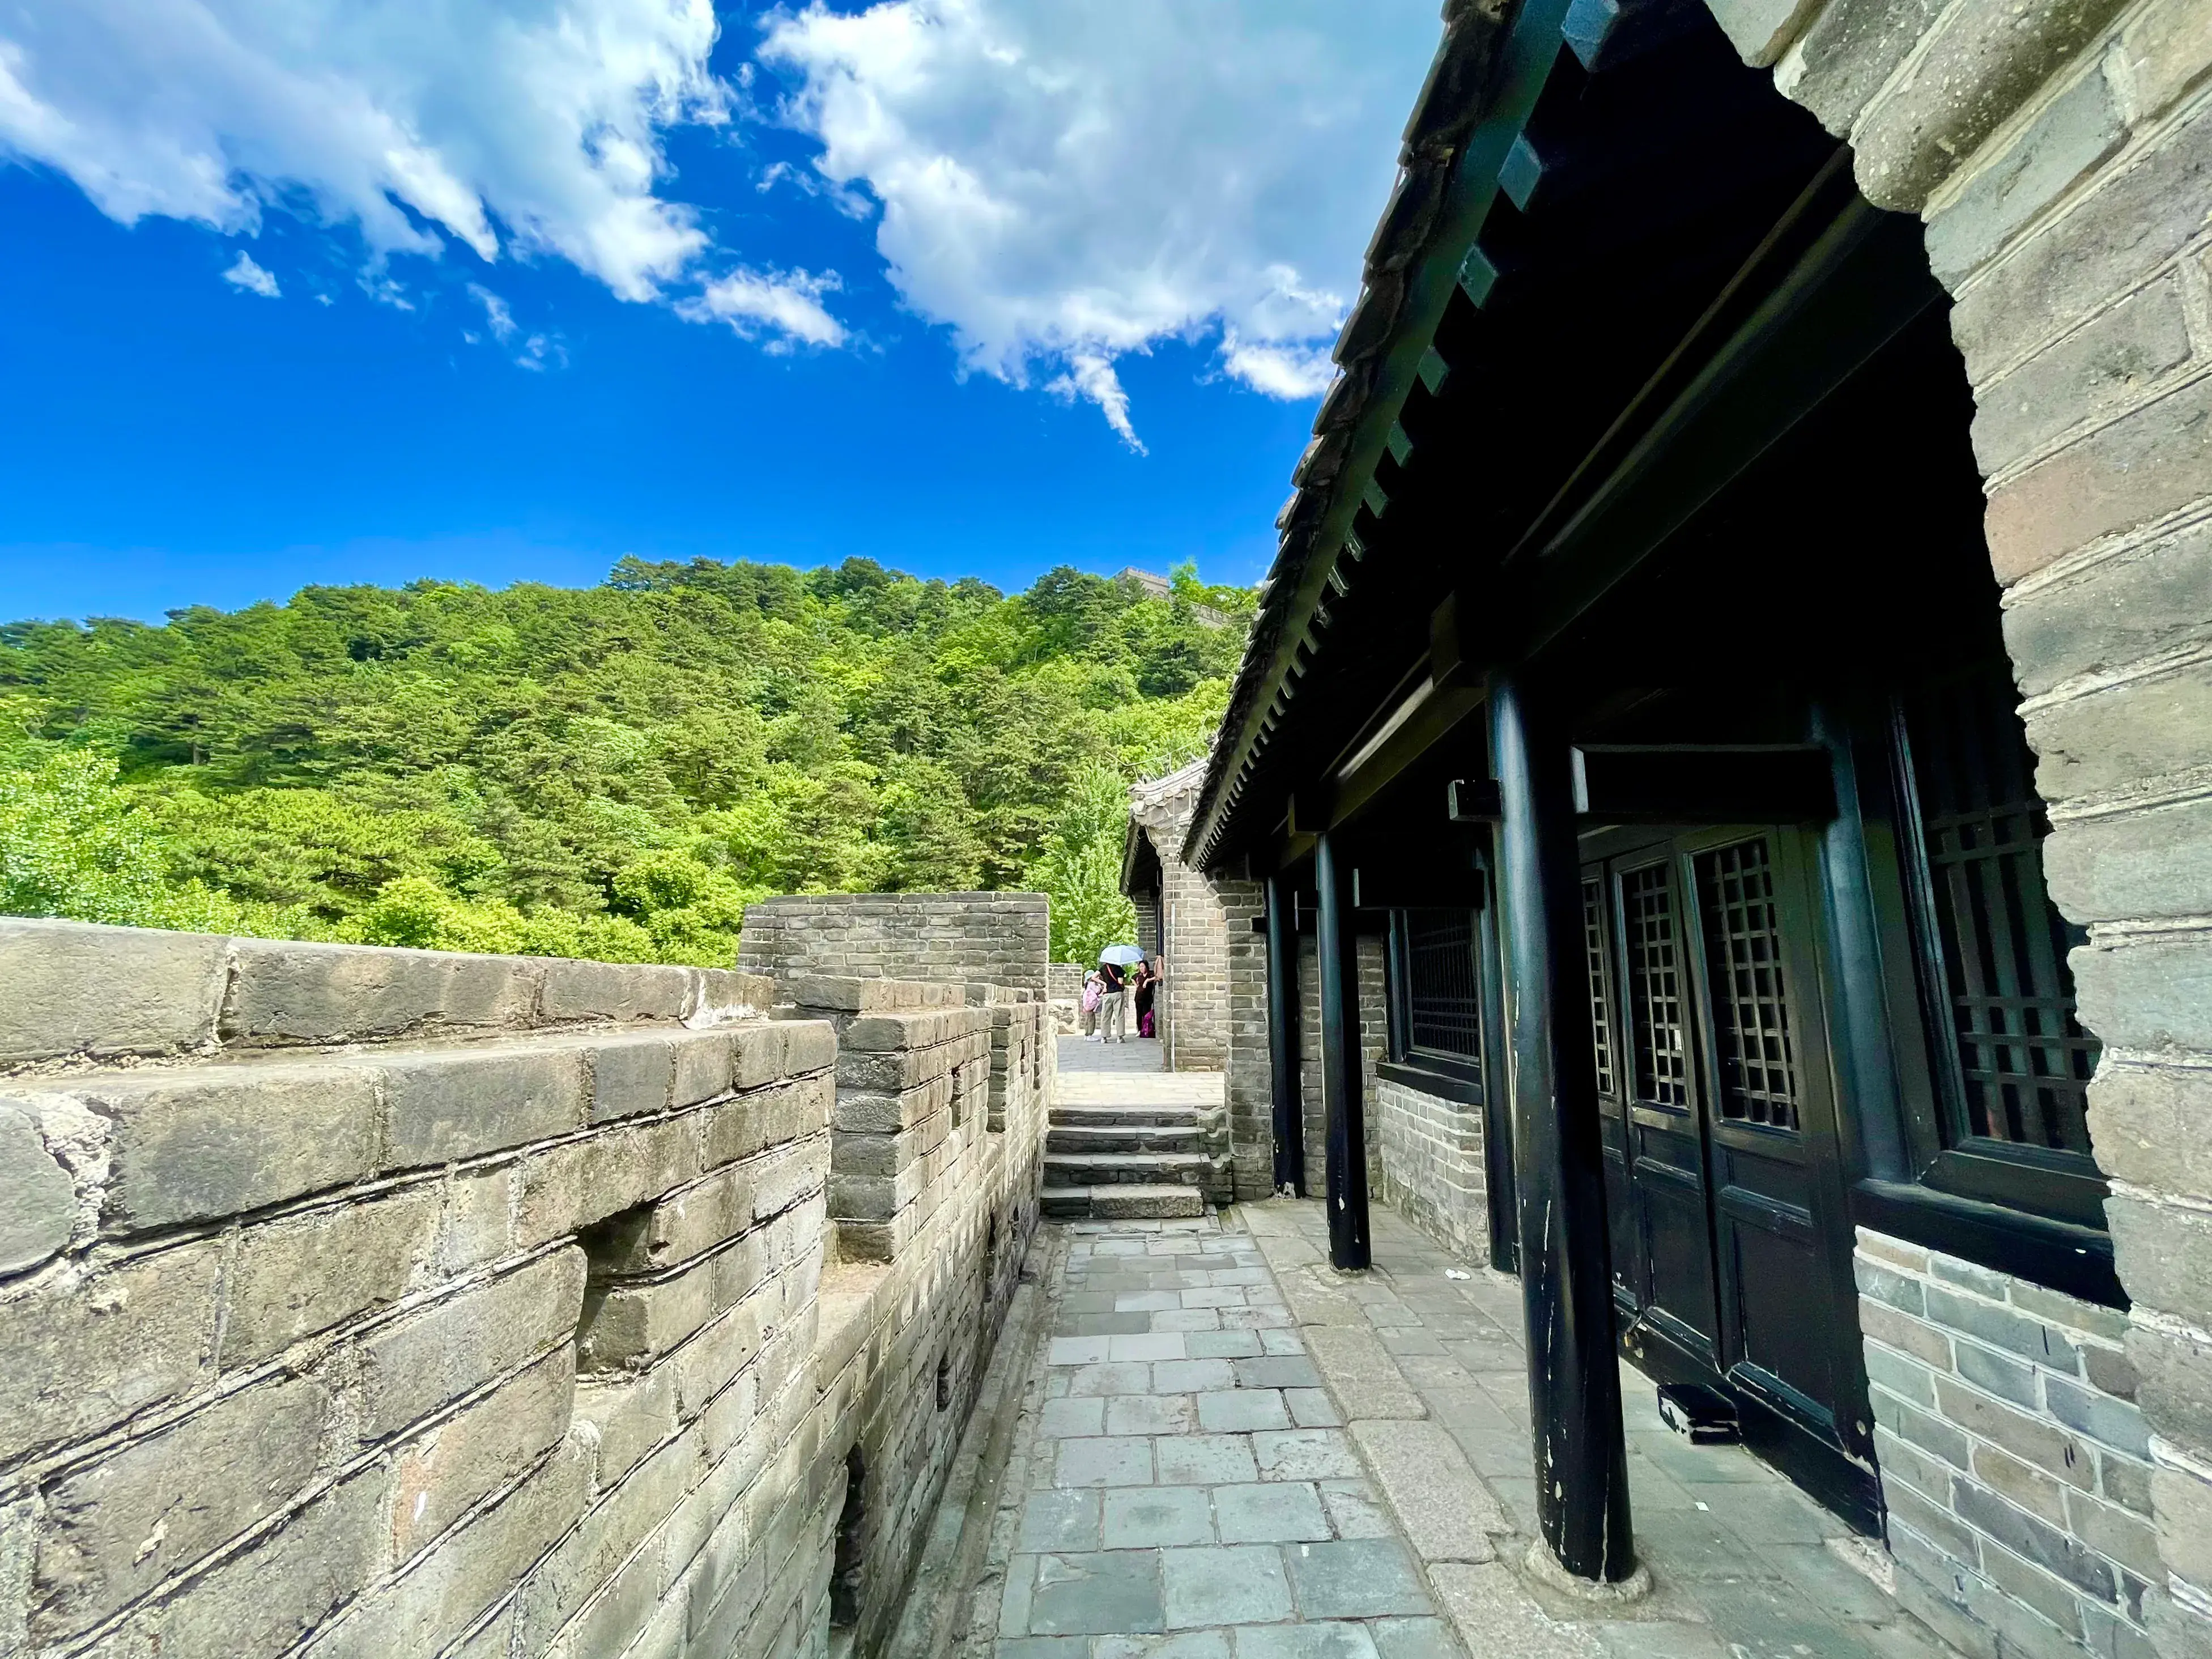
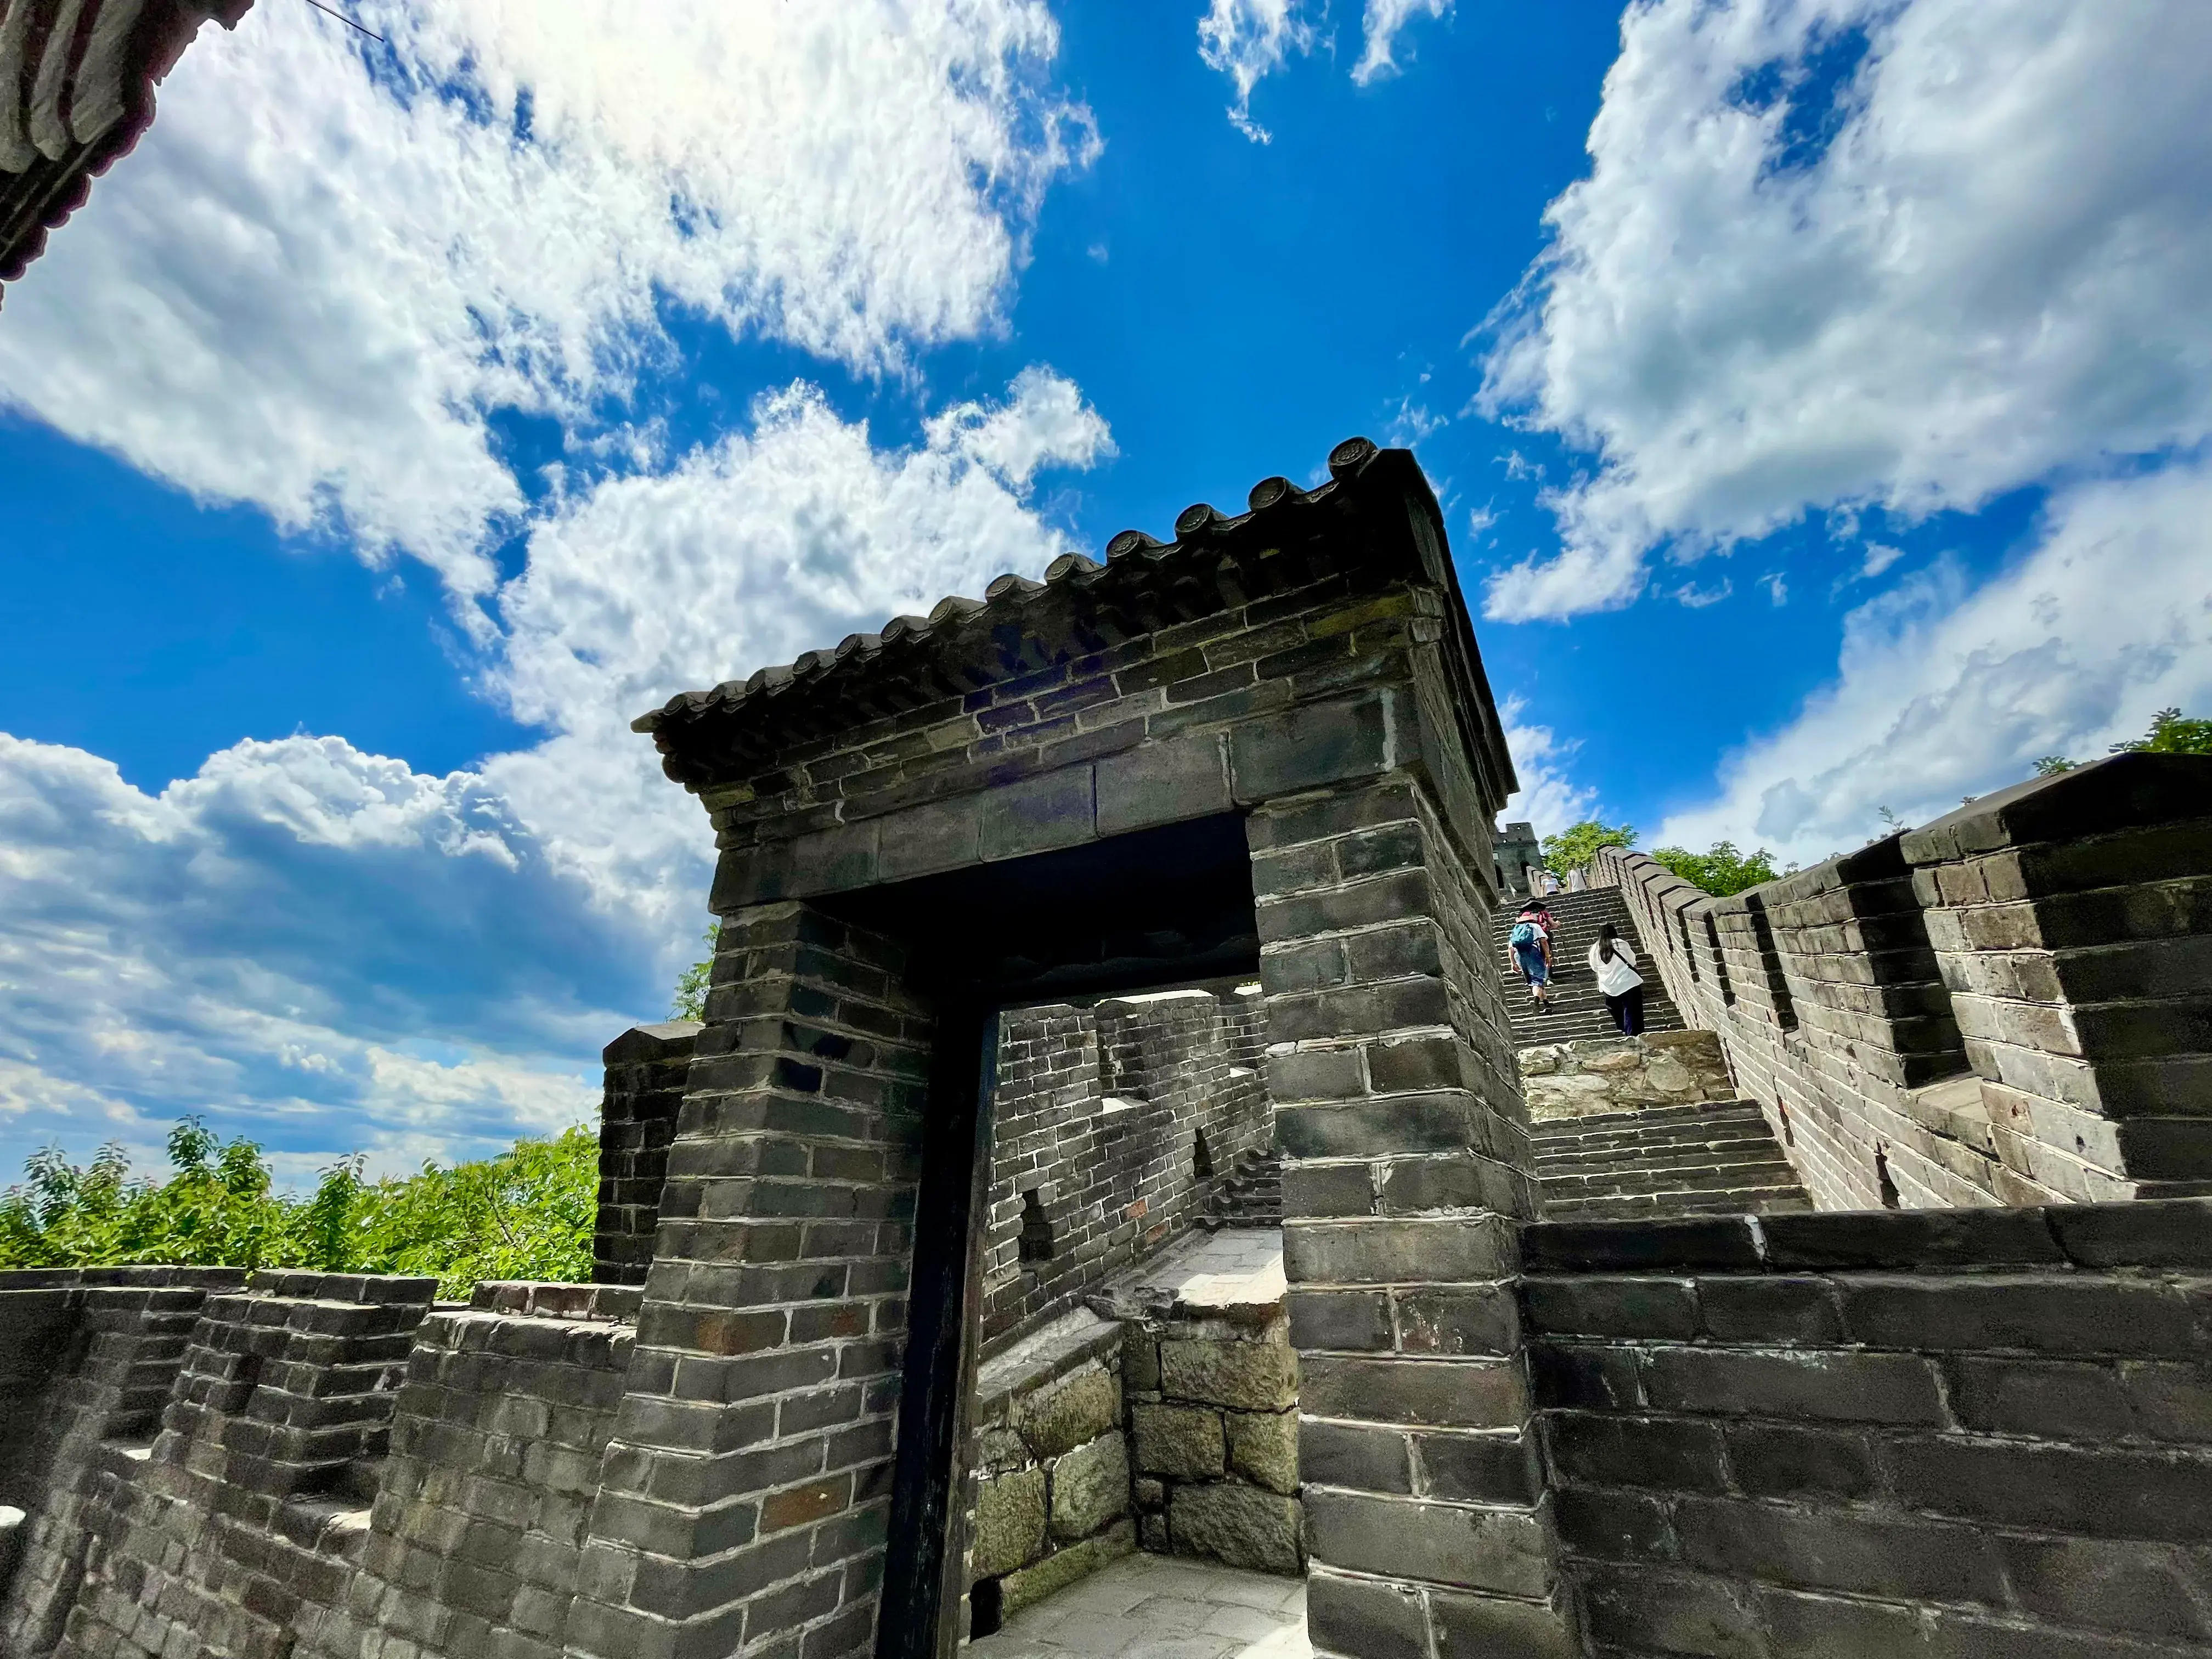
Covered walkway and lattice doors at Zhengguantai / Tower 4.
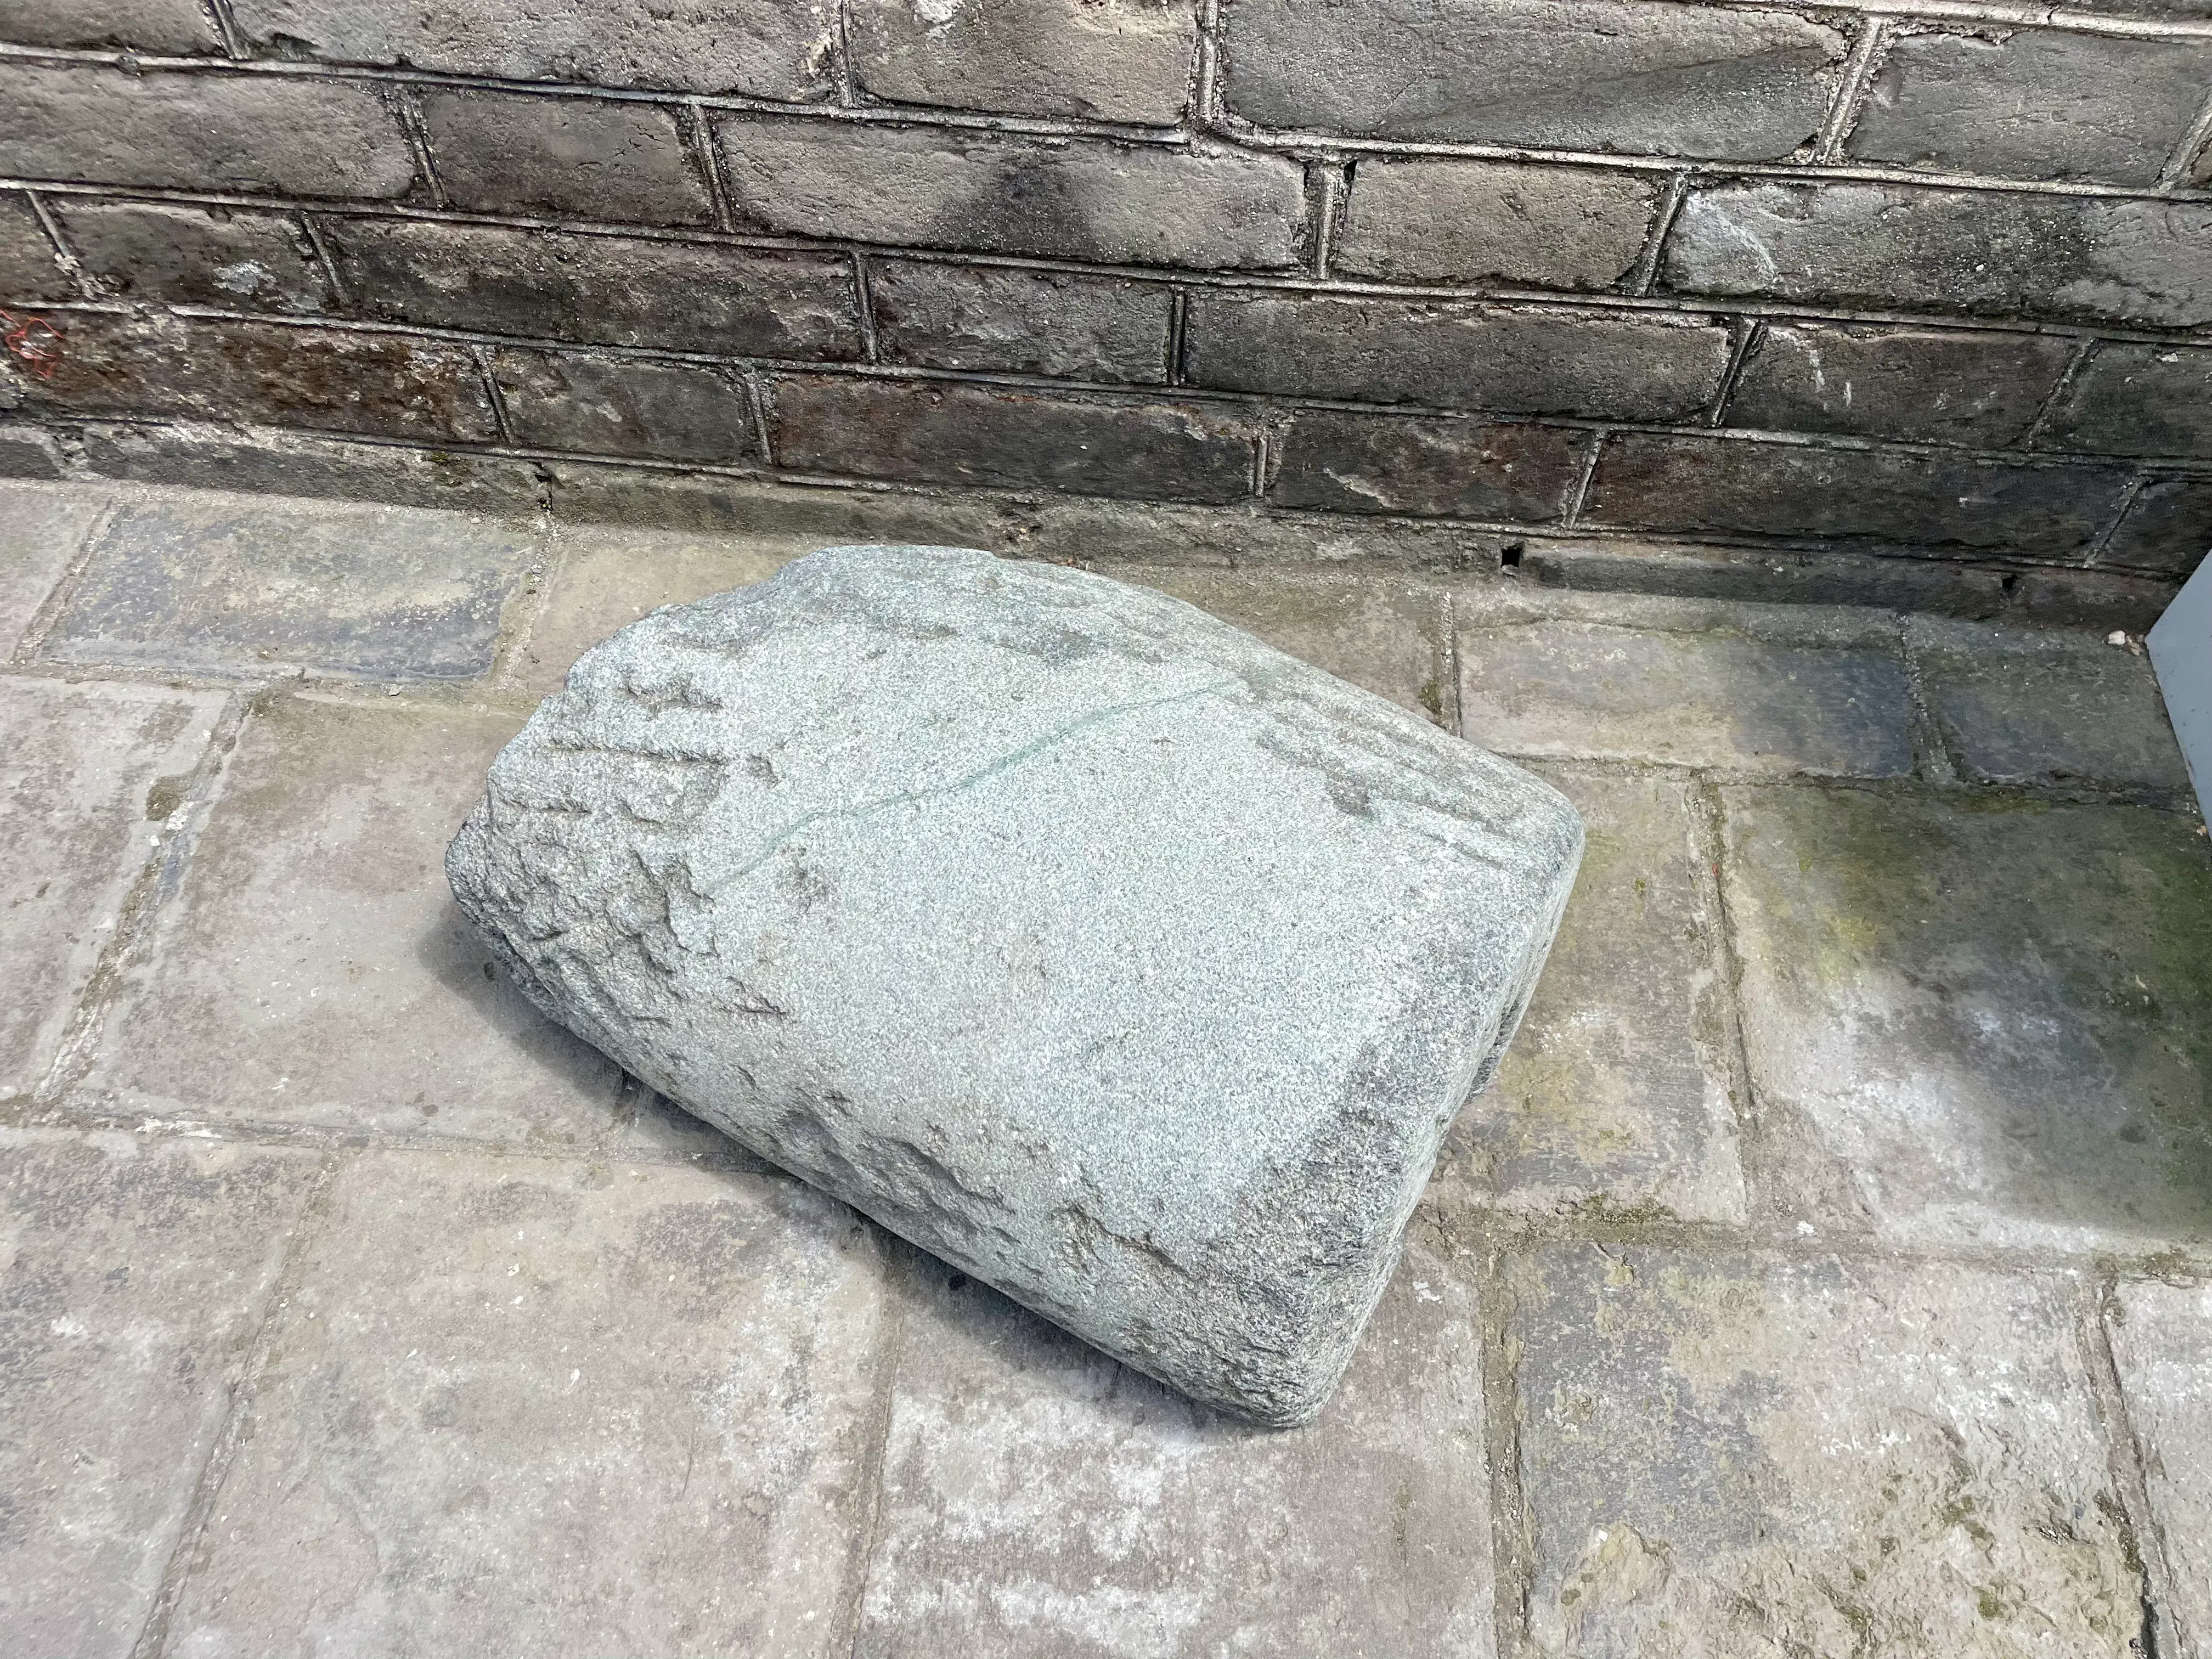
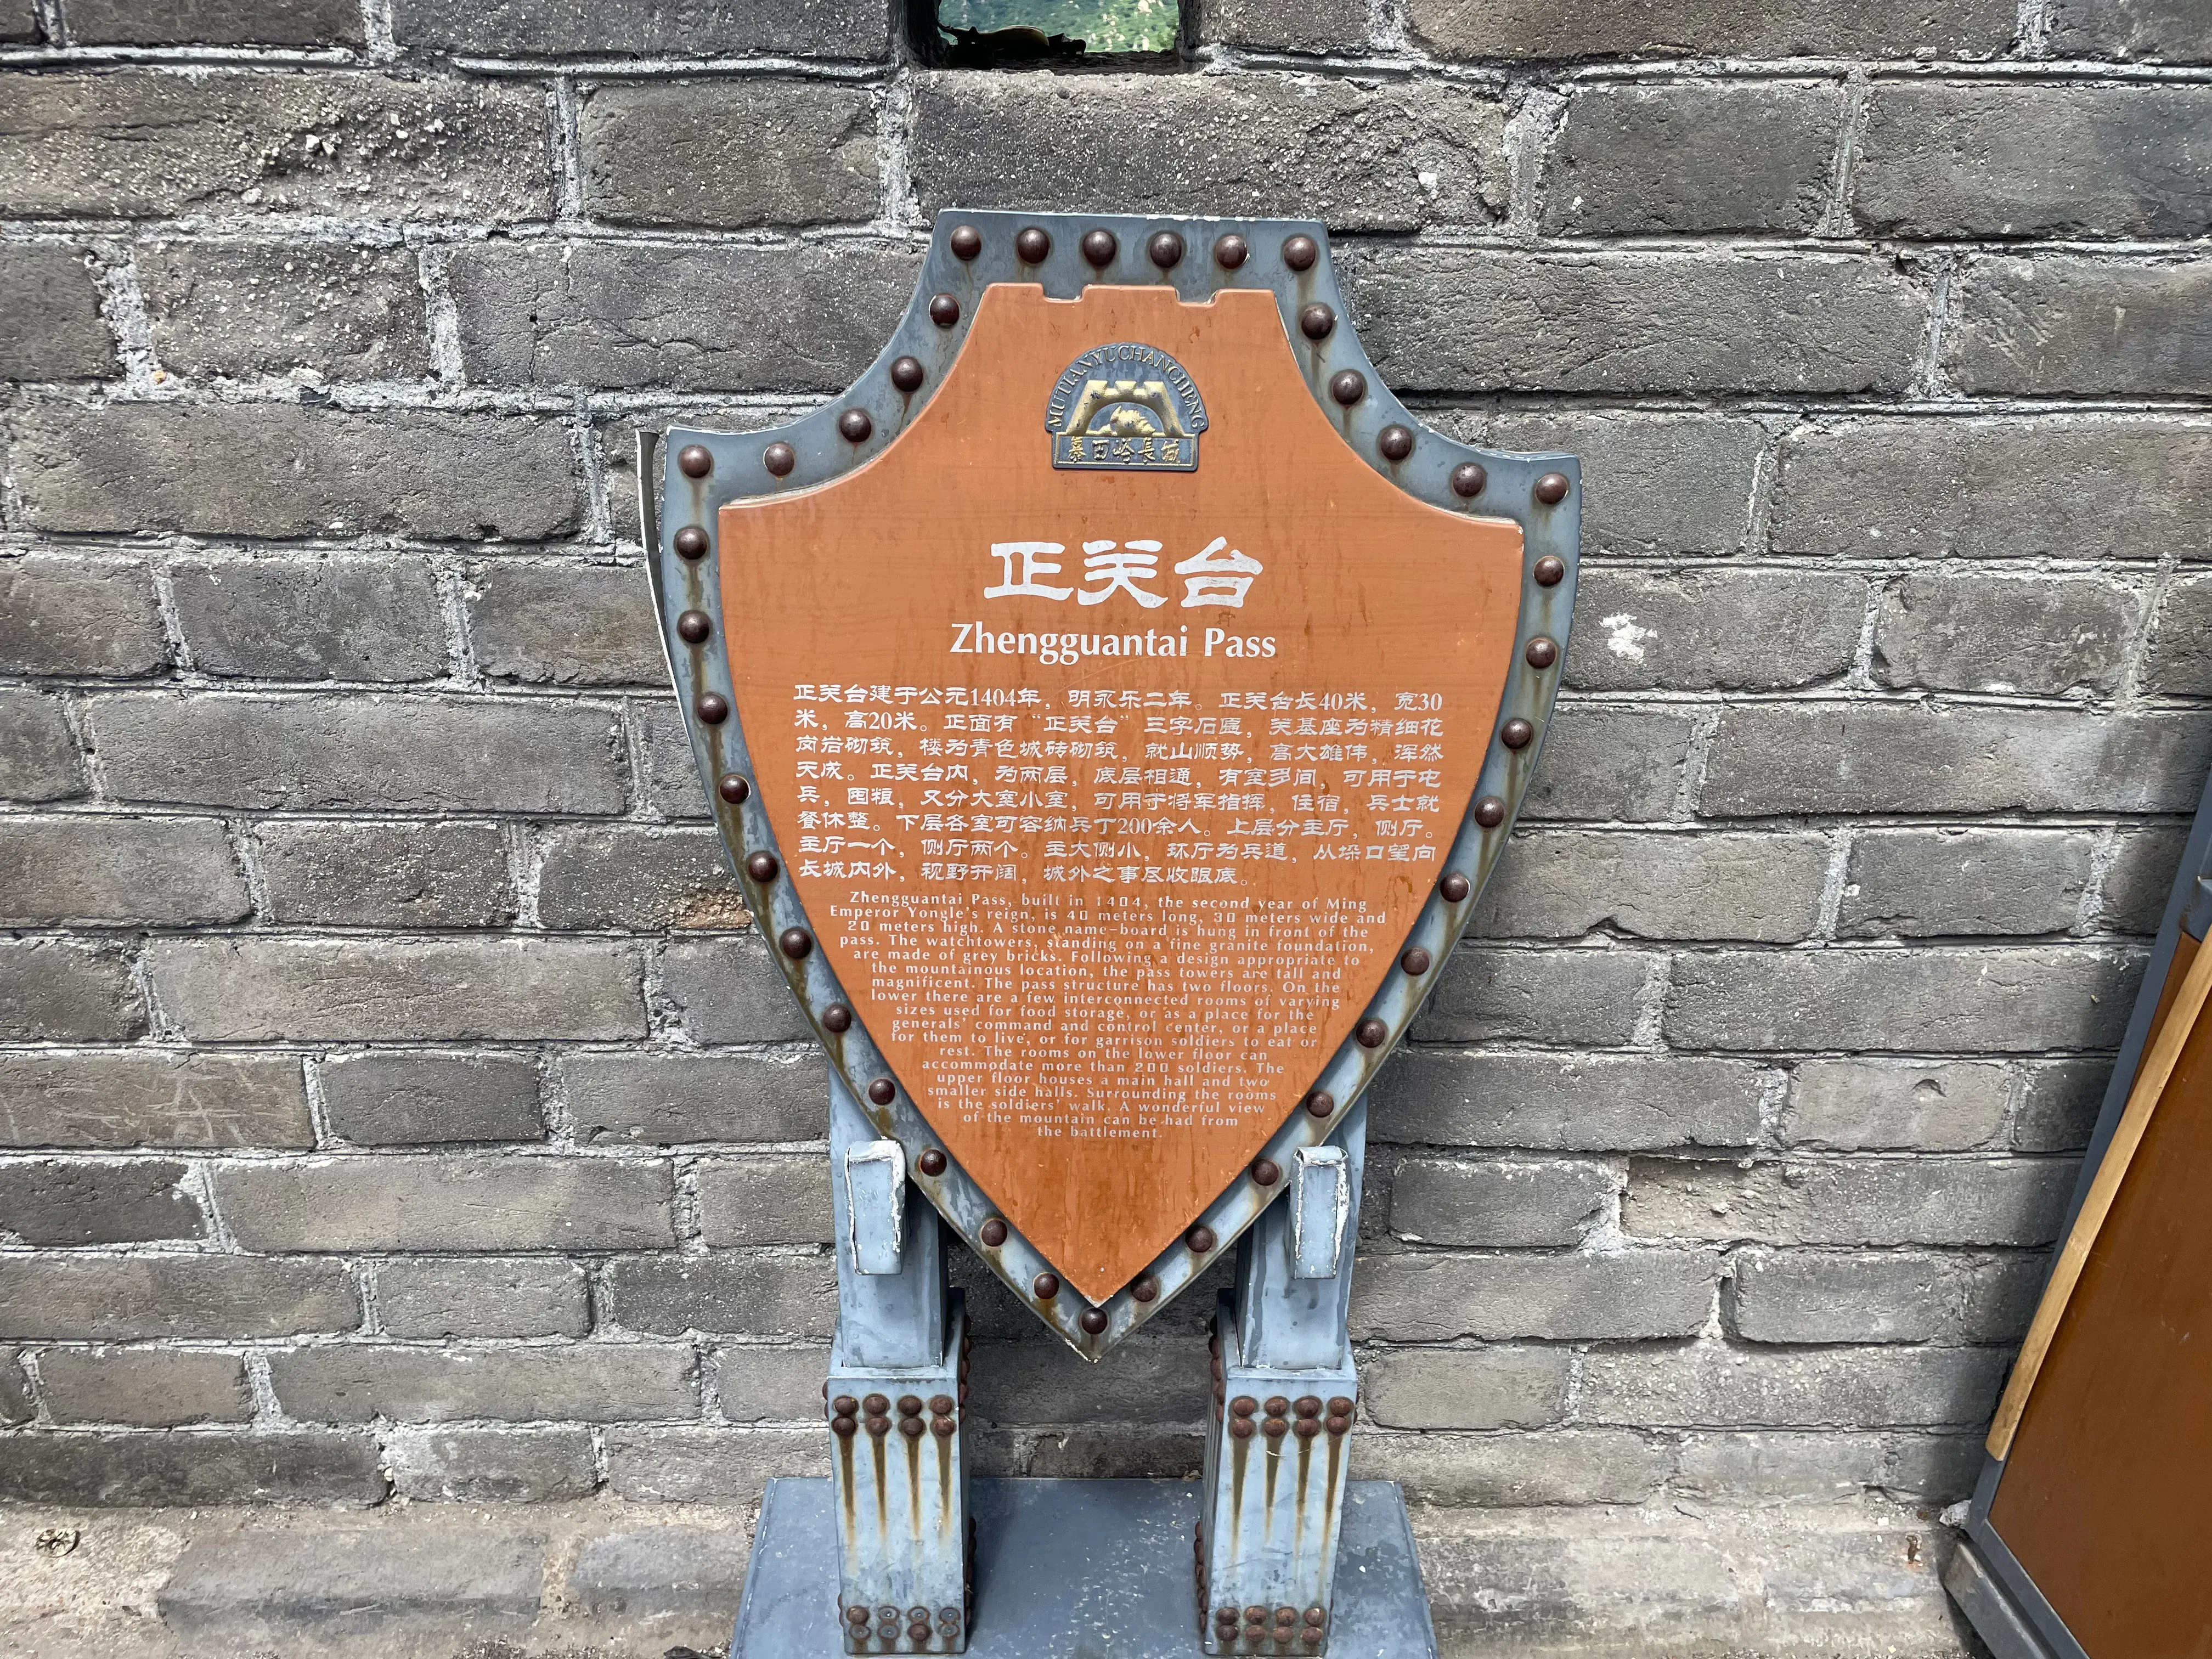
Zhengguantai at Tower 4 is Mutianyu Pass — a rare three-building hollow watchtower complex. Official plaques note Ming-era command rooms, stores, and soldiers' quarters. Stone cannons on the platform illustrate the wall's gunpowder-era defences.
 Click to enlarge
 Click to enlarge
 Click to enlarge
Tower 5 — Steep Stairs, Cannons and Visitor Details
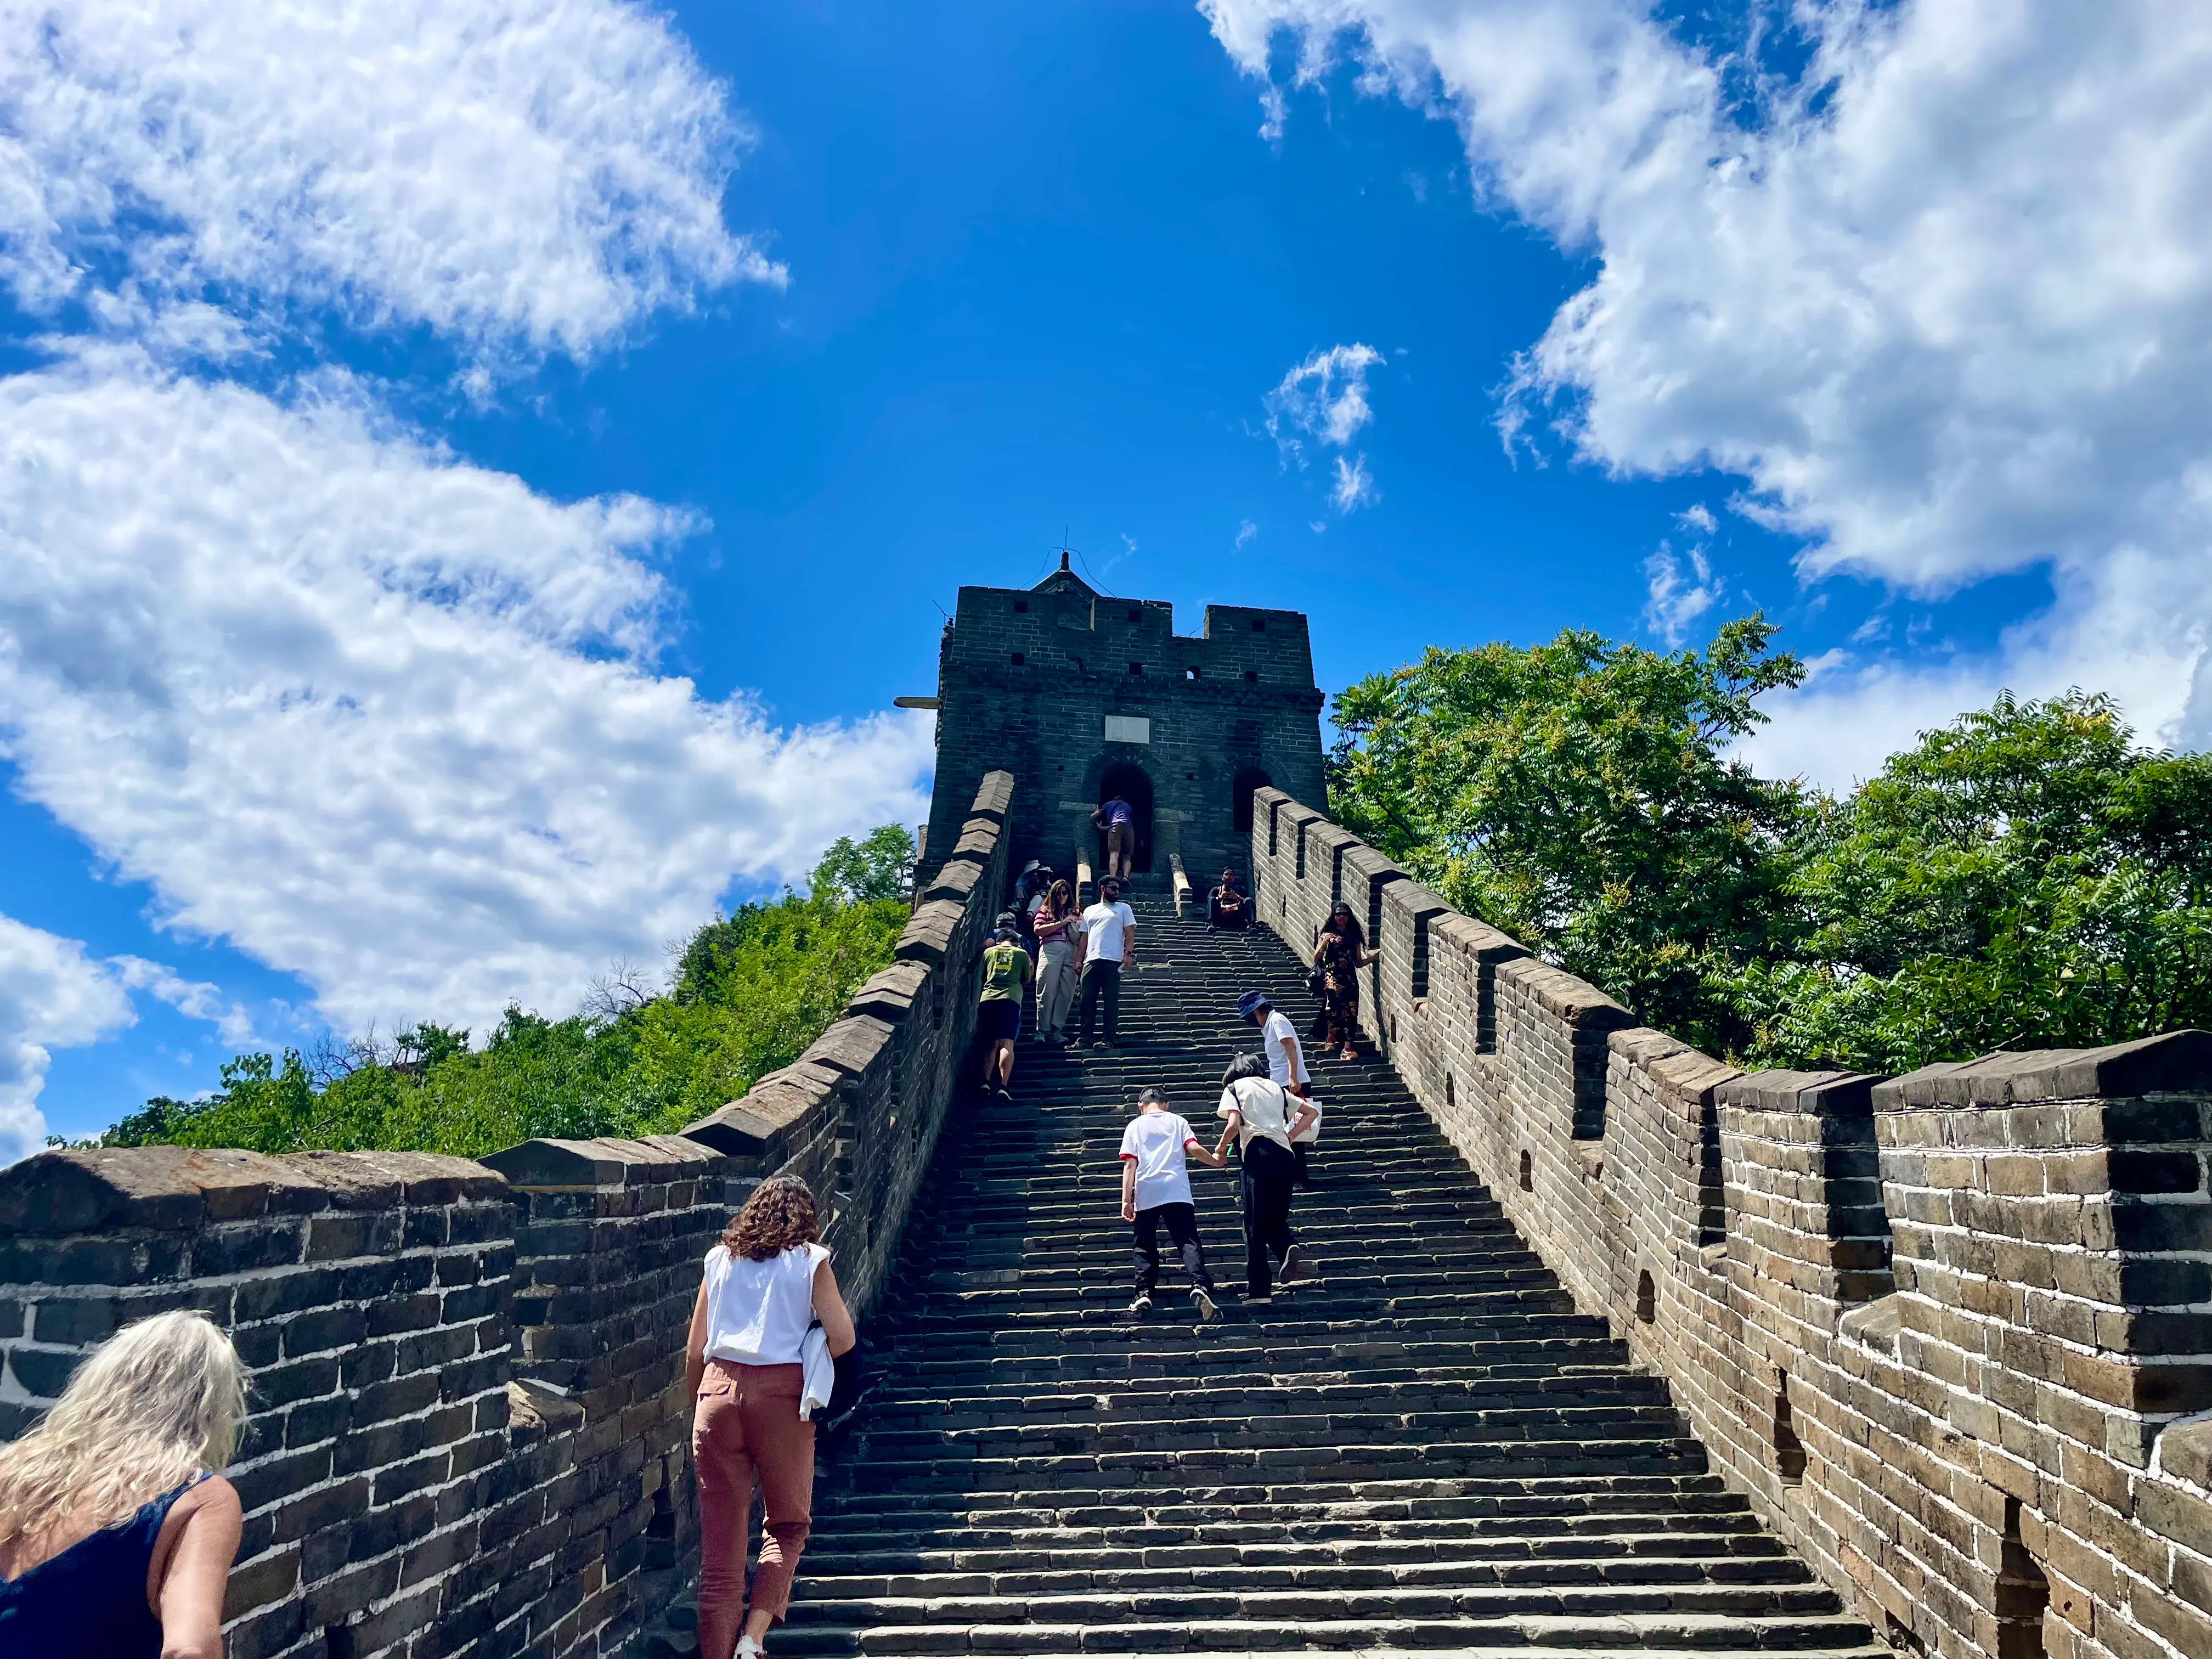
Steep stair ascent toward Tower 5 on the eastern visitor route.
Tower 5 crowns a demanding stair section on the climb toward Tower 6. Mutianyu provides a legal graffiti wall inside so visitors leave marks on boards instead of historic bricks. General cannons are displayed along the Tower 4–5 path.
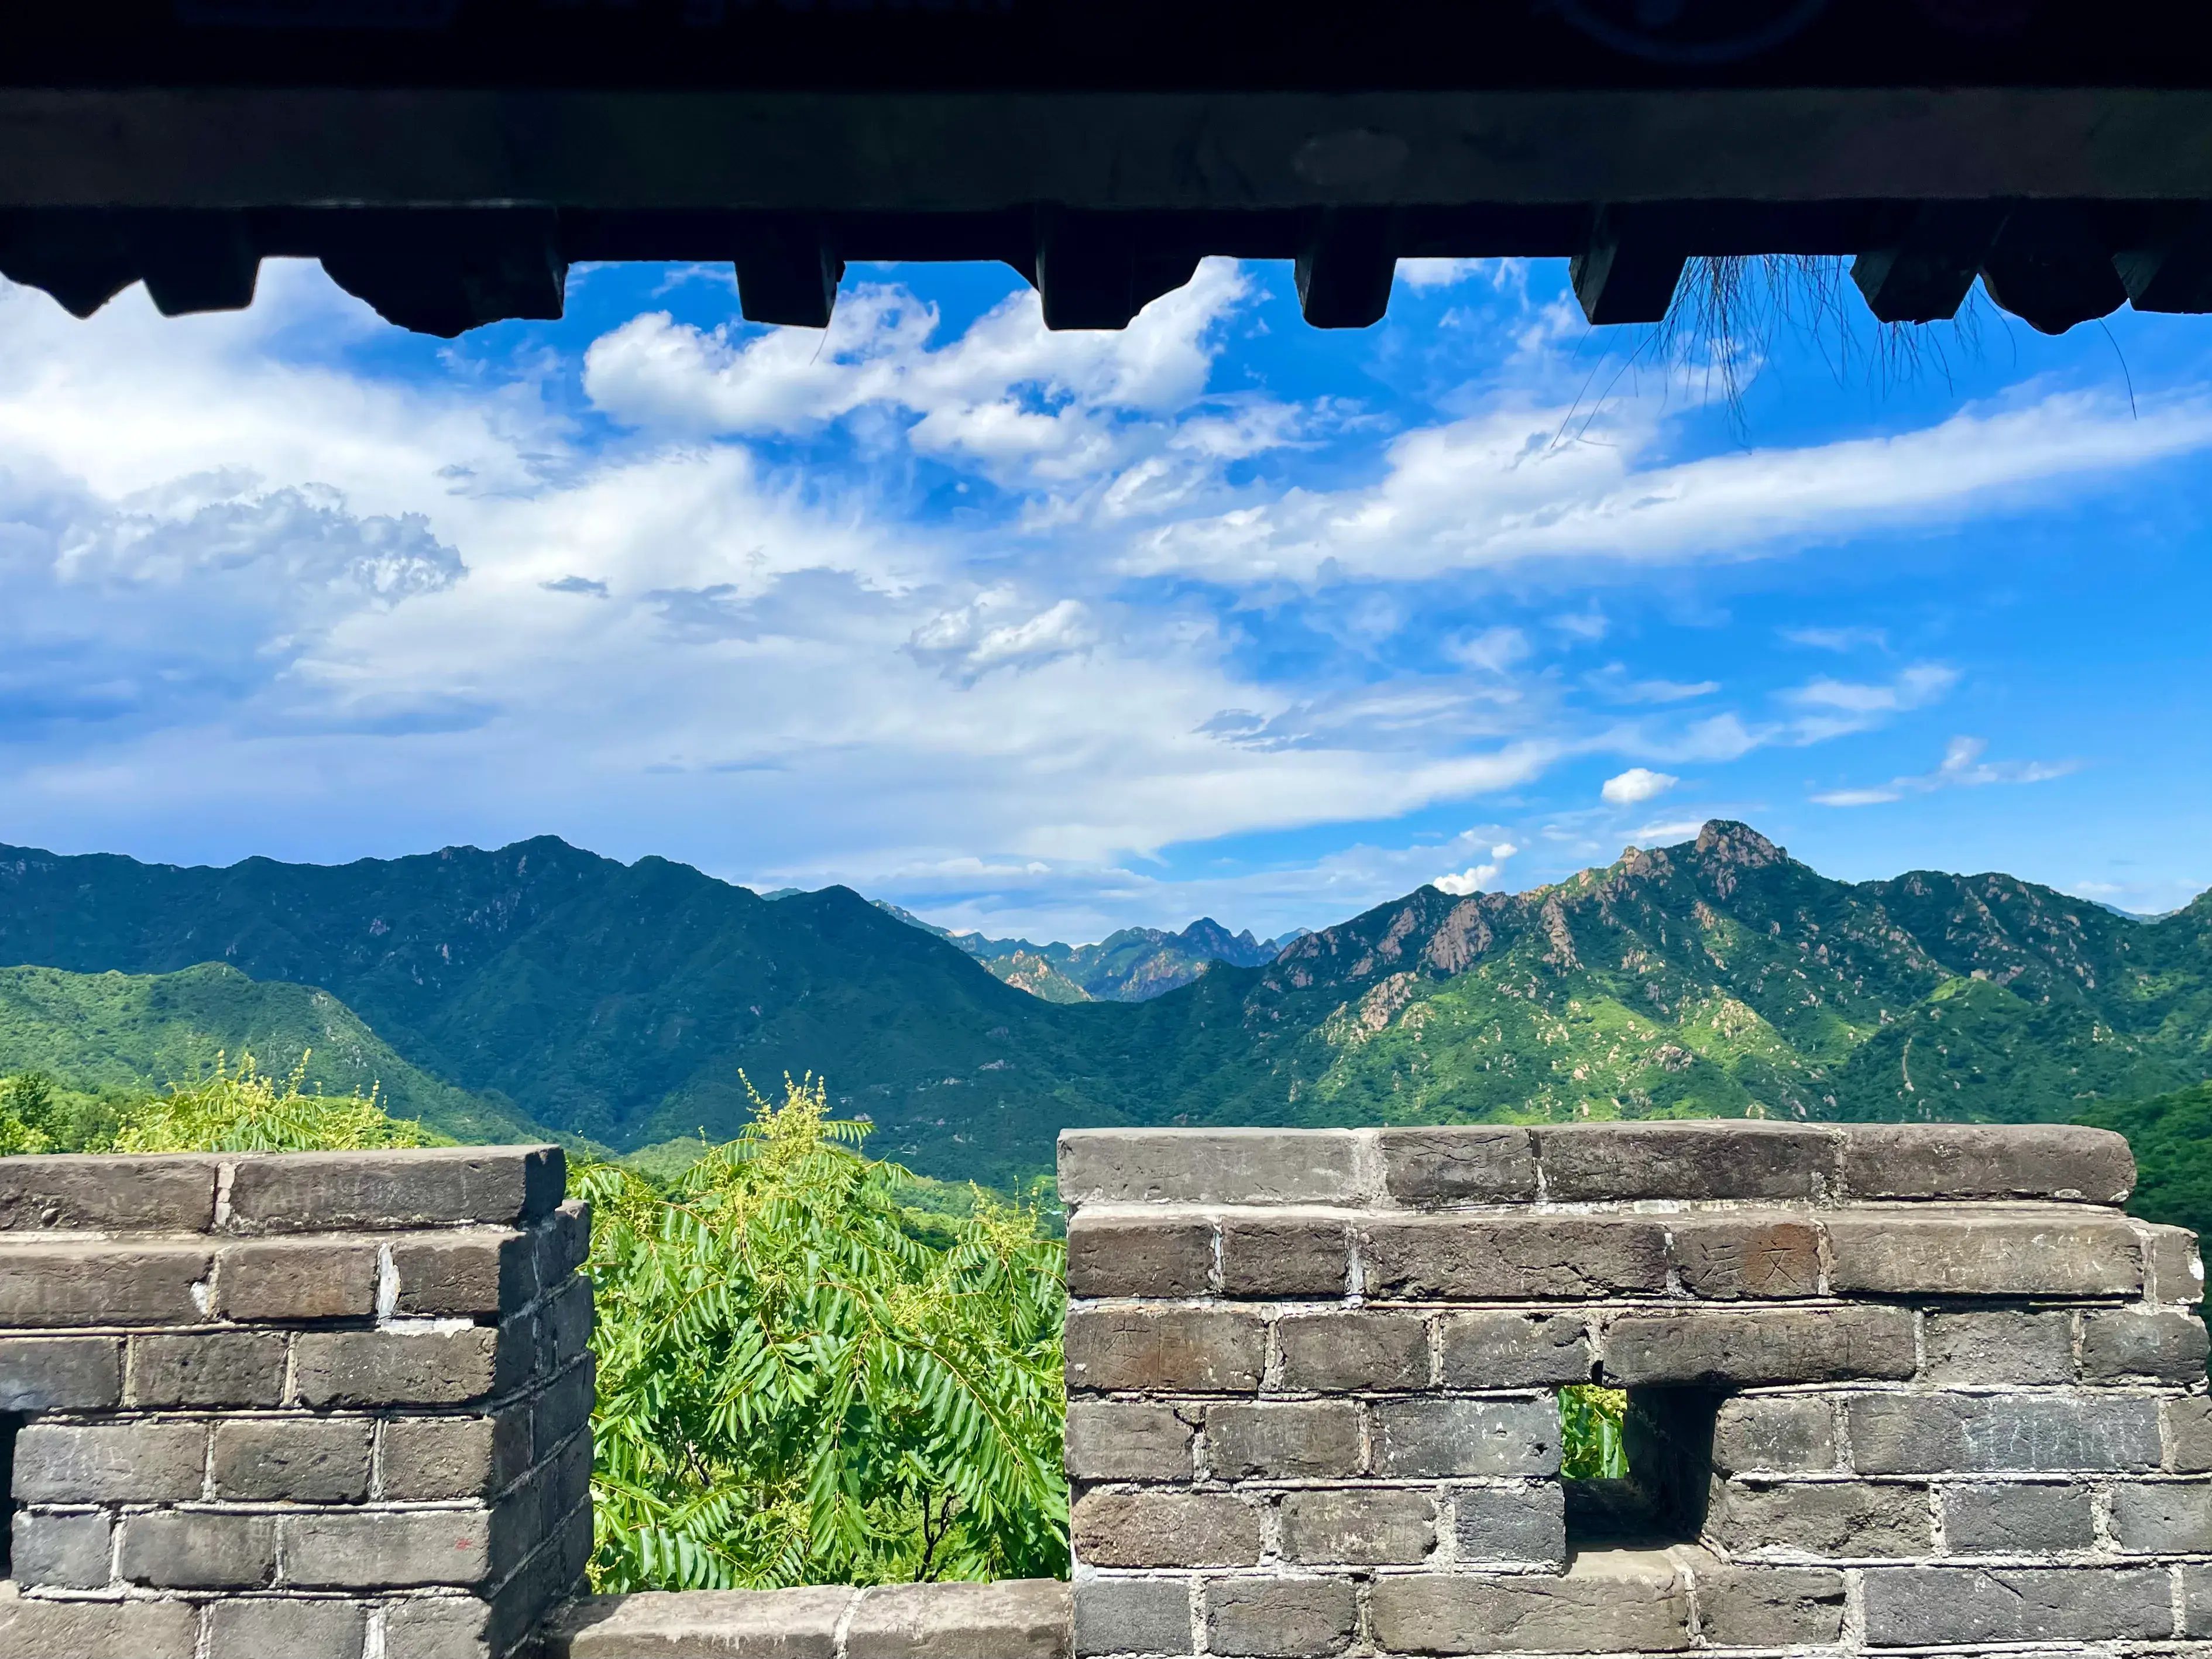 Click to enlarge
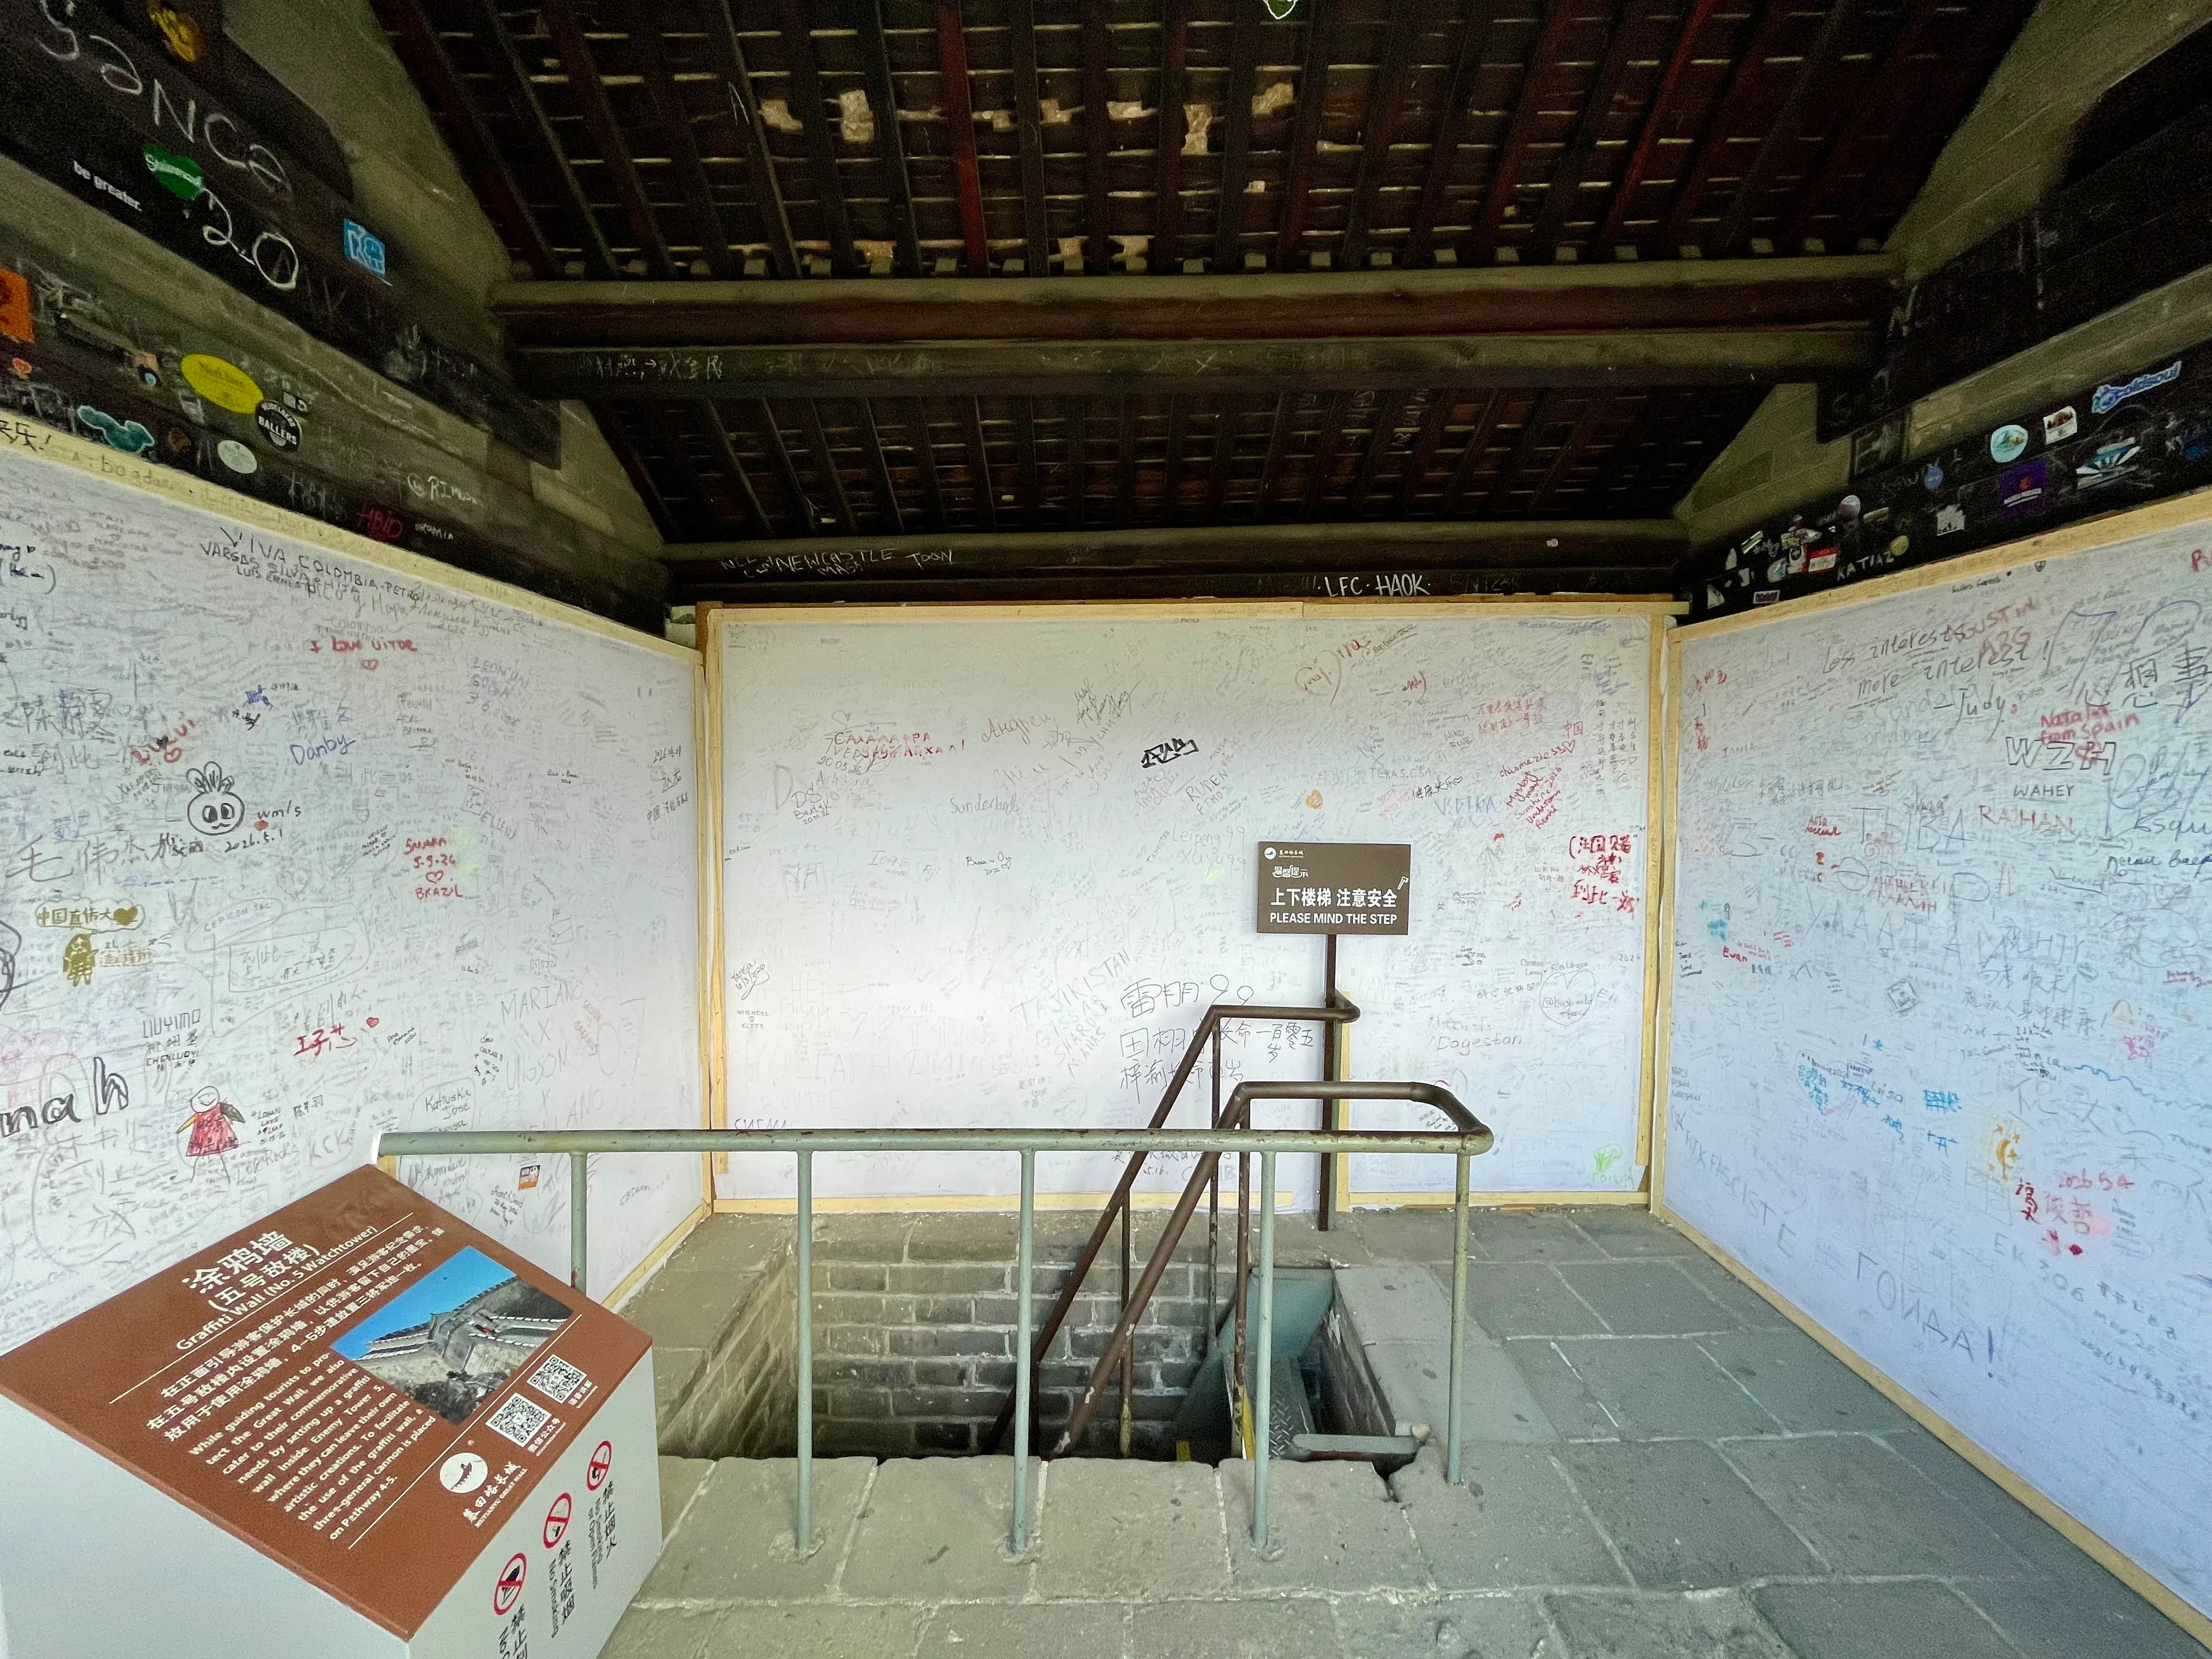 Click to enlarge
Tower 6 — East Route Access Point
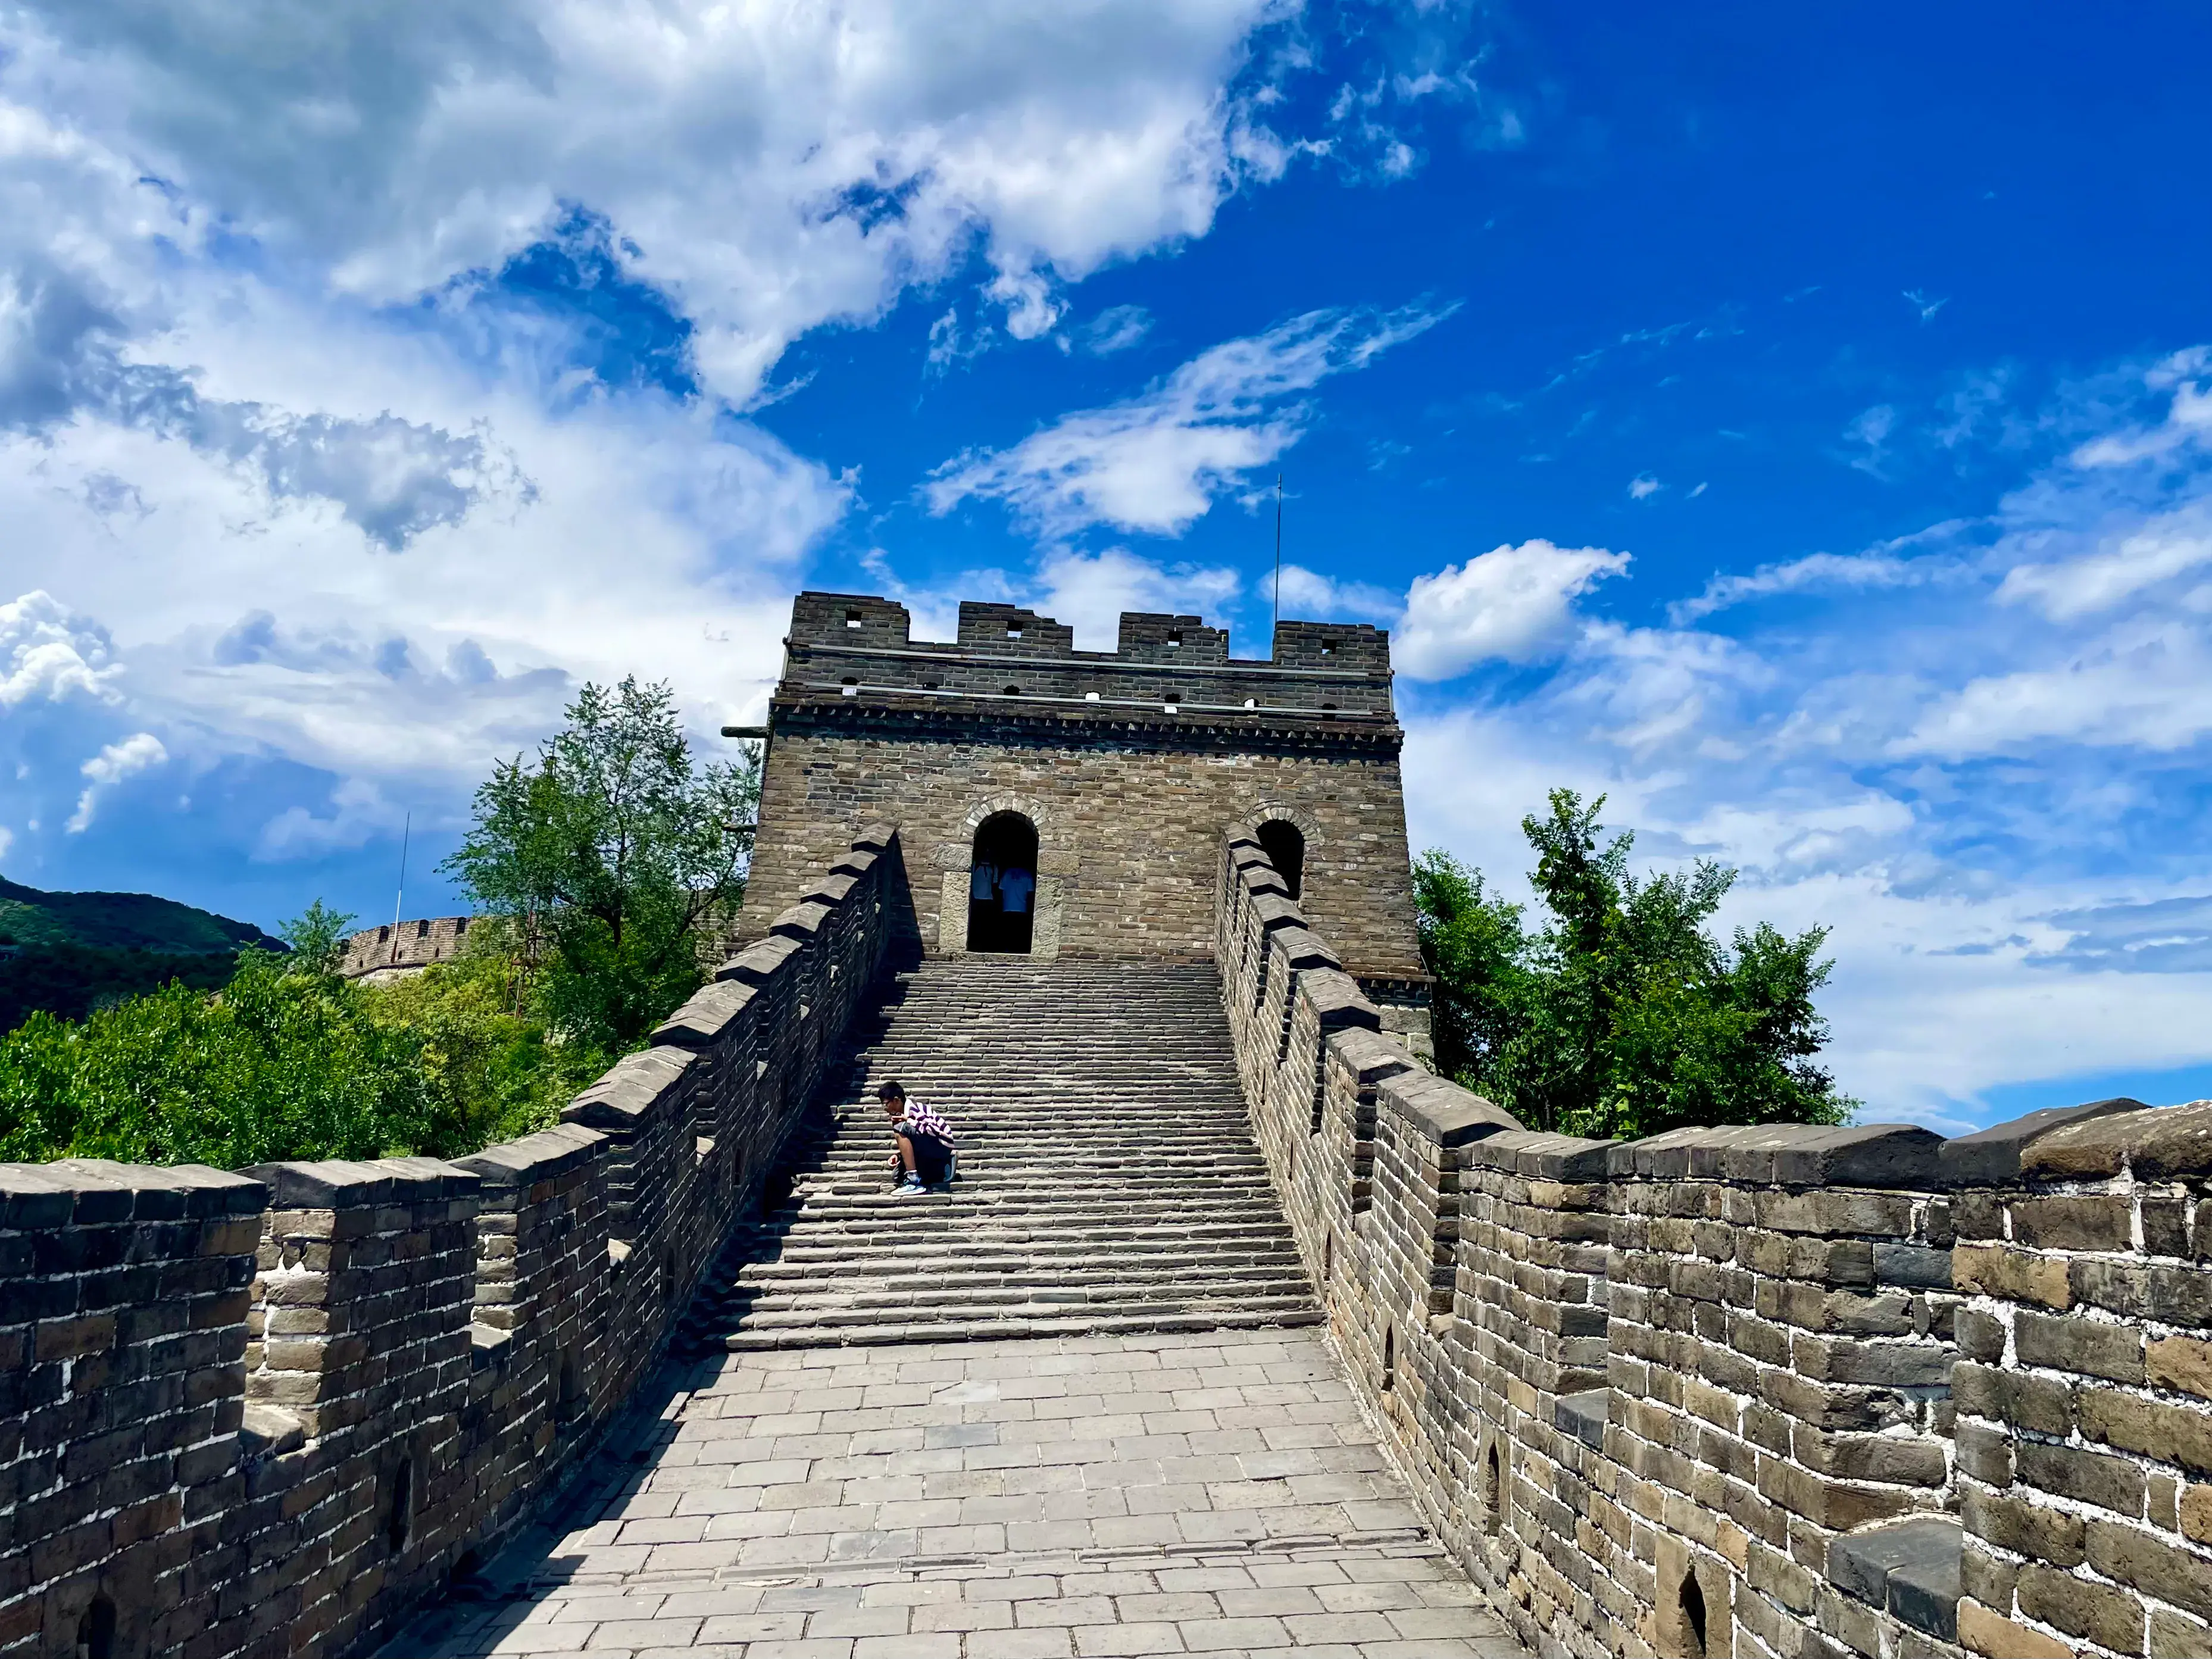
Exterior stairs ascending to Tower 6 on the east visitor route.
Tower 6 is the east-route access point: the open chairlift lands here and, when weather and operations allow, the toboggan descends from this side. Official notes describe a 回-shaped watchtower plan with skylight access. Build east-side loops around Tower 6 rather than treating it as a through-point to the west cable car without a long walk. This photograph shows the tower exterior and stairs — not the chairlift or toboggan hardware itself.
Middle Mutianyu Watchtowers: Towers 7–13
The middle zone connects the east chairlift/toboggan system at Tower 6 with the west cable-car system at Tower 14. Expect fewer toilets and food outlets than the ride hubs — carry water. Tower 10 (Glass Steps) and Tower 11 (Outer Branch Wall area) are the signature architecture stops on this connector.
Tower 7
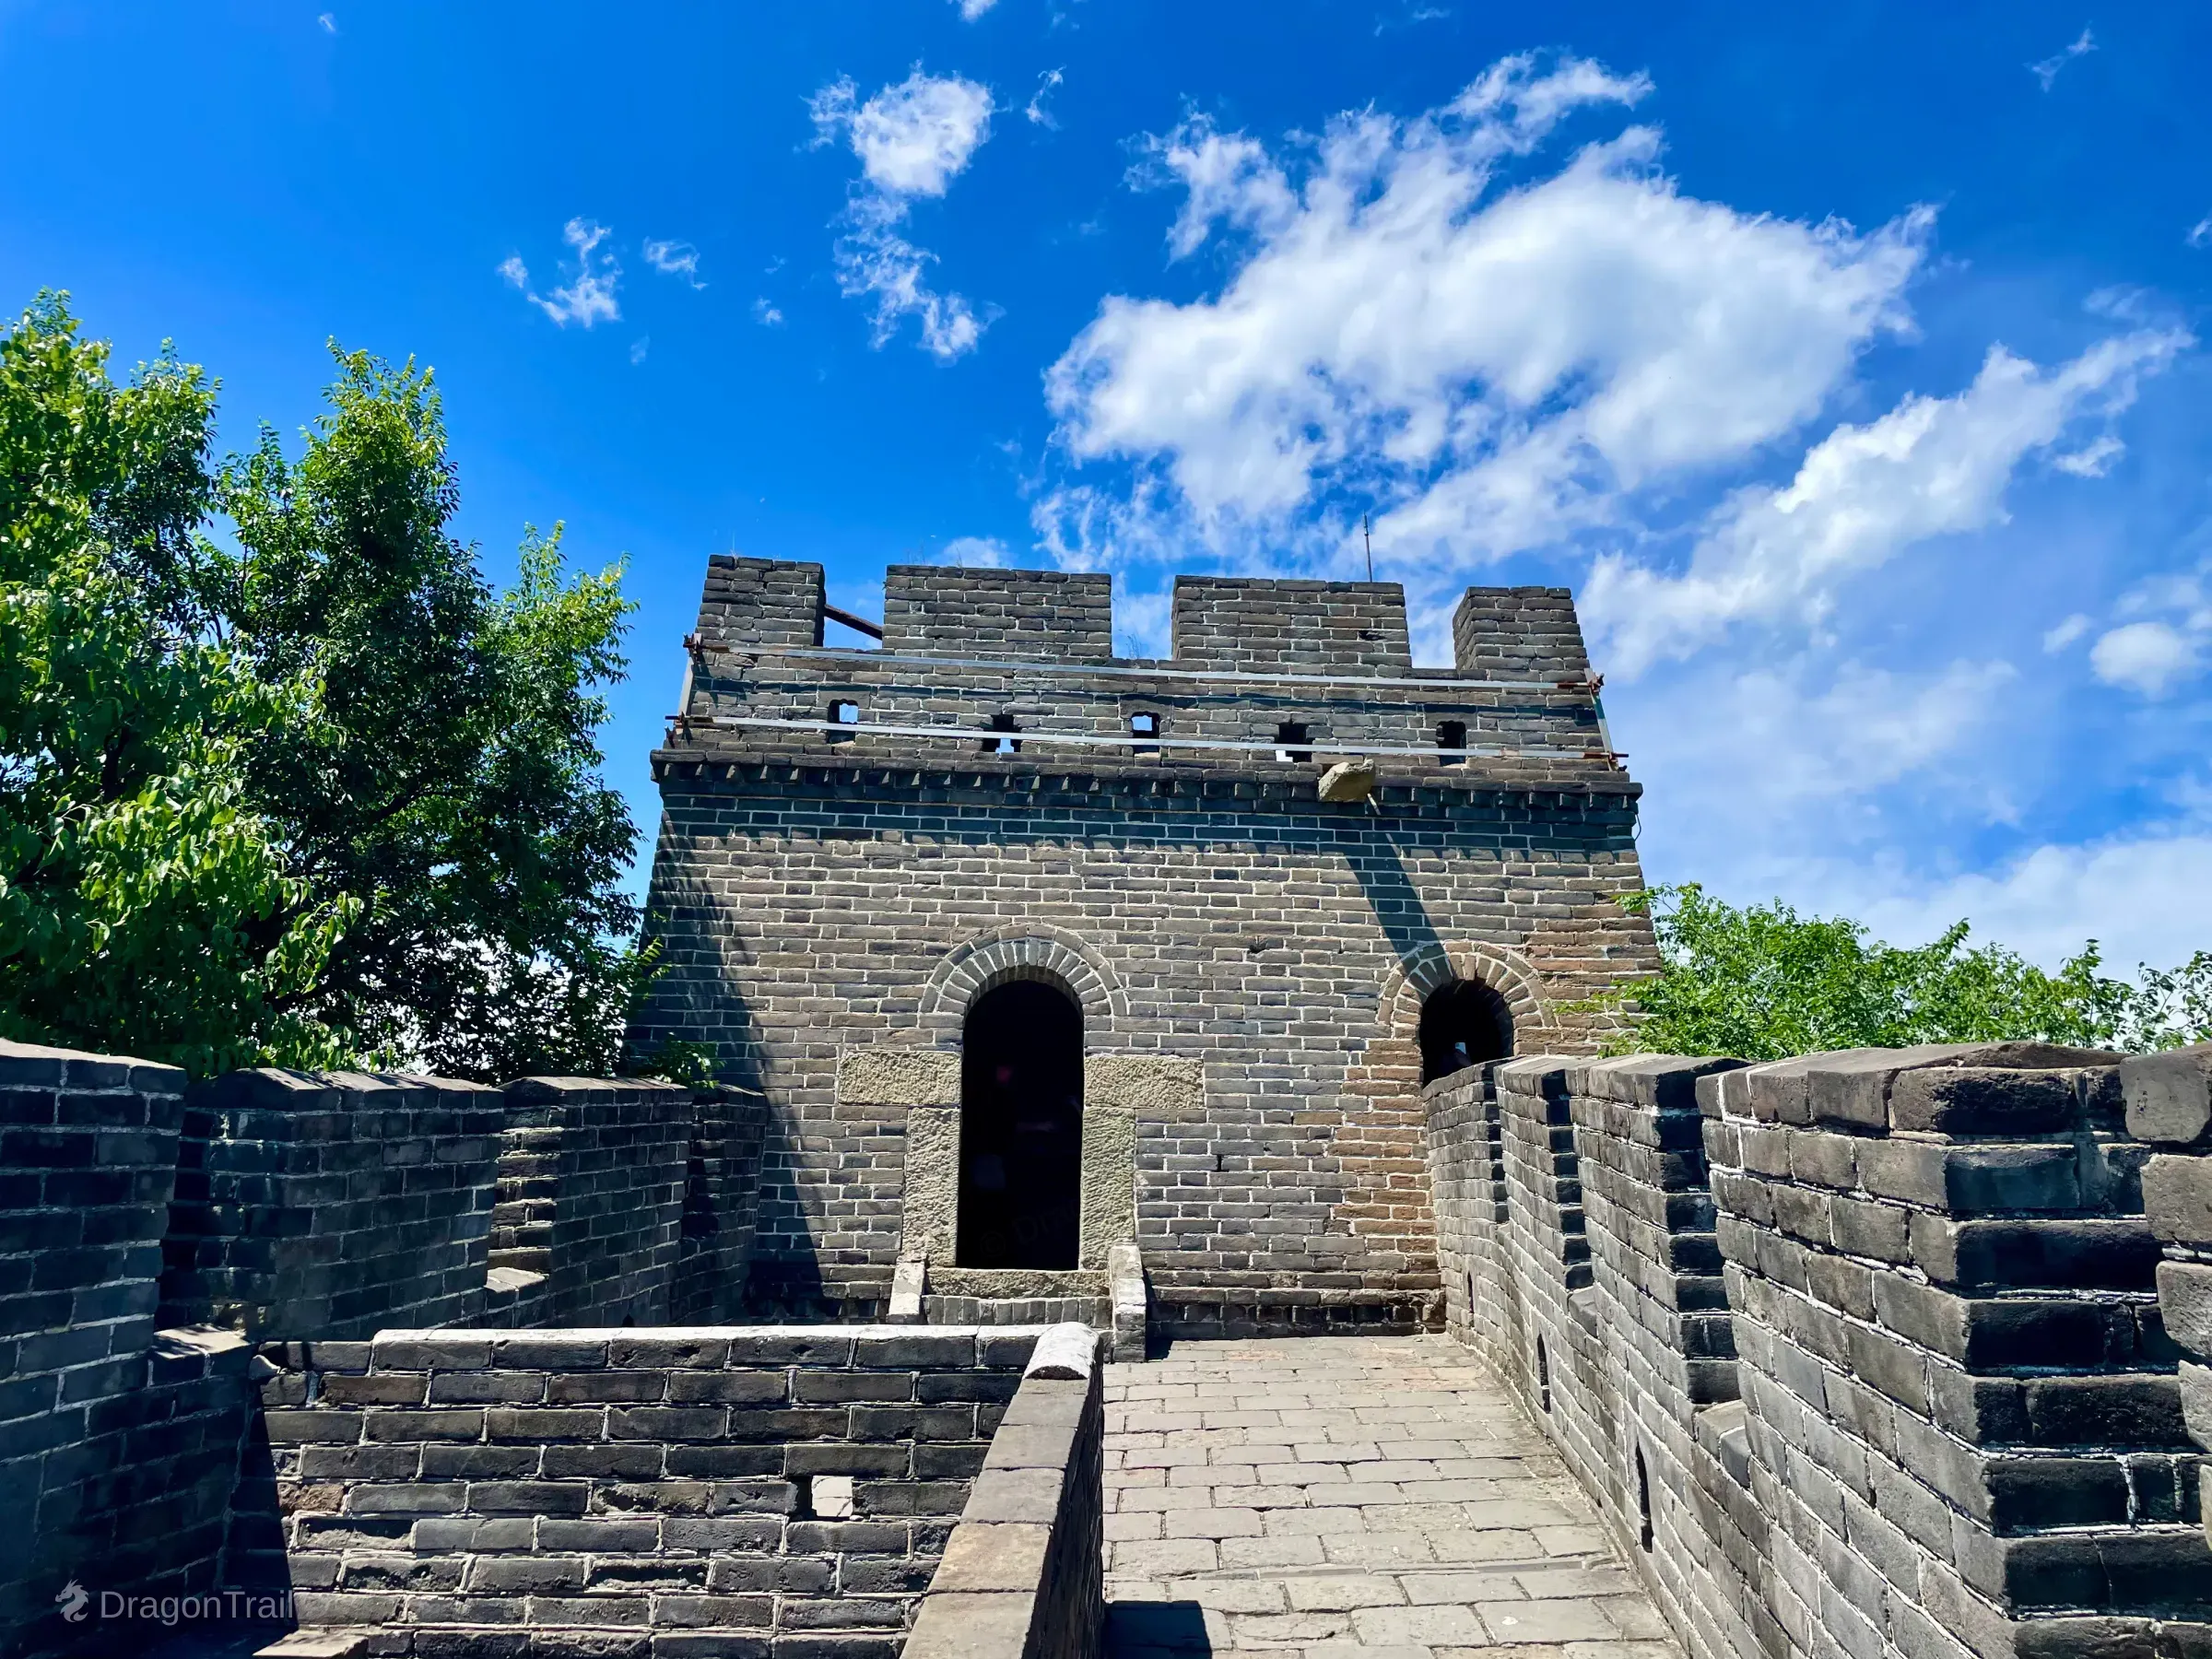
Tower 7 facade with twin walkway arches.
Tower 7 is a 回-shaped watchtower with a stacked interior arch and a west-side wicket gate in official site notes. A horse-face bastion sits between Towers 6 and 7.
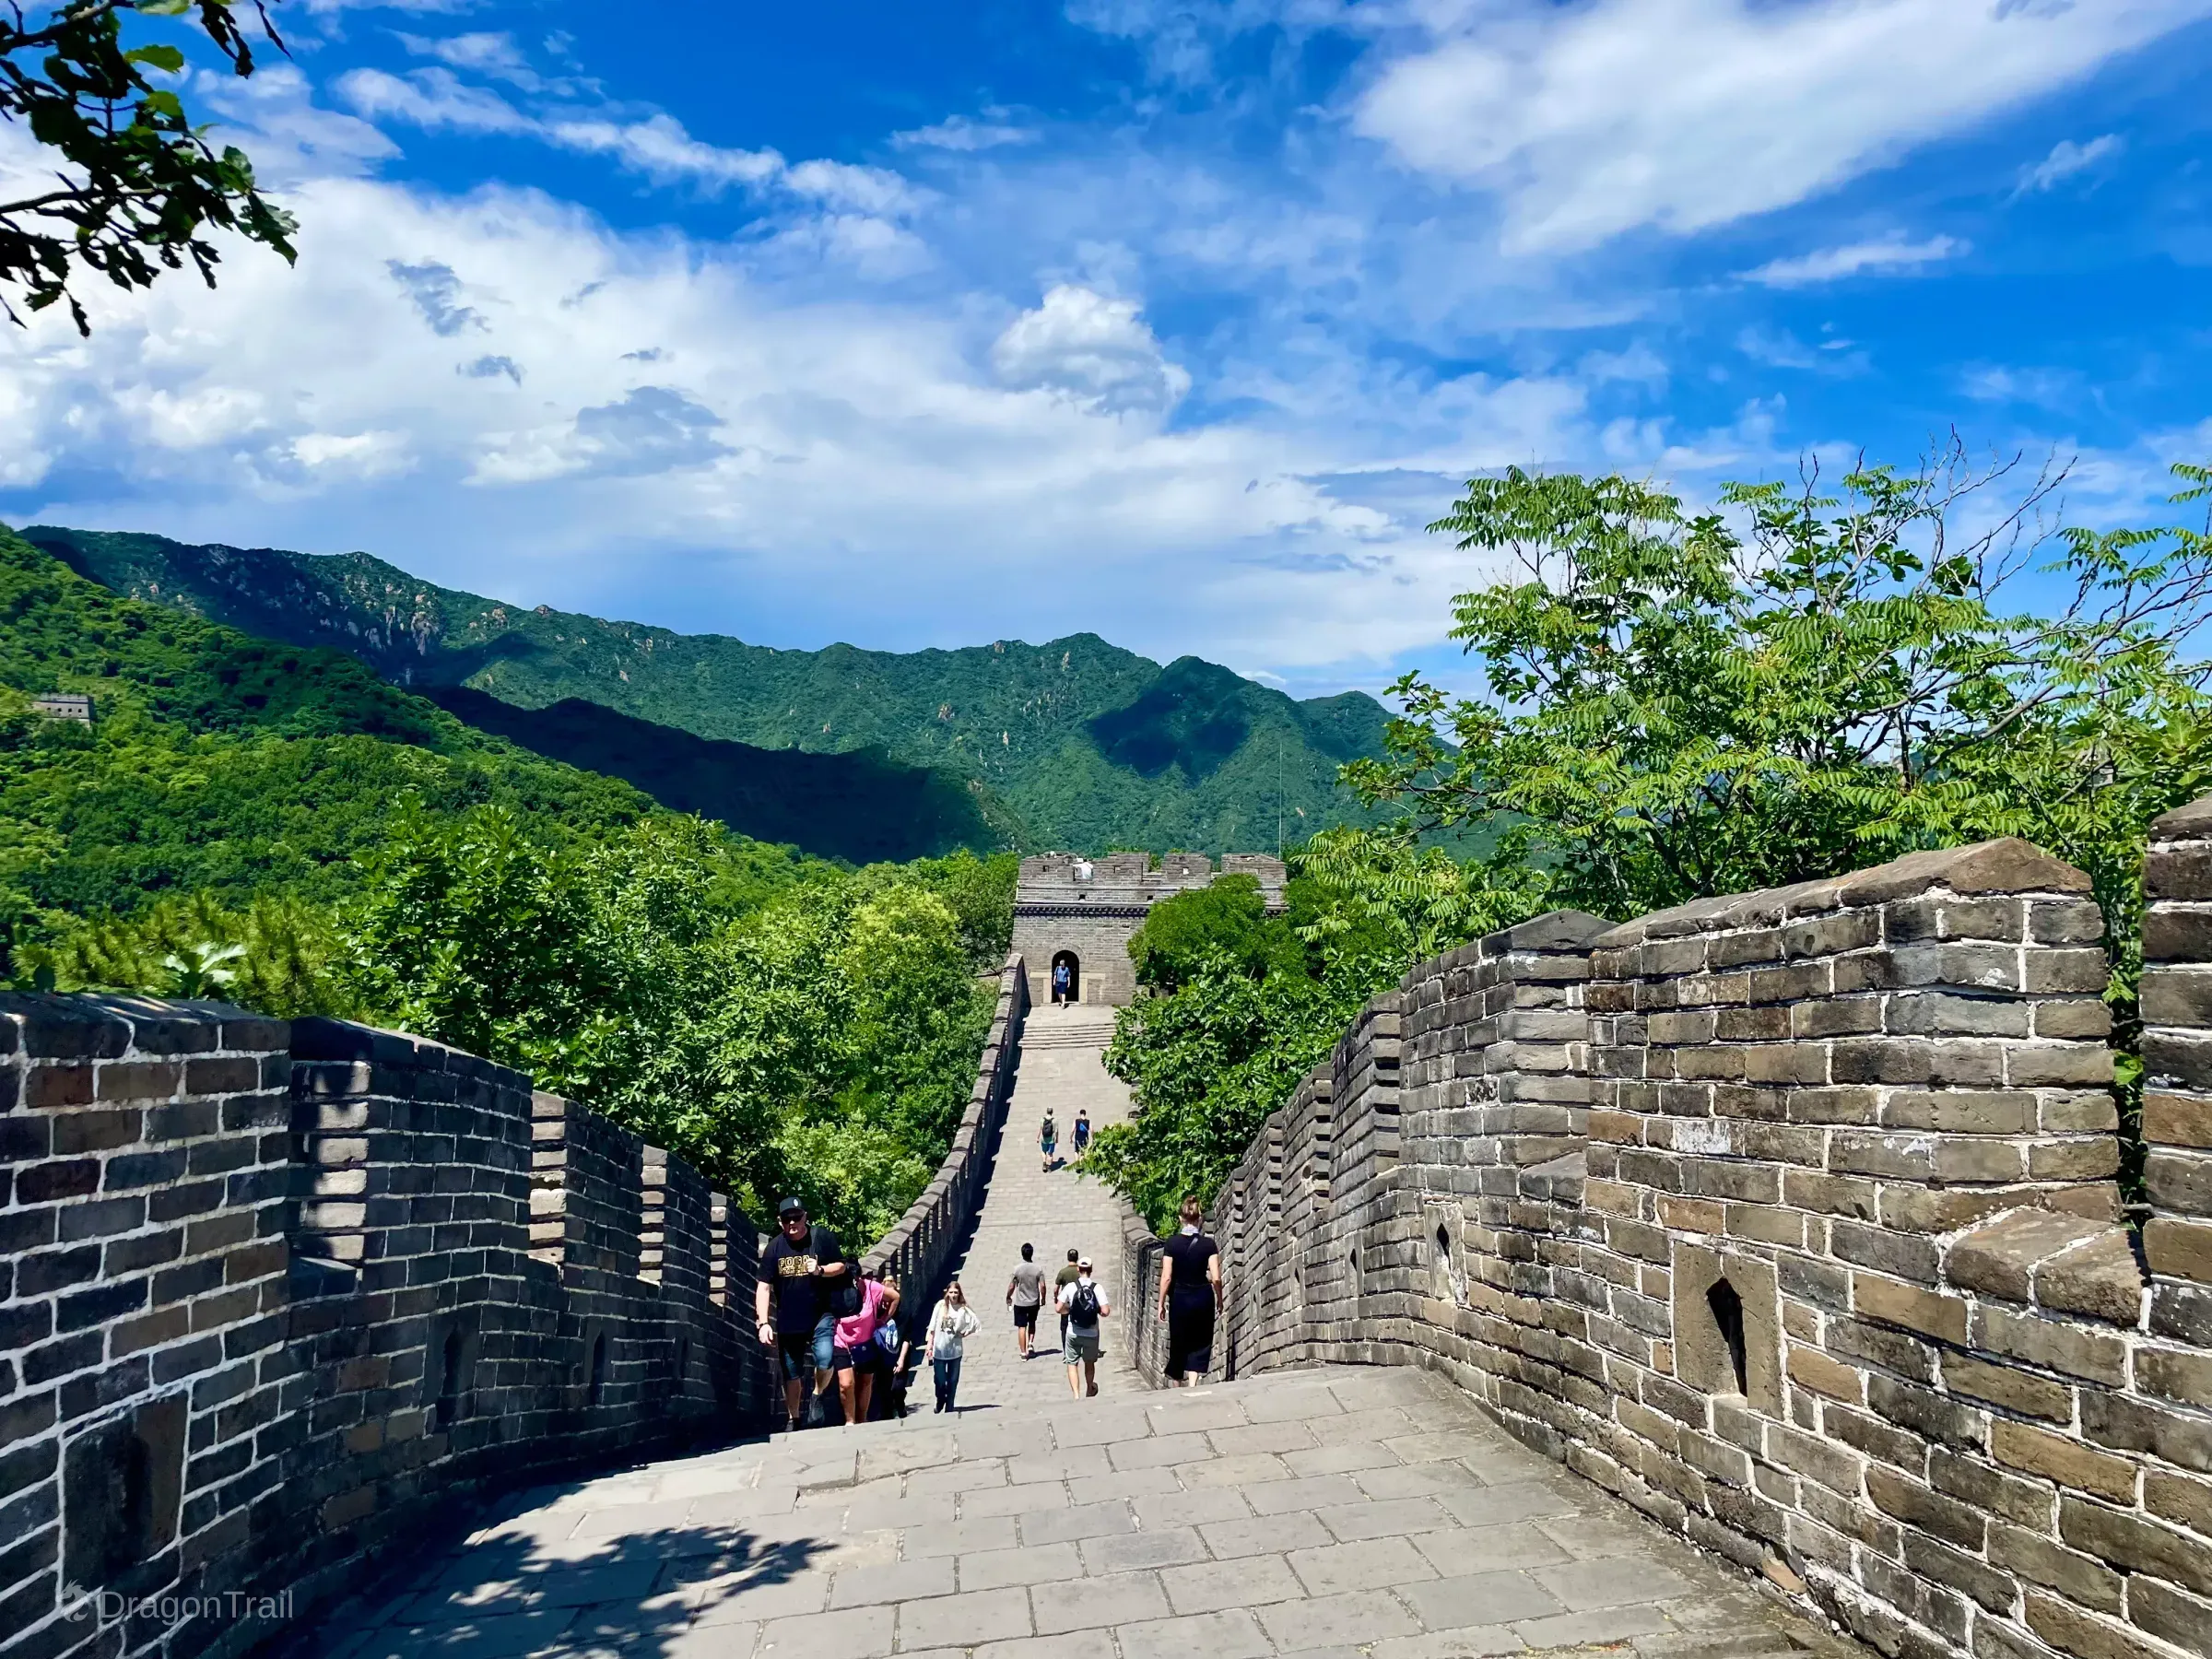
Tower 8 — Vaulted Interior
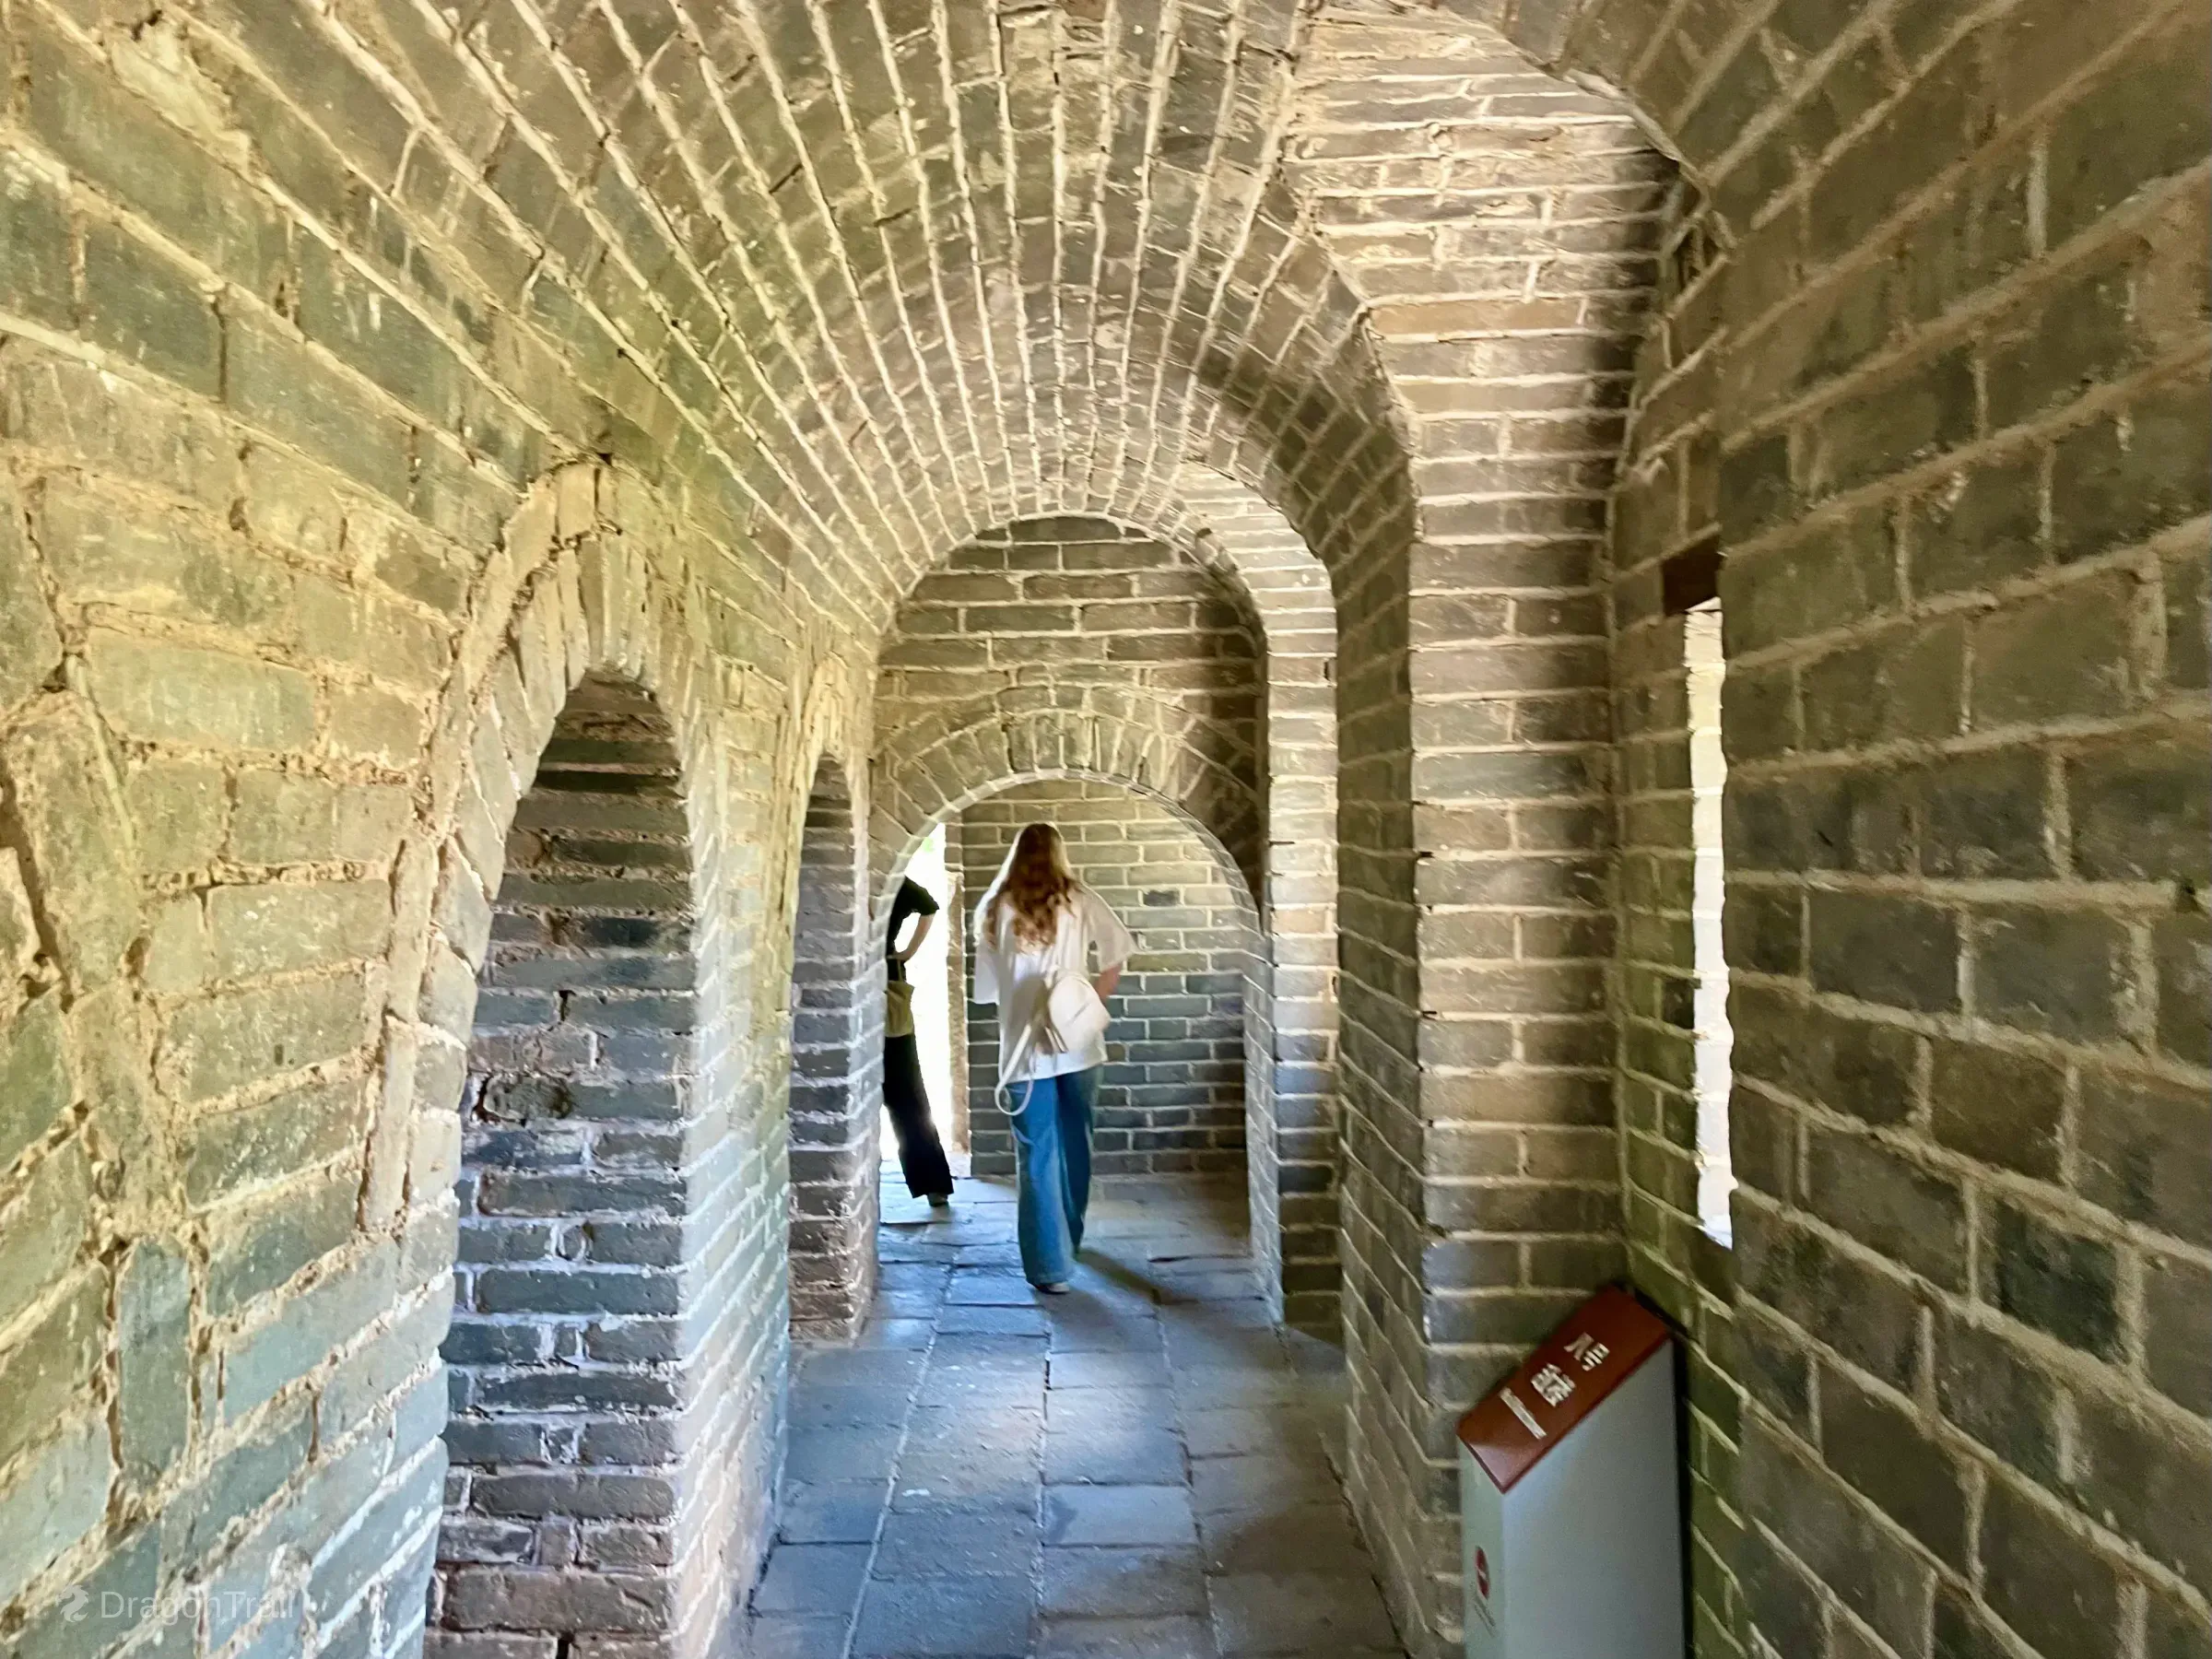
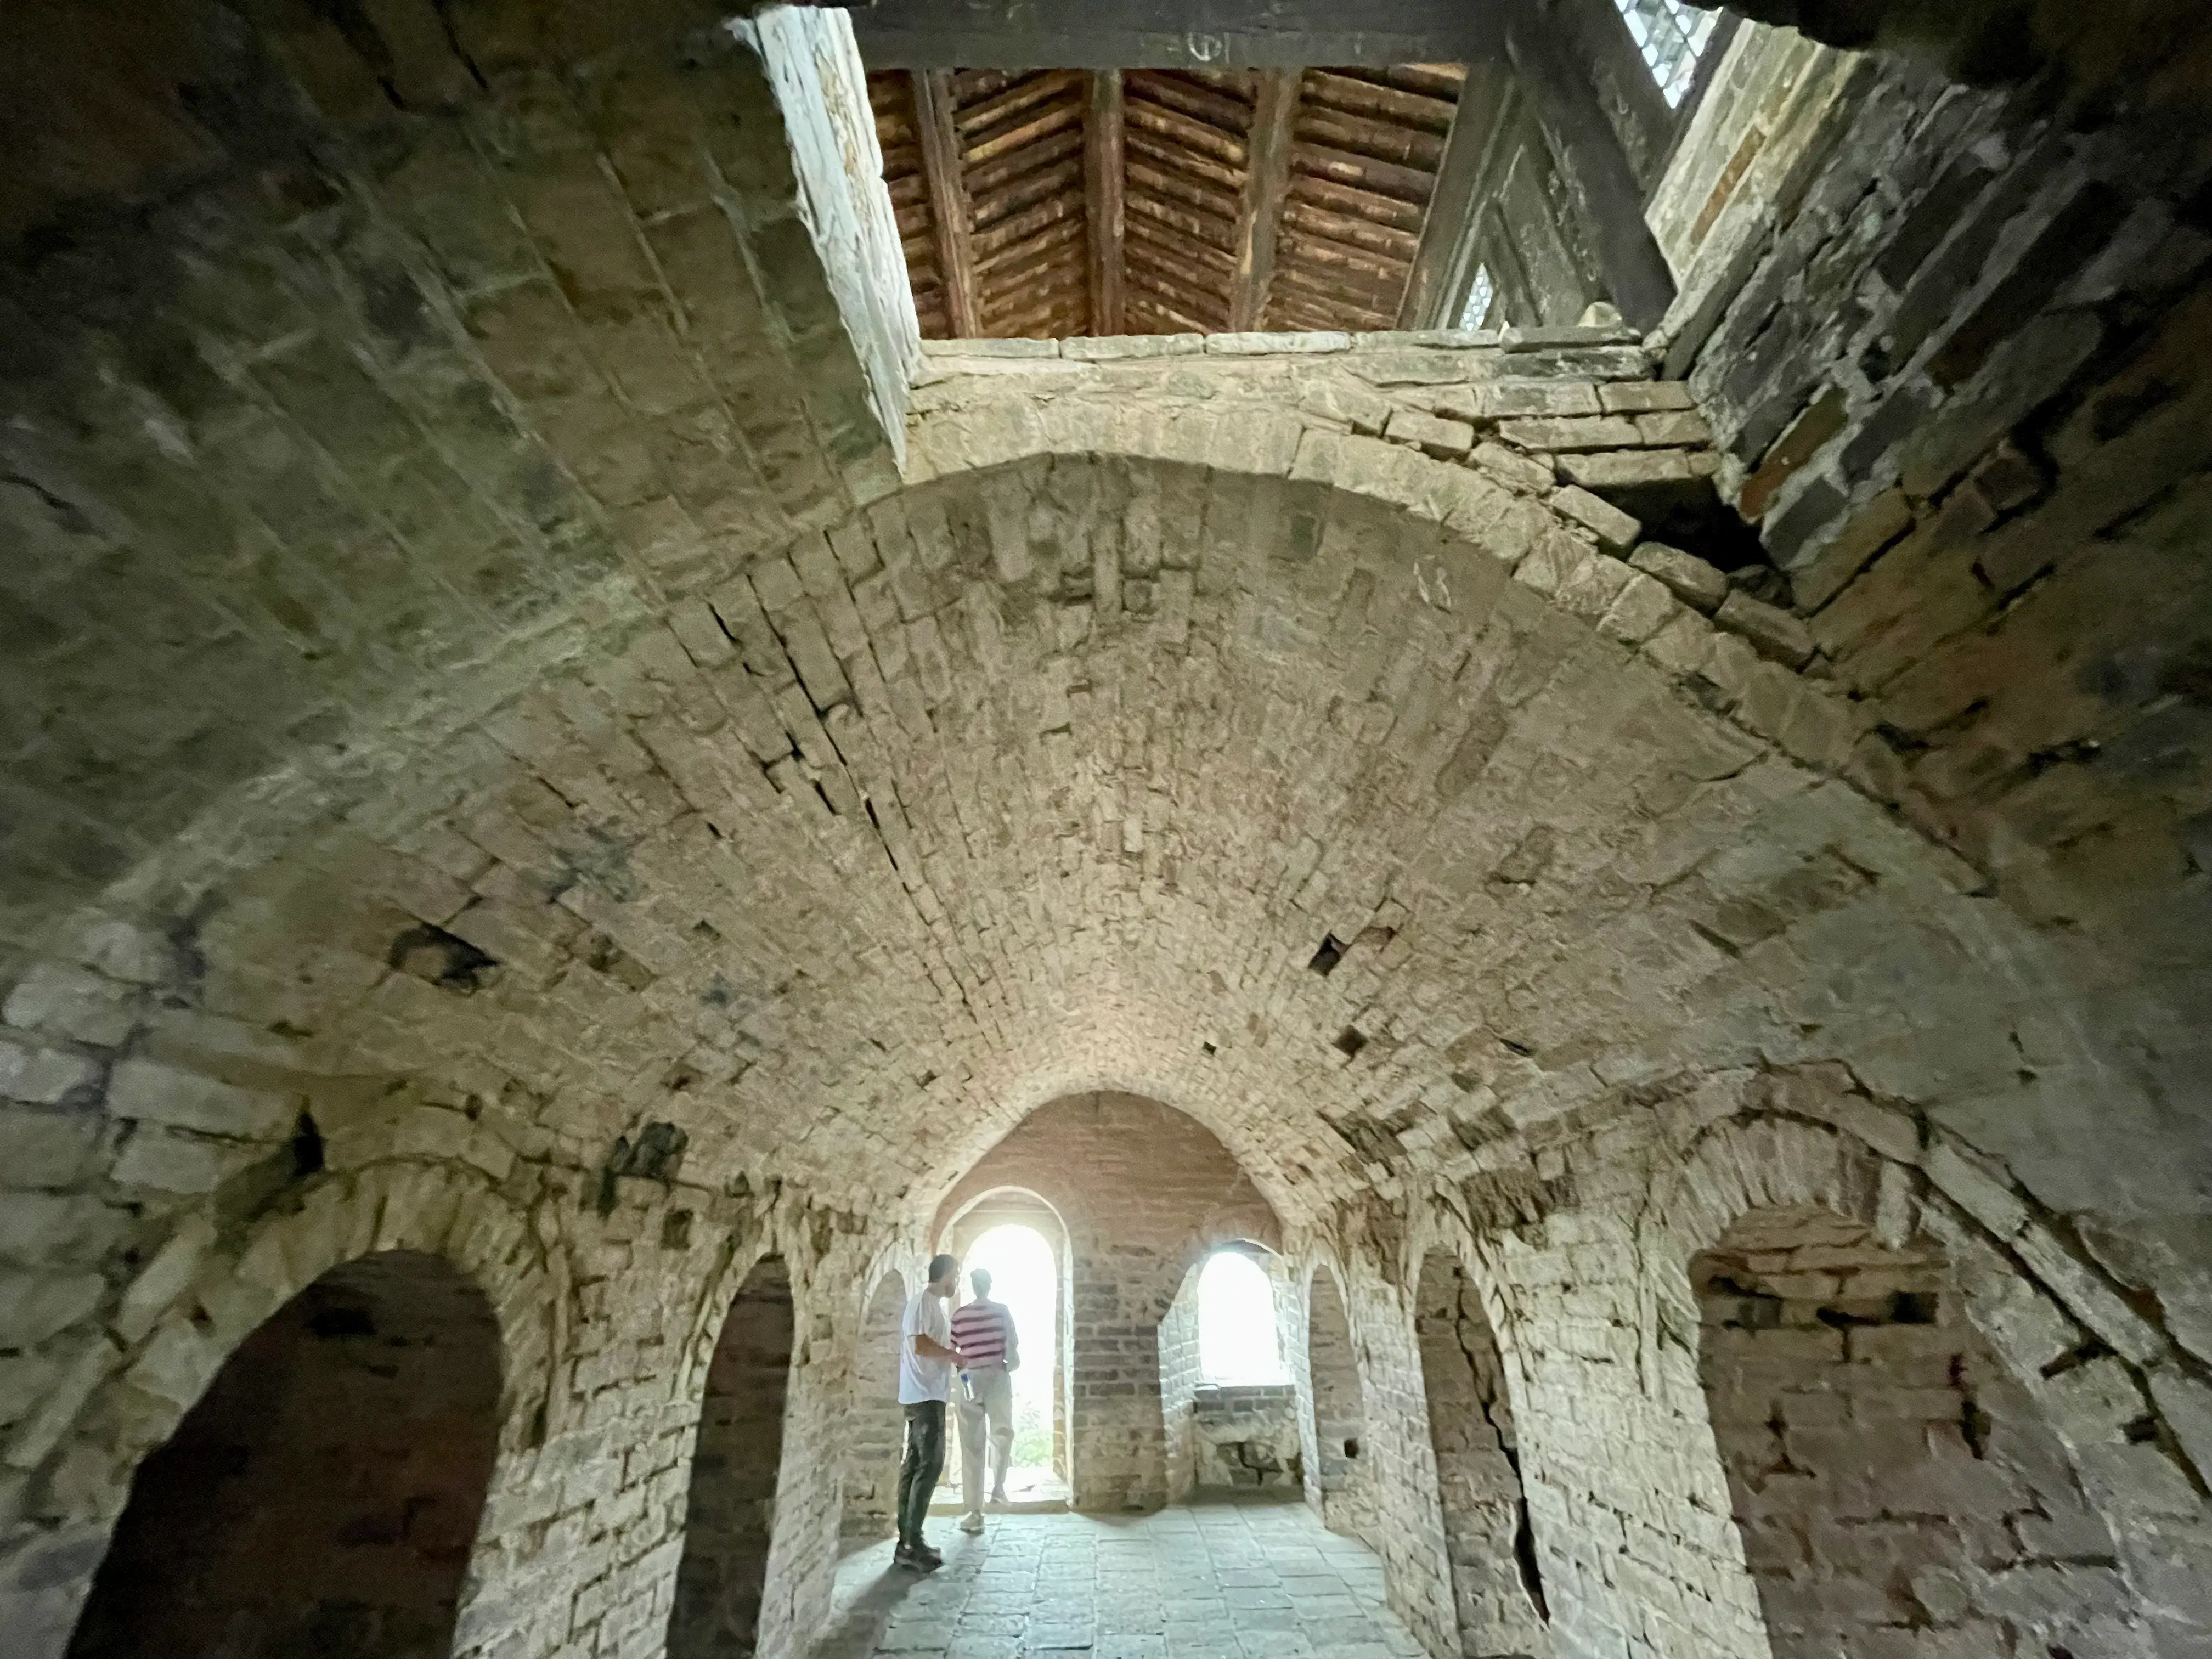
Vaulted interior corridor inside Tower 8.
Tower 8's interior uses arched-channel chambers; official text notes summit access through a central skylight with a wooden ladder. A down-passage wicket gate sits about five metres east of the tower.
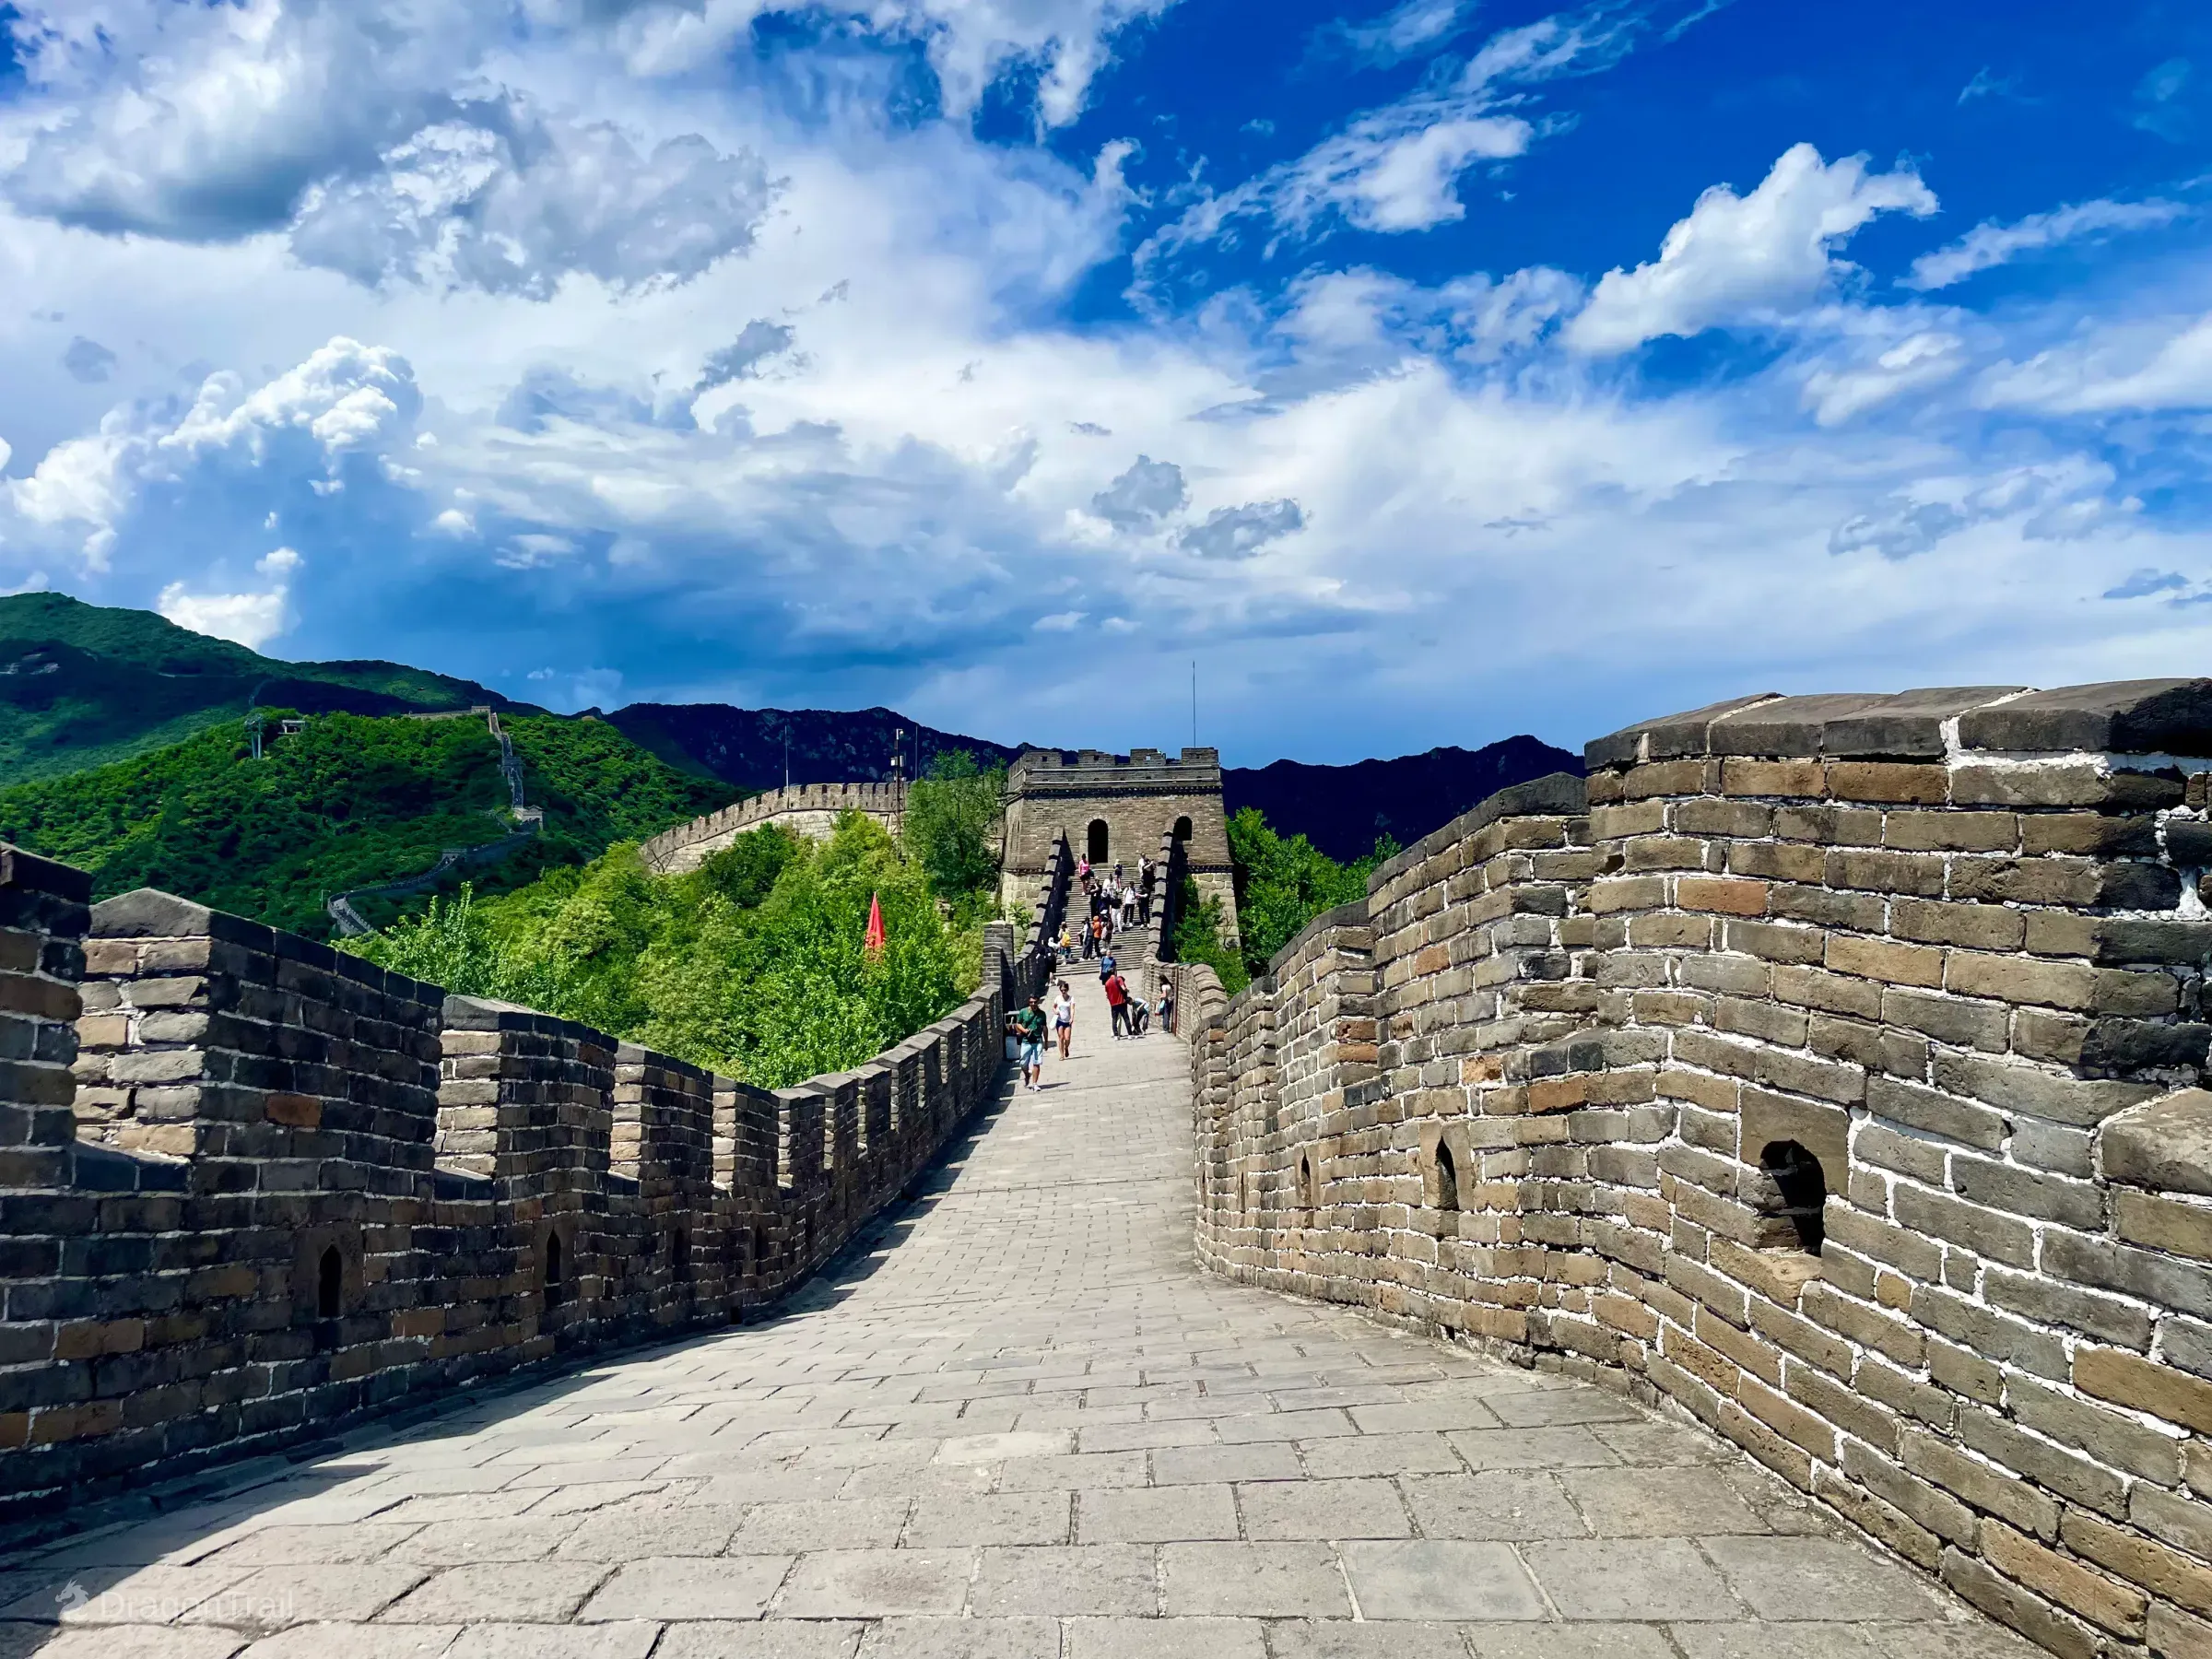
Tower 9 — Steep Ridge Approach
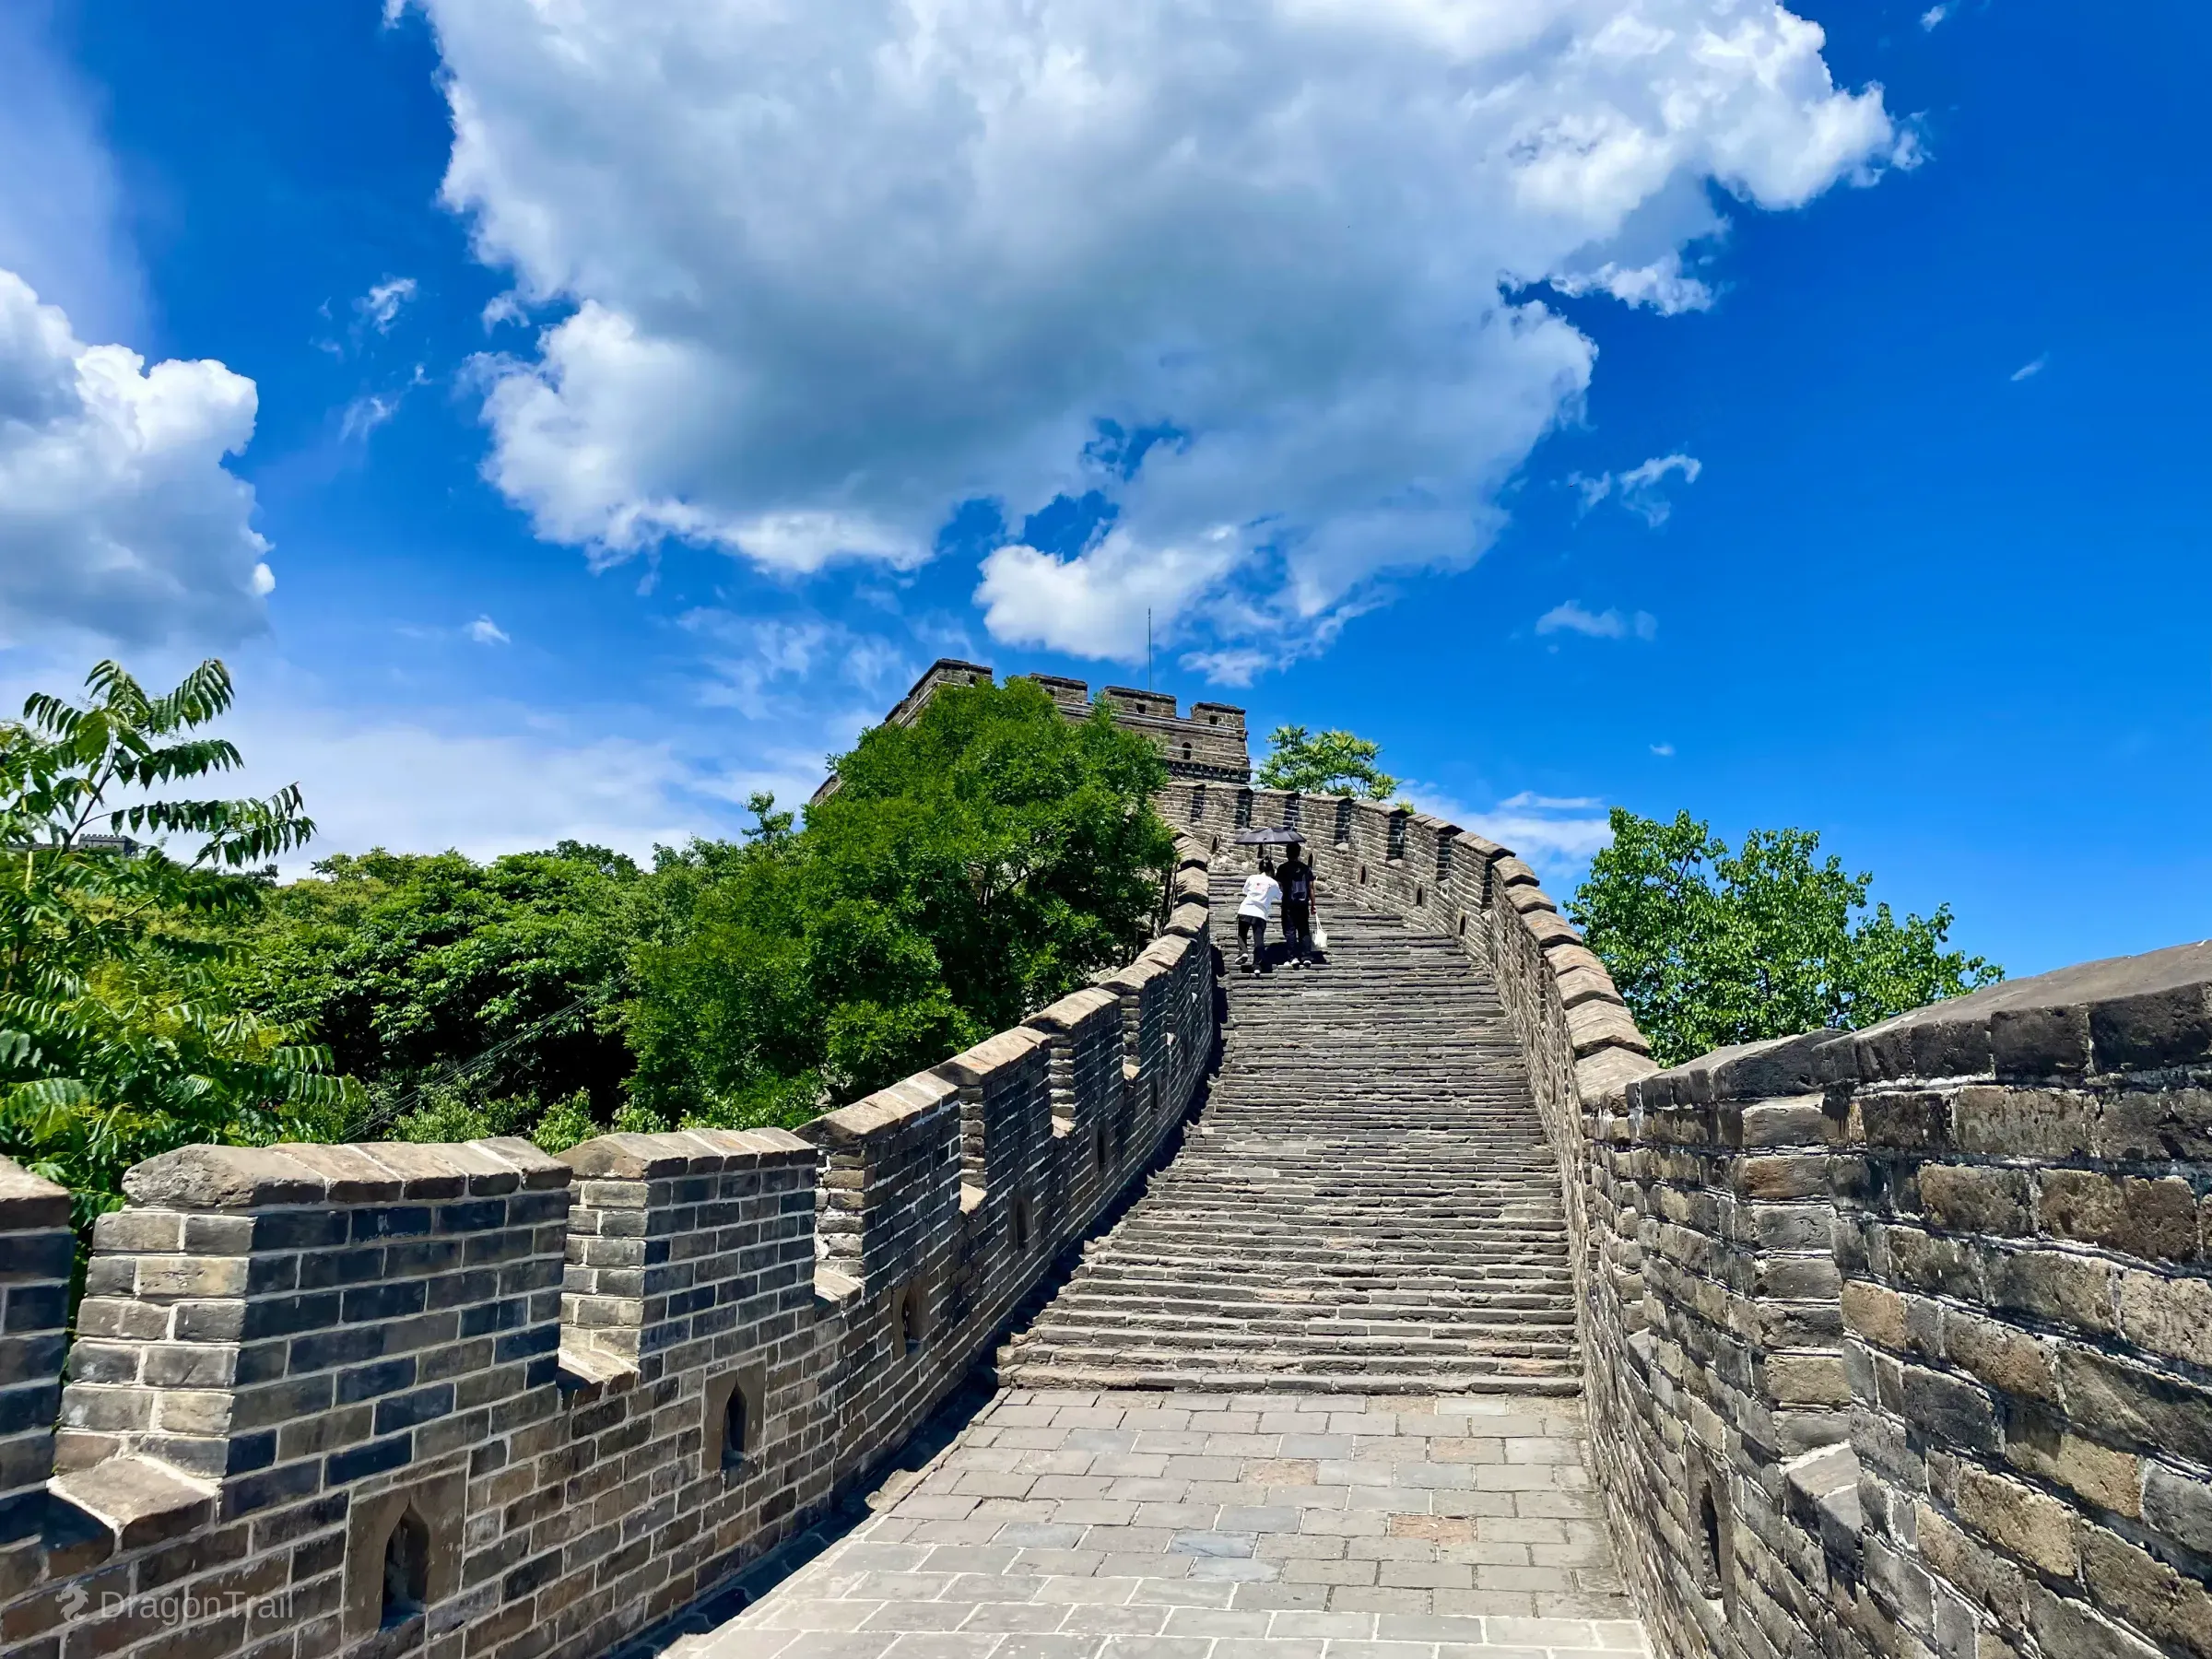
Steep stair approach to Tower 9 on the middle ridge.
Tower 9 sits on a high ridge point with a 回/品-shaped plan in official notes and summit access via two central skylights. A displayed general cannon sits on the battlements along this stretch.
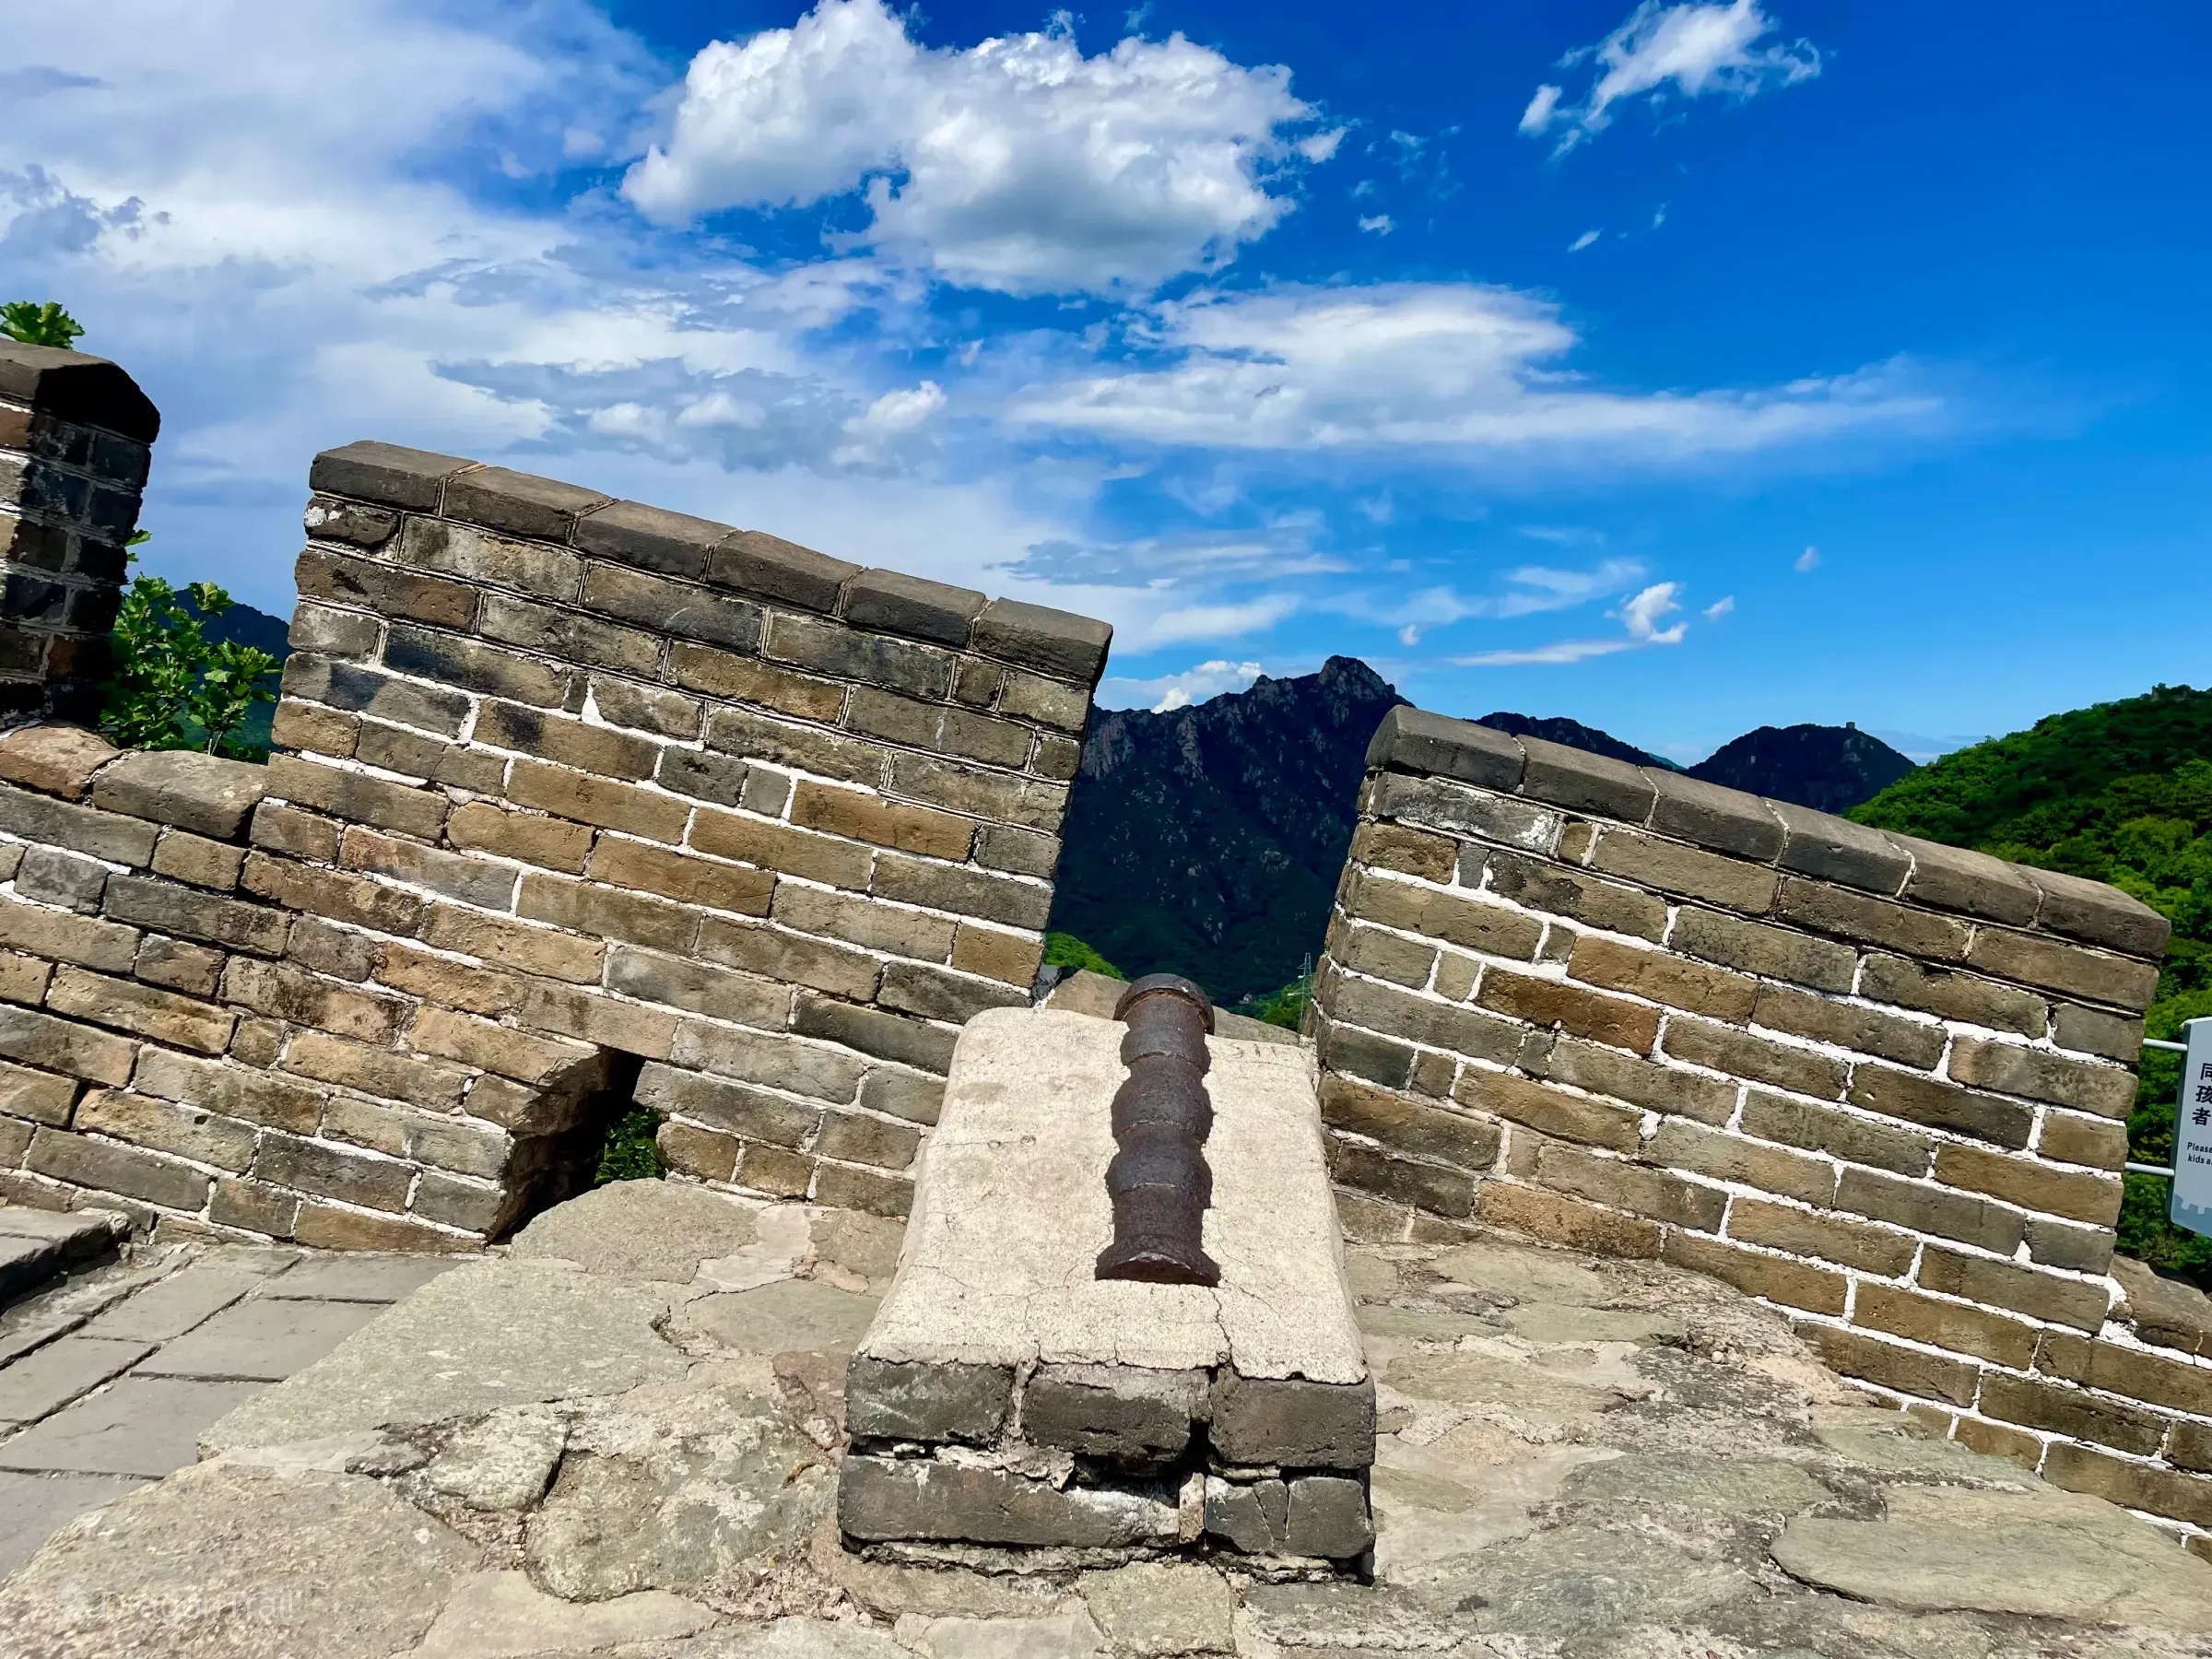
Tower 10 — Glass Steps Area
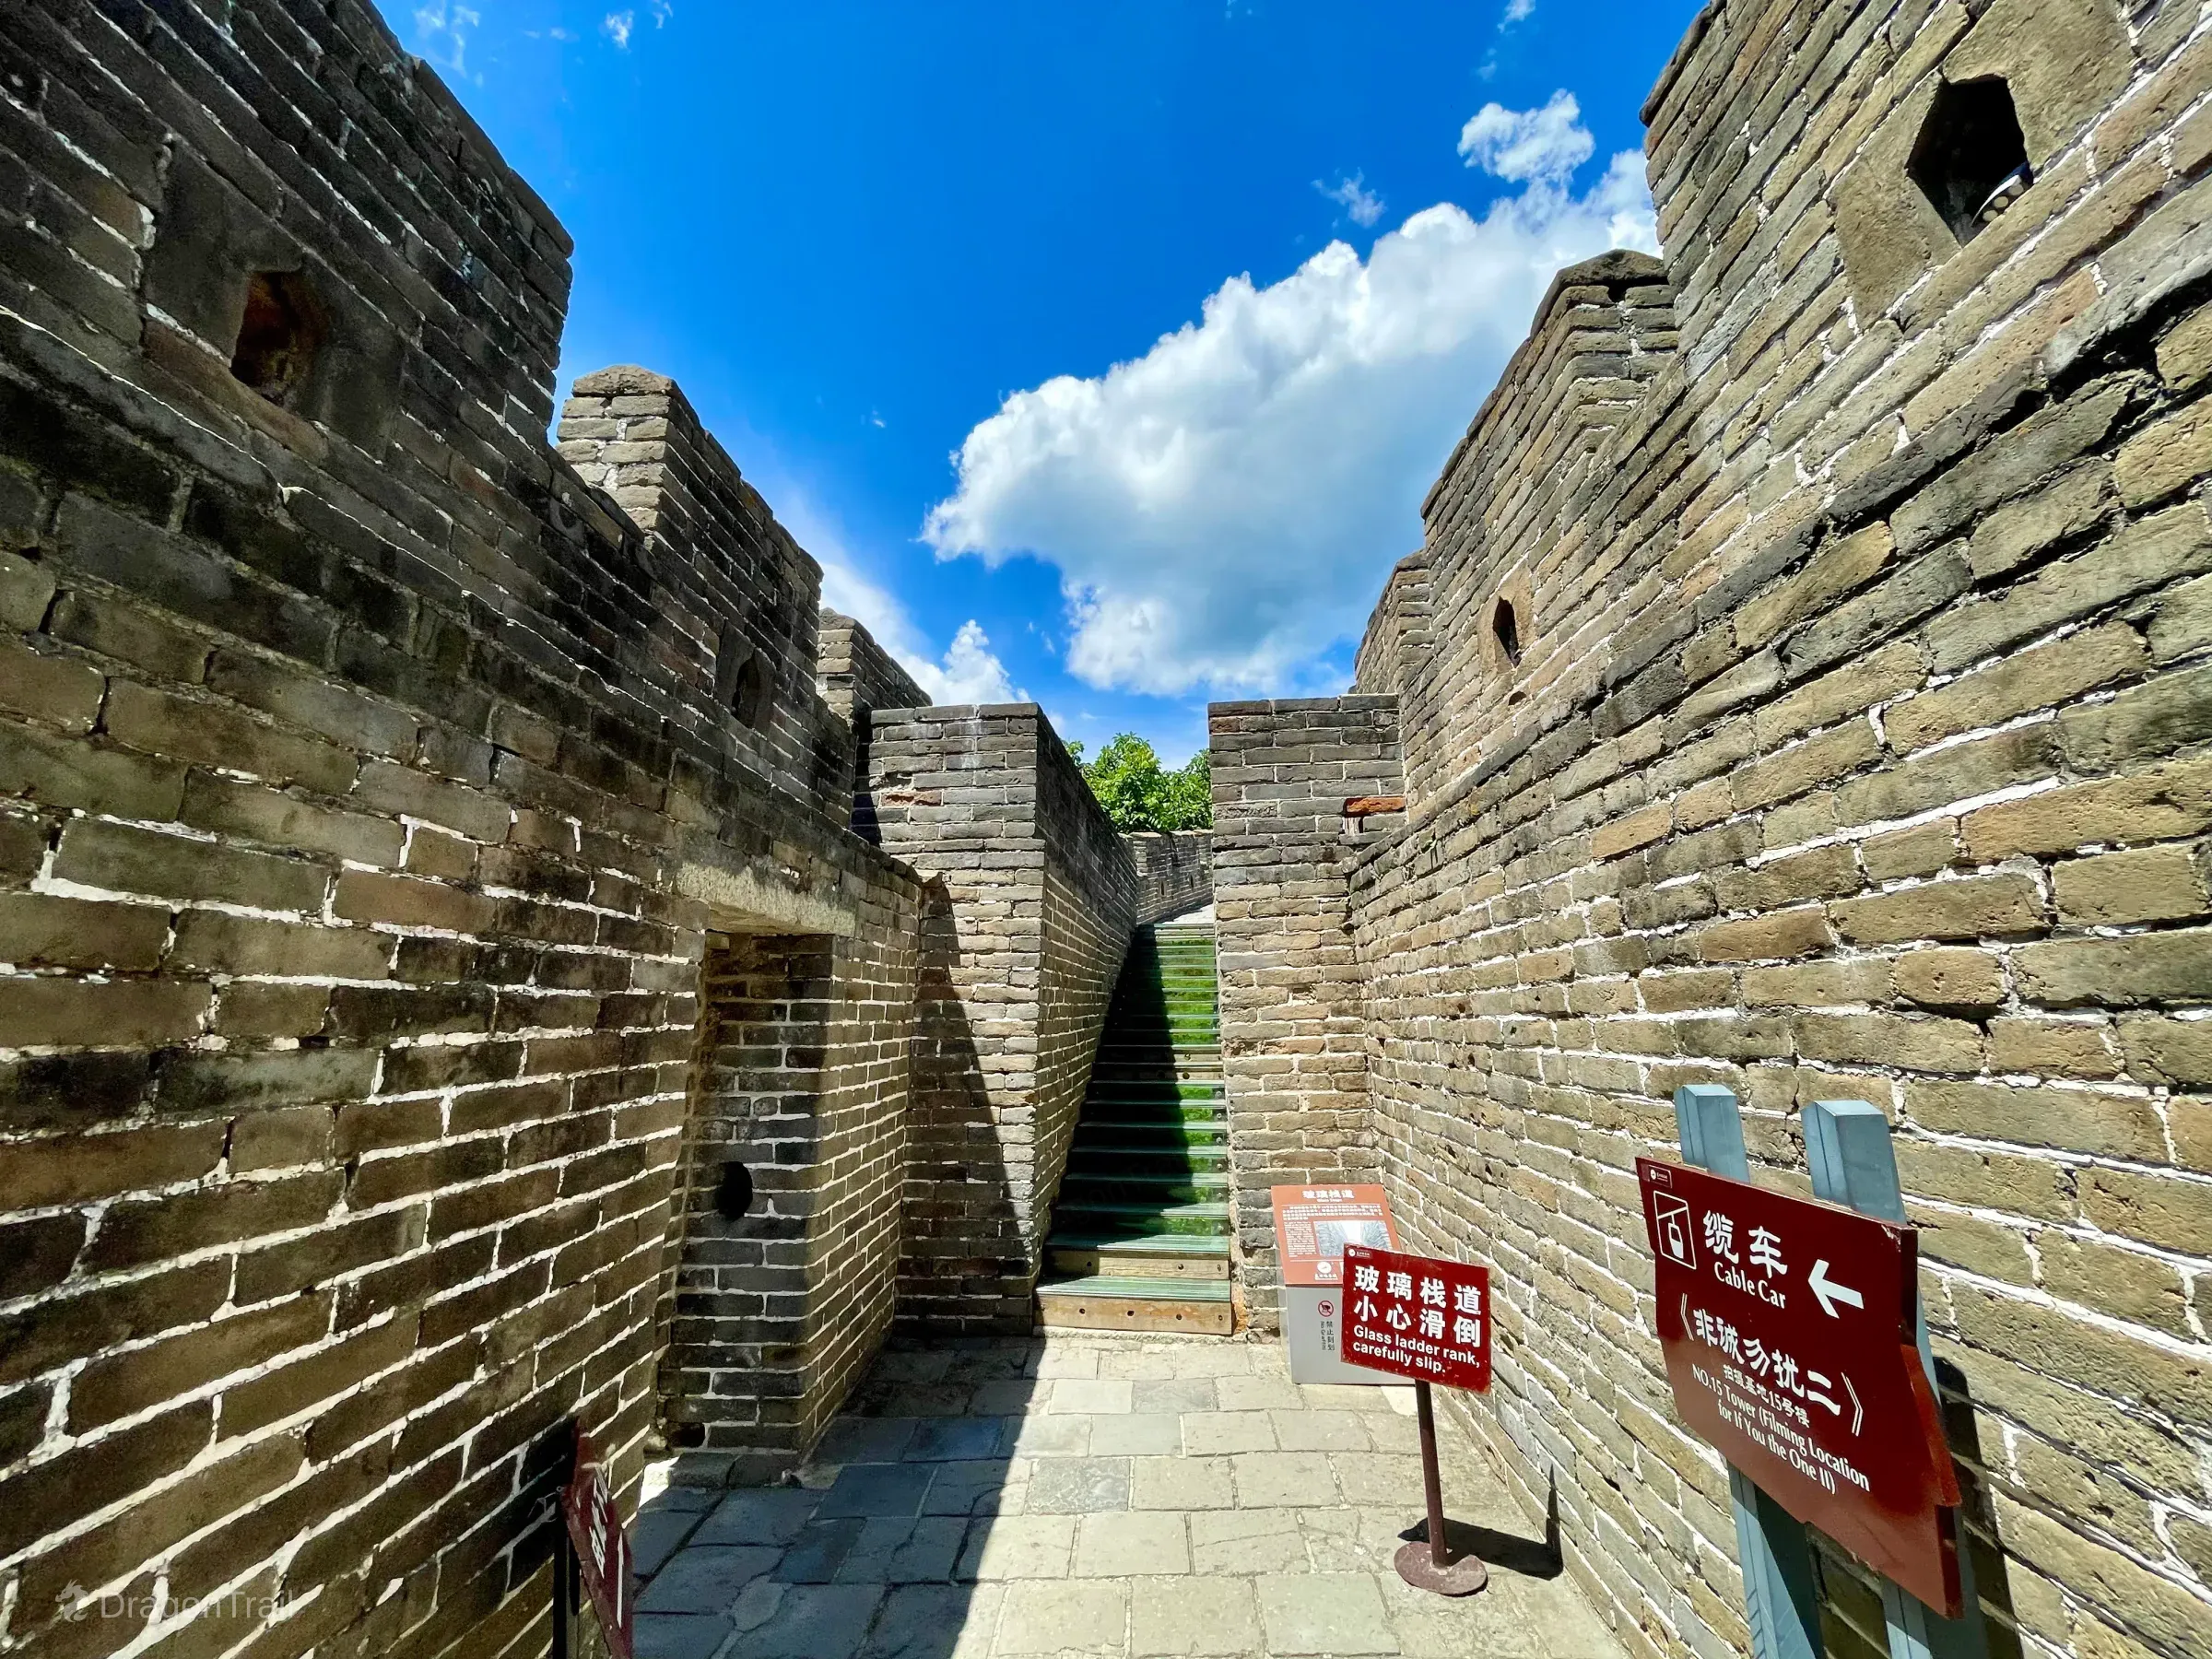
Glass ladder passage and on-site signs near Tower 10.
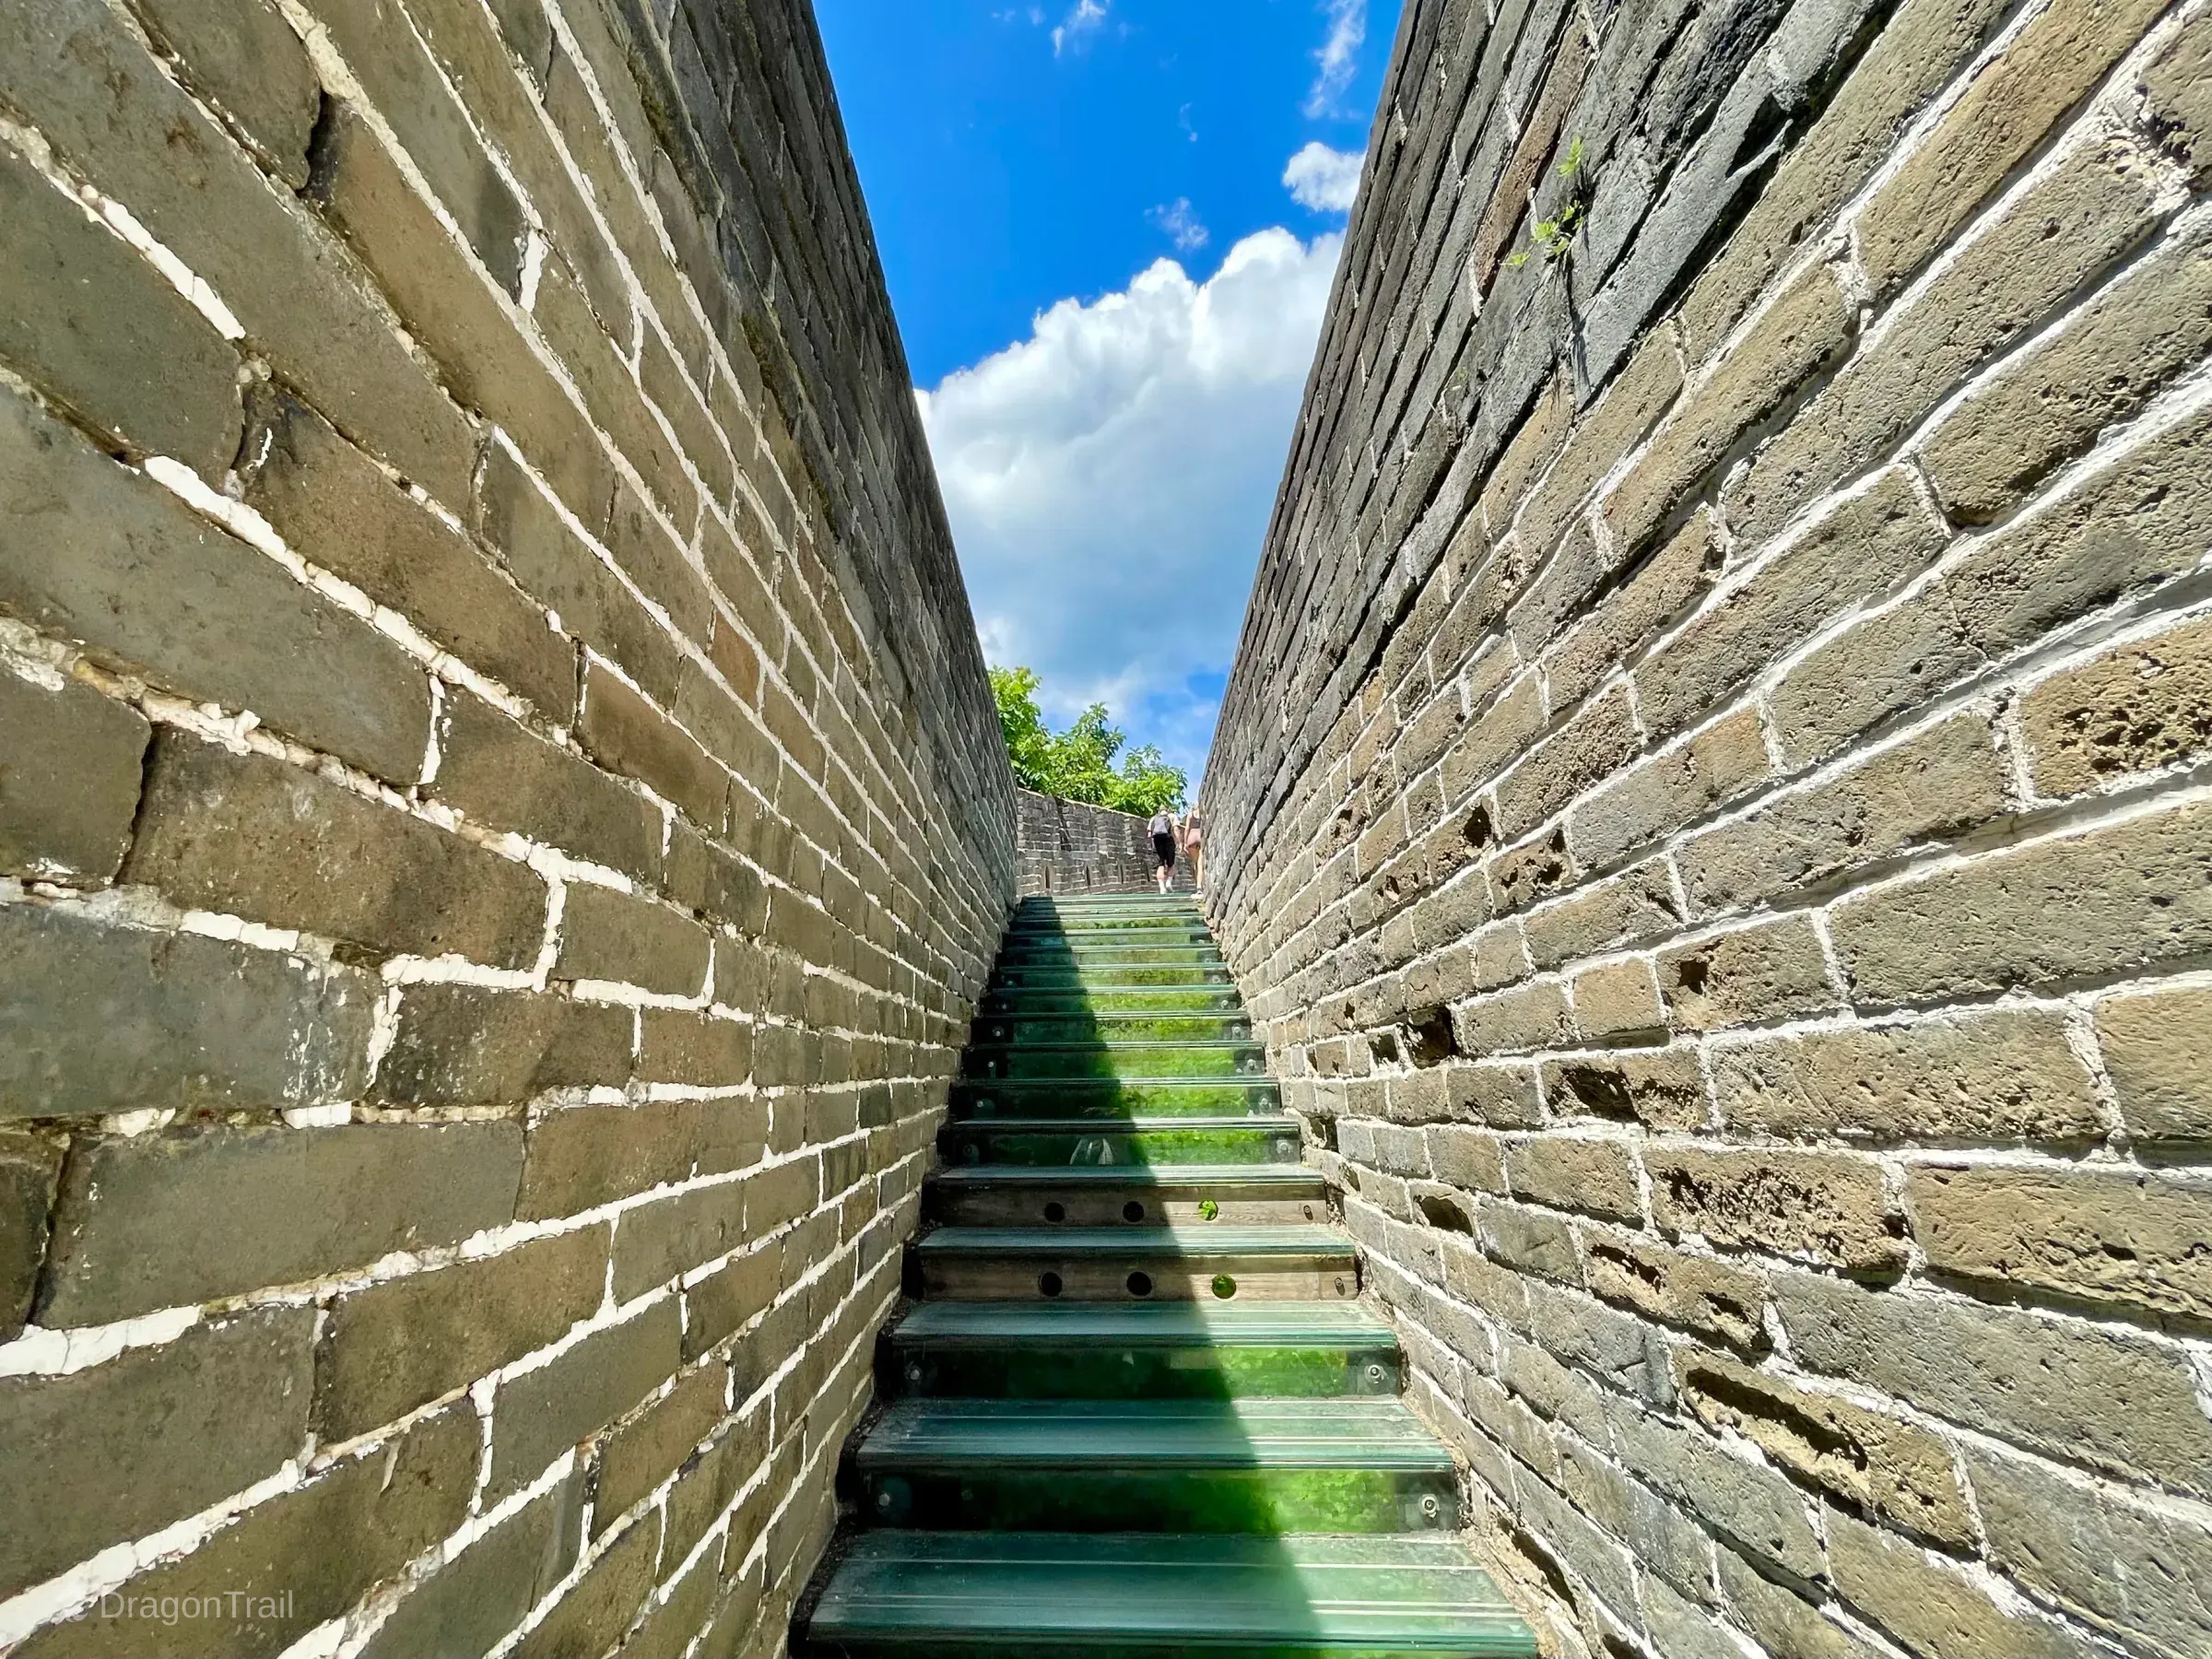
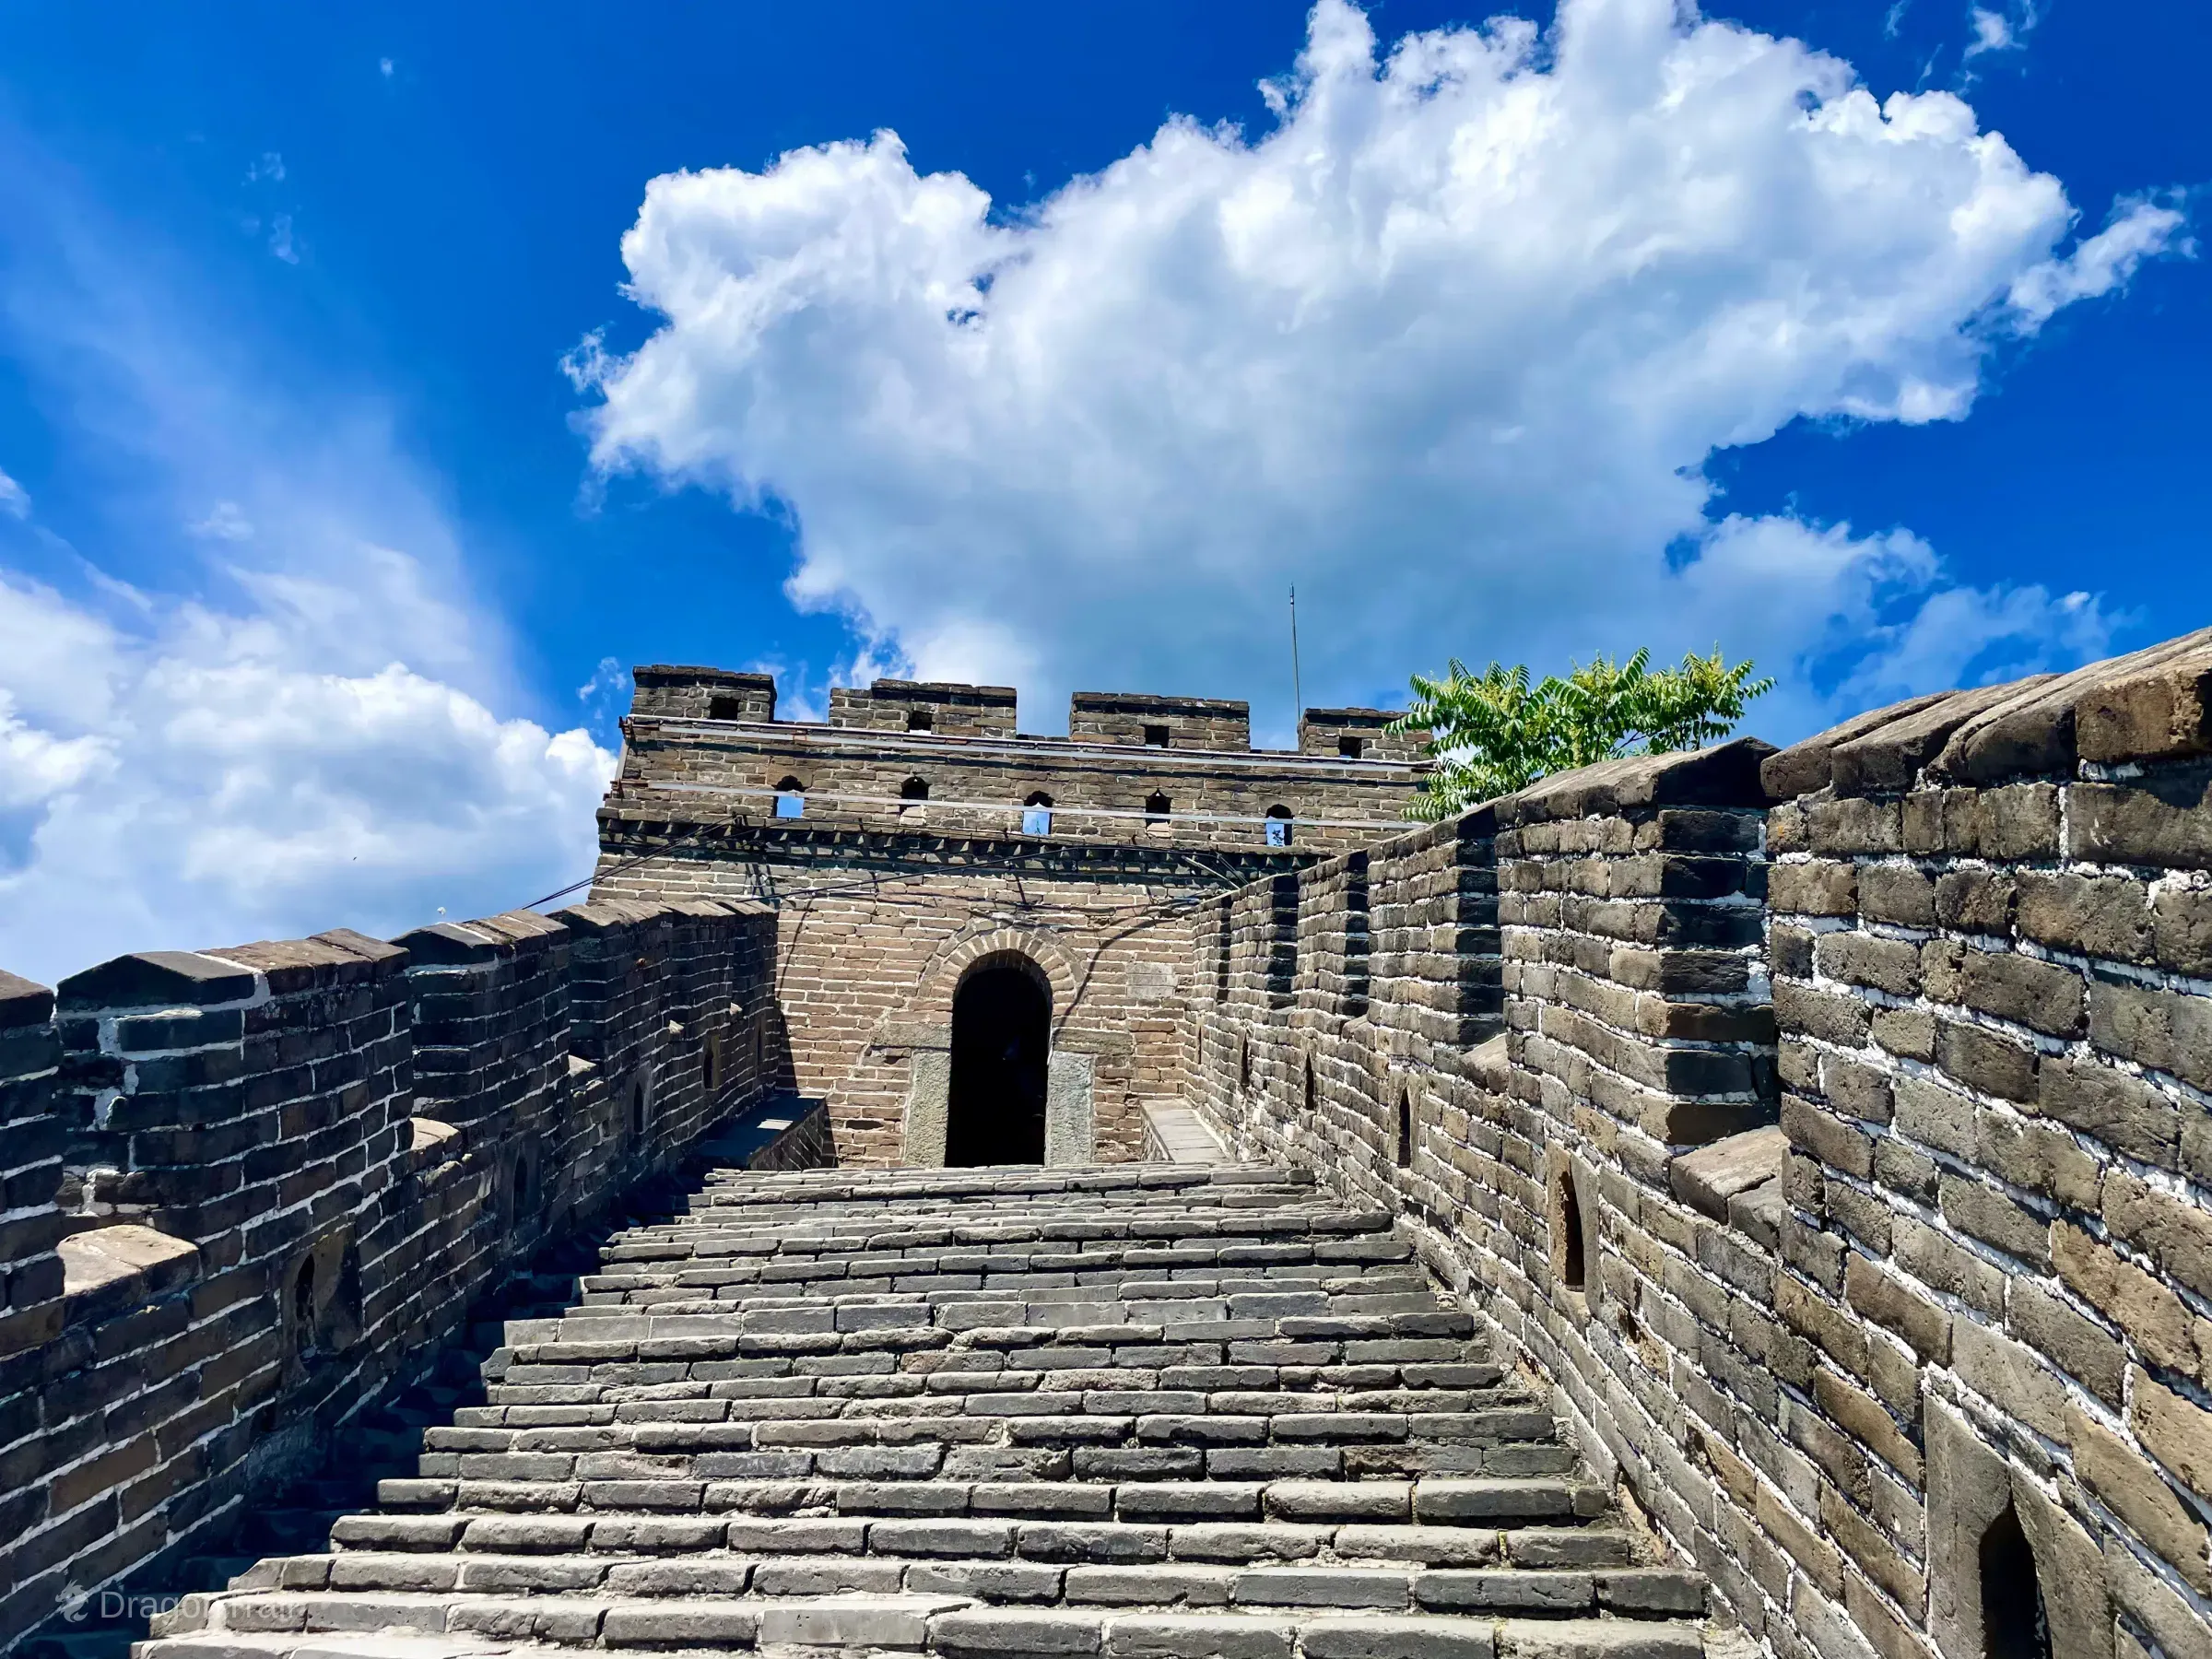
Tower 10 is Mutianyu's Glass Steps area — a modern glass ladder and glass-step insert on the northern wall climb where you can see Ming-era stones beneath your feet. Official notes describe a 回-shaped plan and a west wicket gate three metres away.
 Click to enlarge
 Click to enlarge
Tower 11 — Middle Ridge and Branch-Wall Area
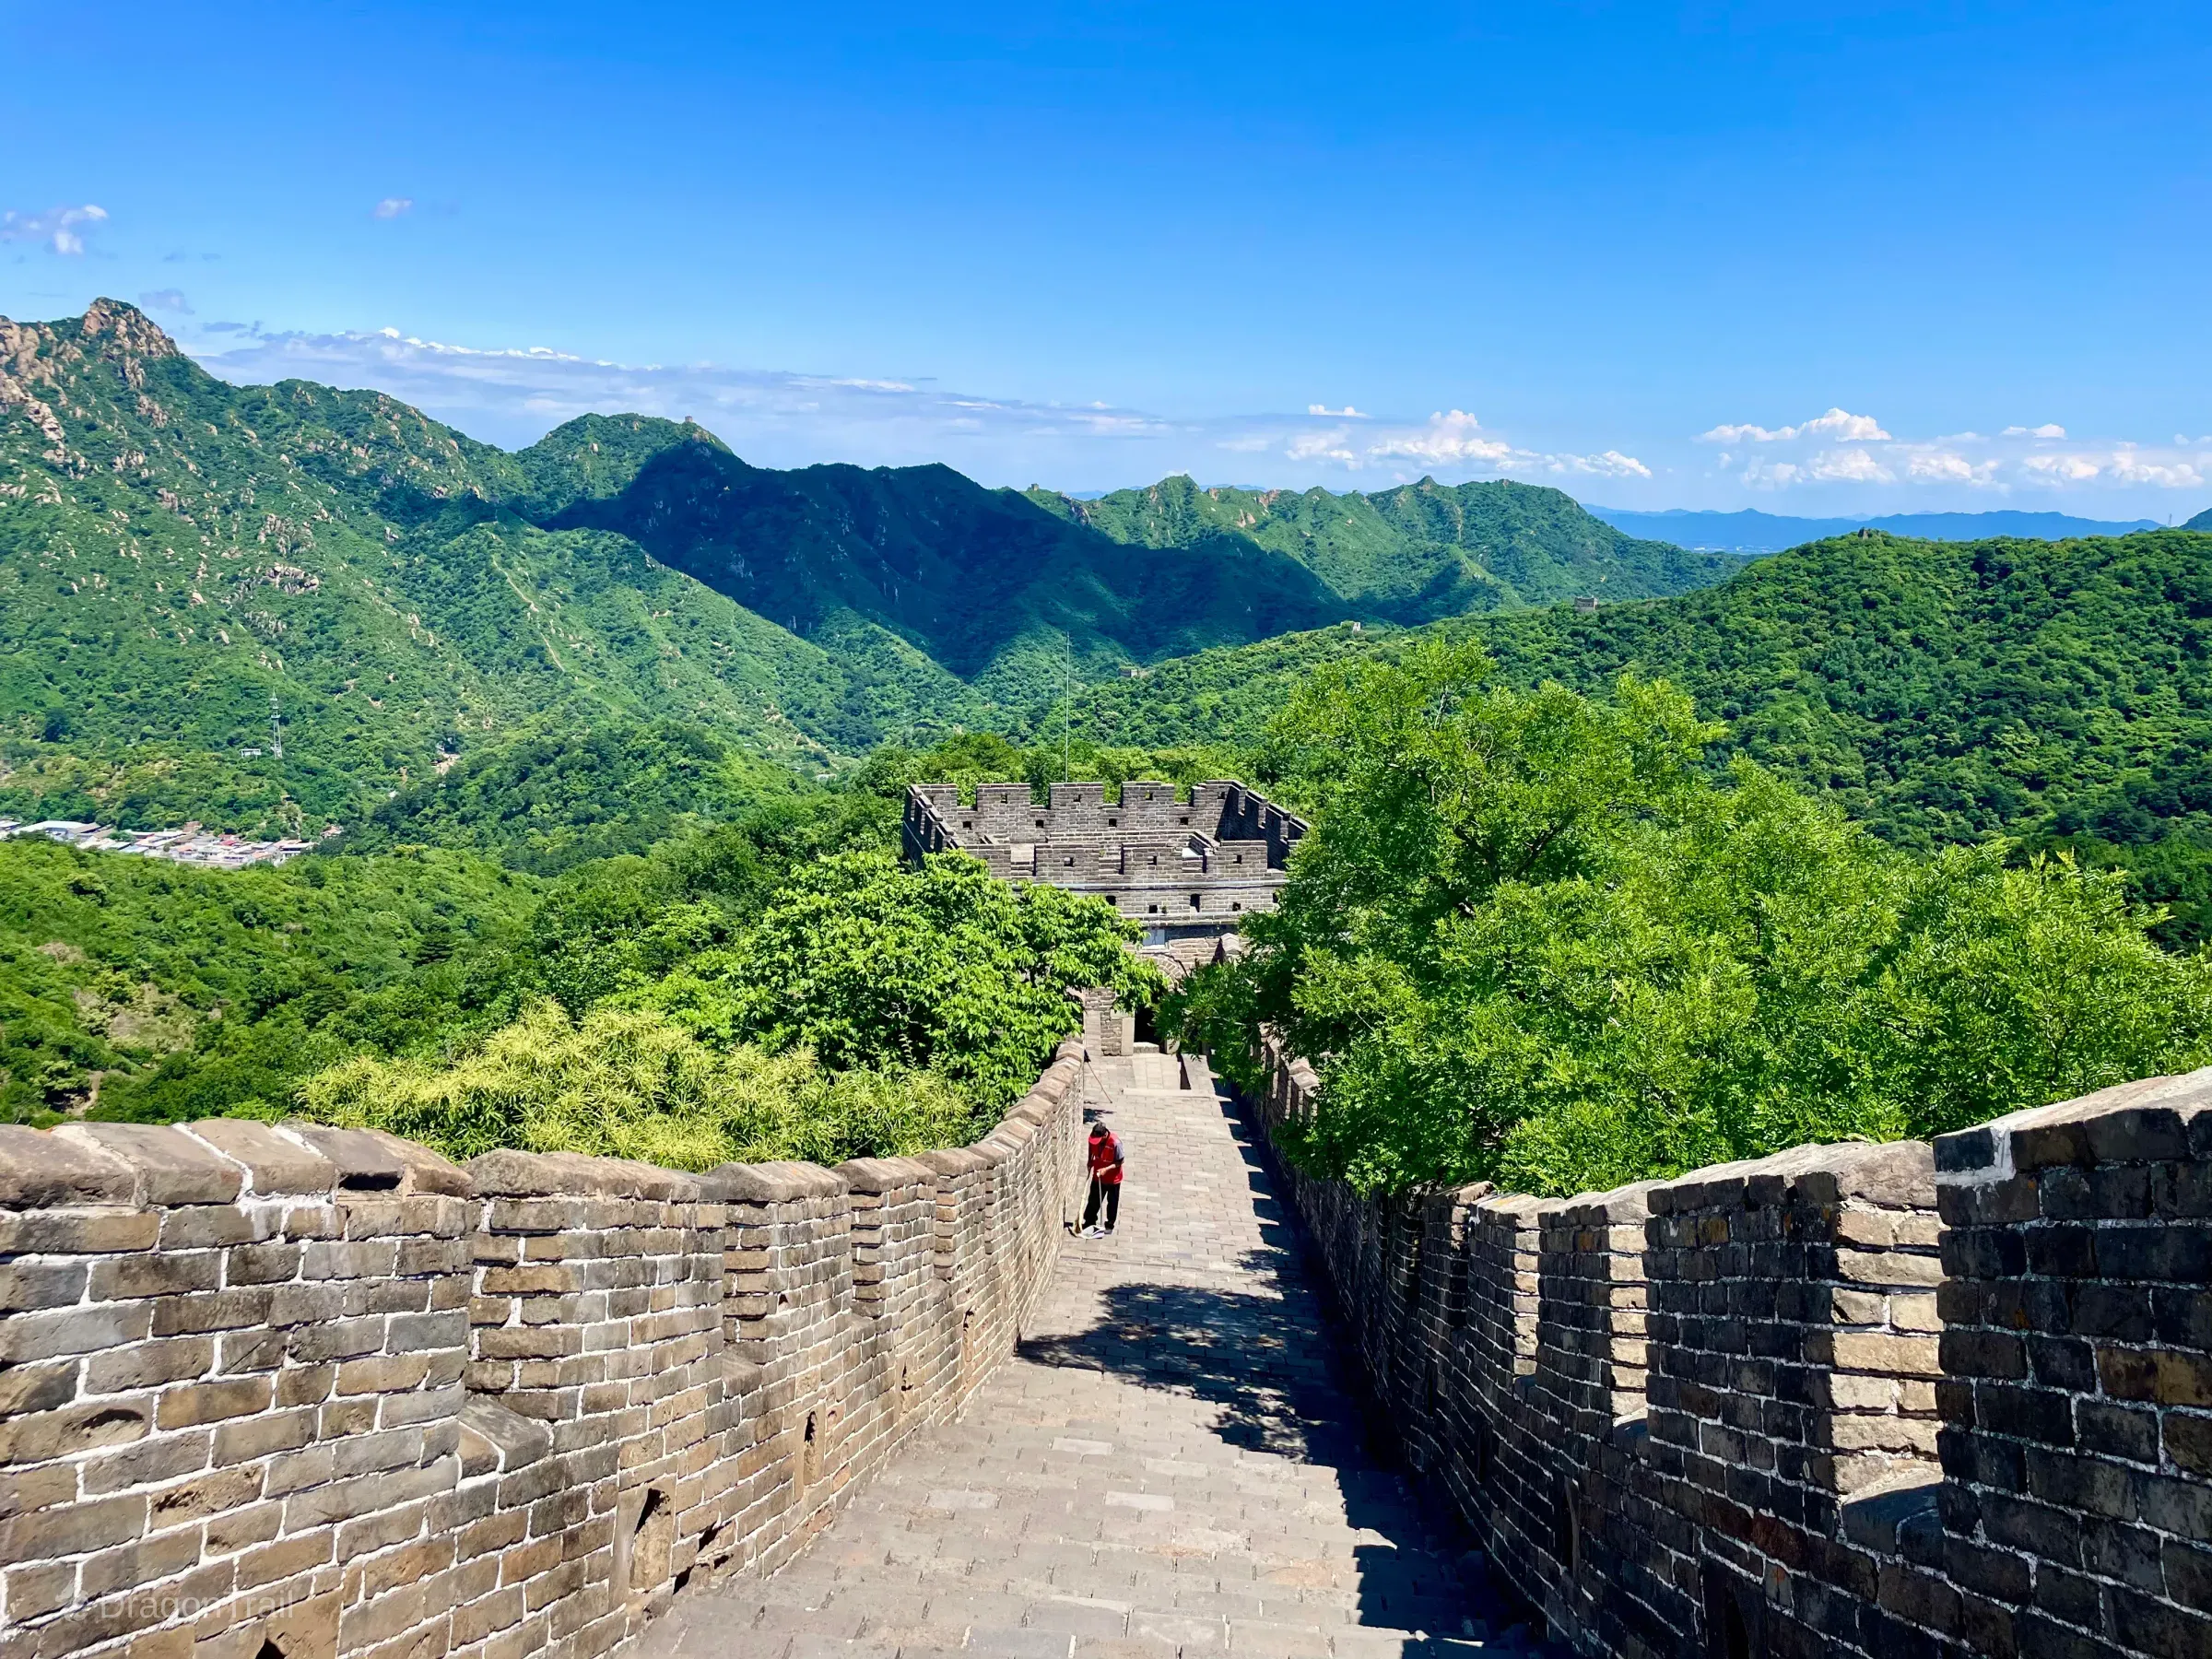
Ridge descending toward Tower 11 on the middle Mutianyu connector.
Near Tower 11 the middle ridge reaches the Outer Branch Wall area — a two-storey branch tower on a roughly 10 m solid defensive face, connected to but separate from the main ridge. The photograph below shows the high ridge descending toward Tower 11; it is a route context view rather than a close-up of the Outer Branch Wall structure itself.
Tower 12 — Northern Ridge Views
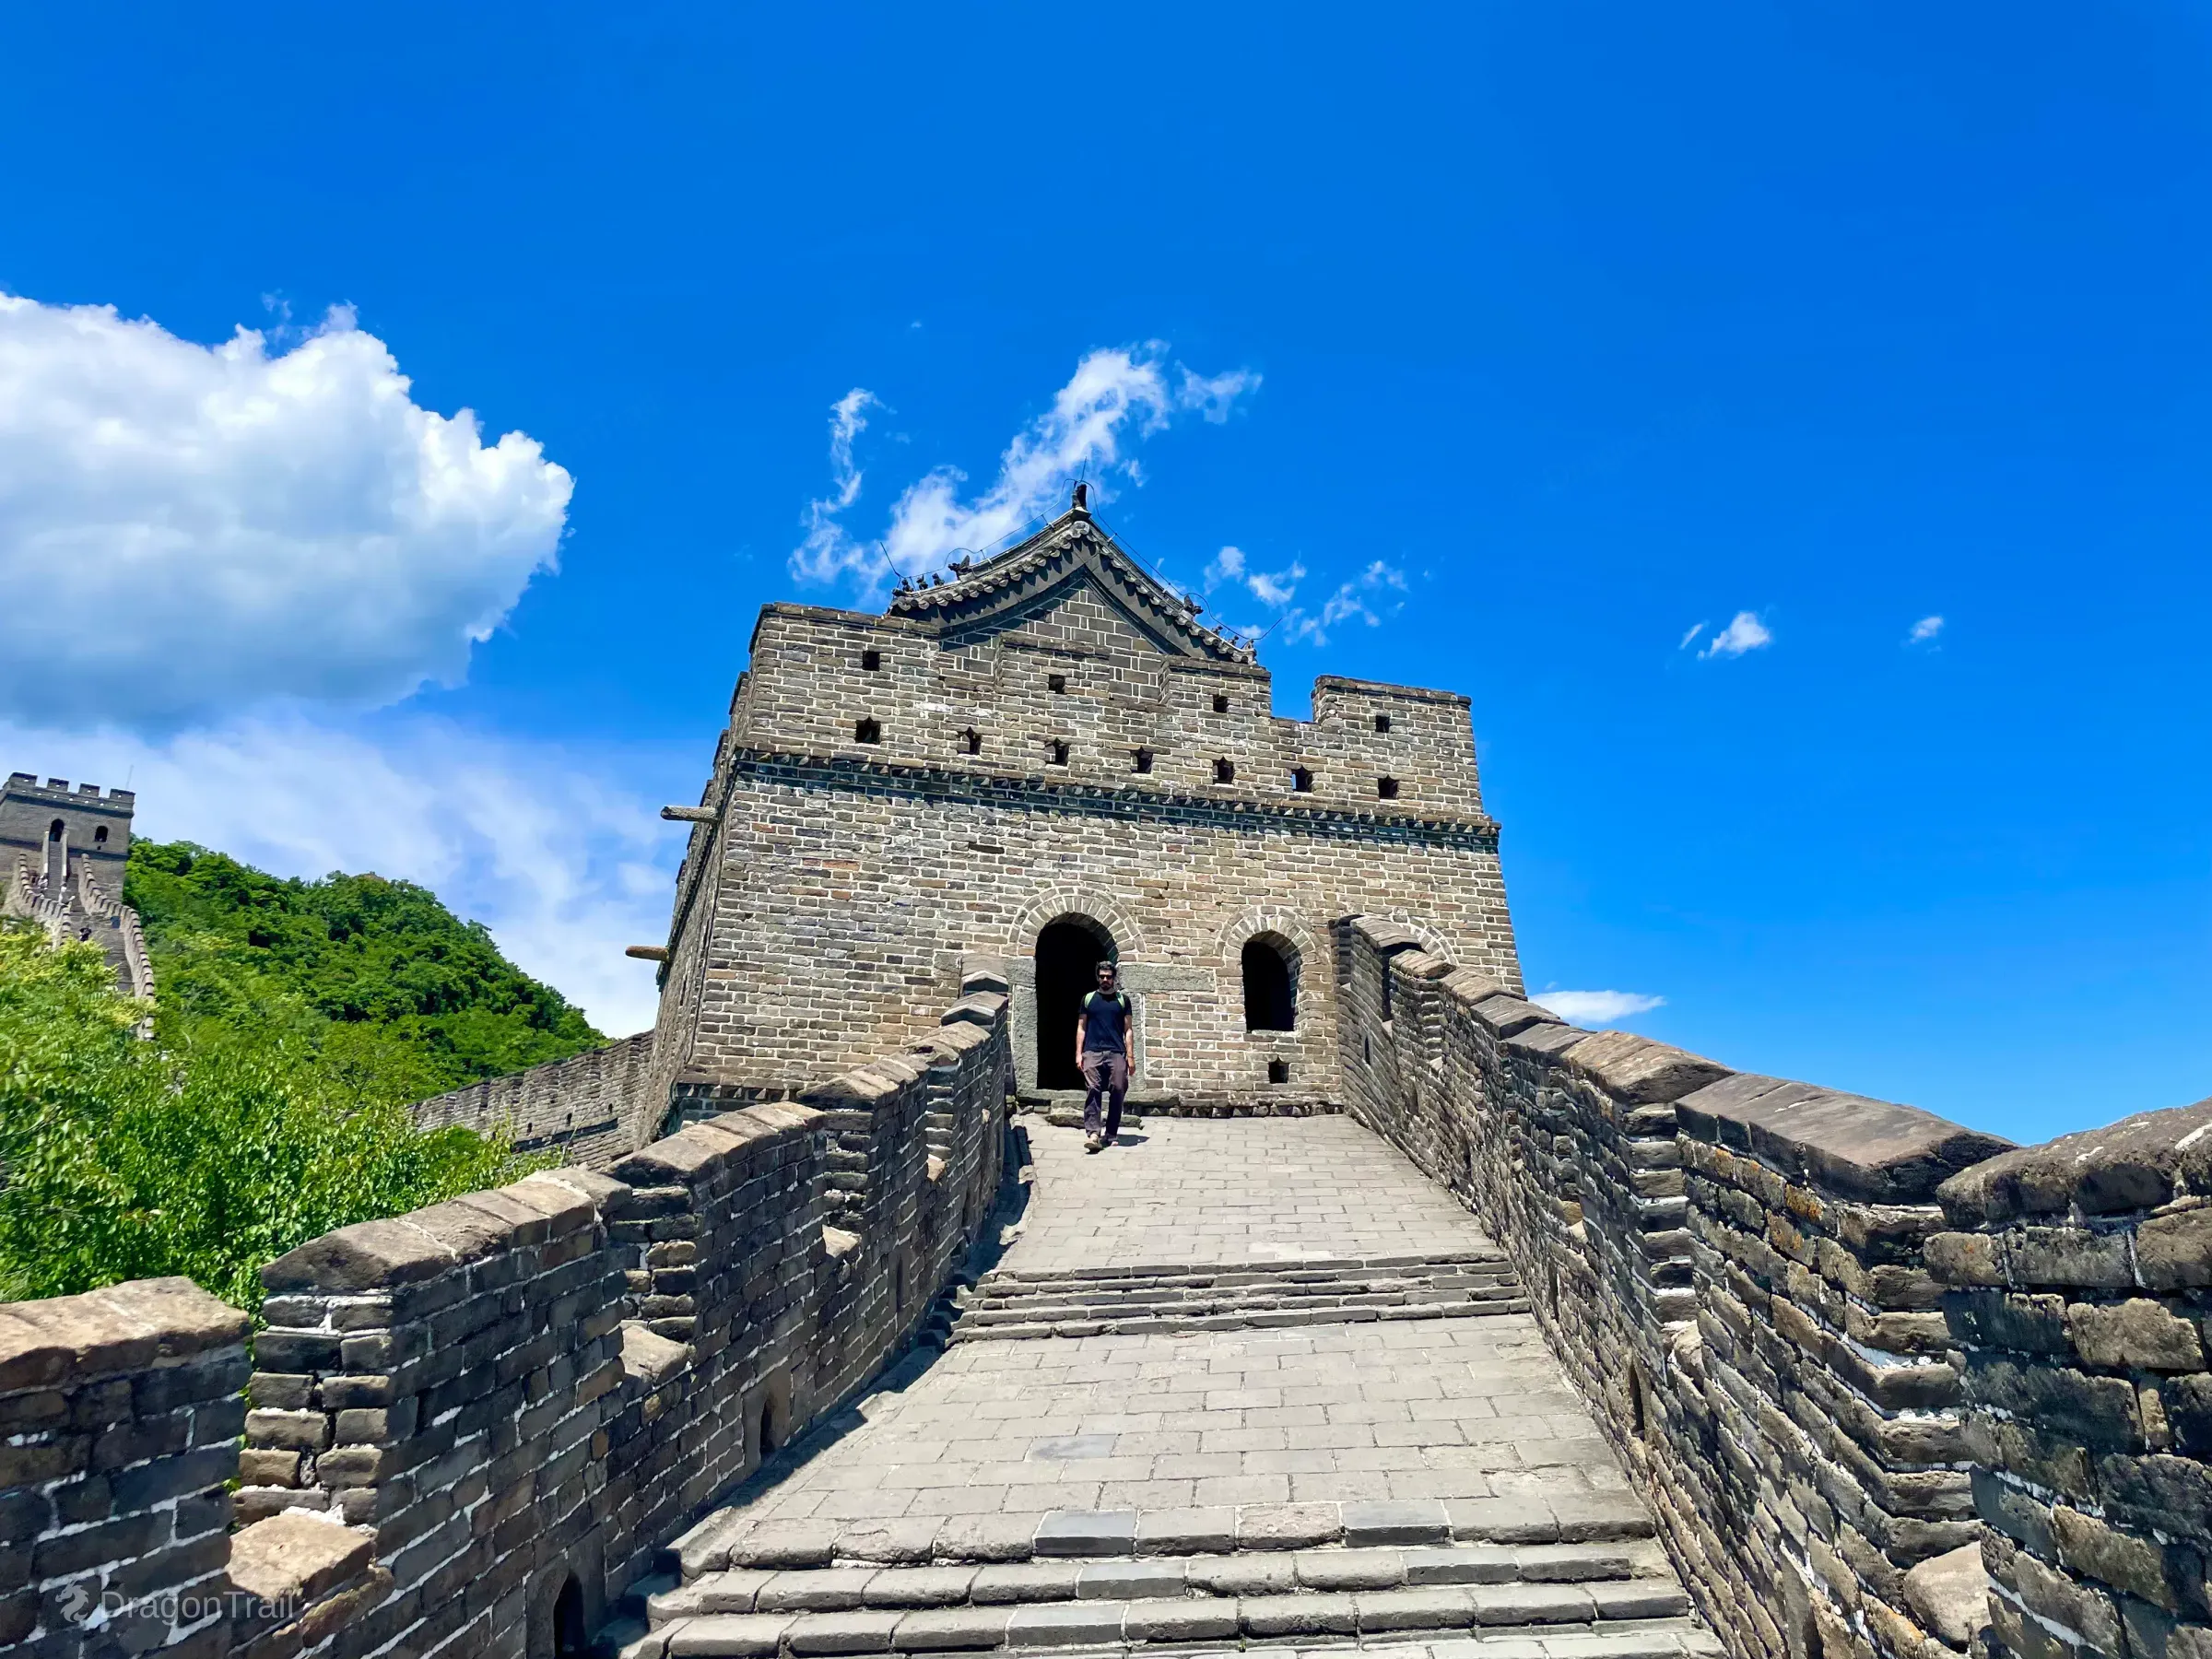
Roofed facade close-up of Tower 12.
Tower 12 sits on the northern ridge with a roofed facade and walkway arches. Official notes describe a 回-shaped interior with dual central skylights. The wide ridge panorama used at the top of this page shows the same middle-zone setting from farther back.
Tower 13
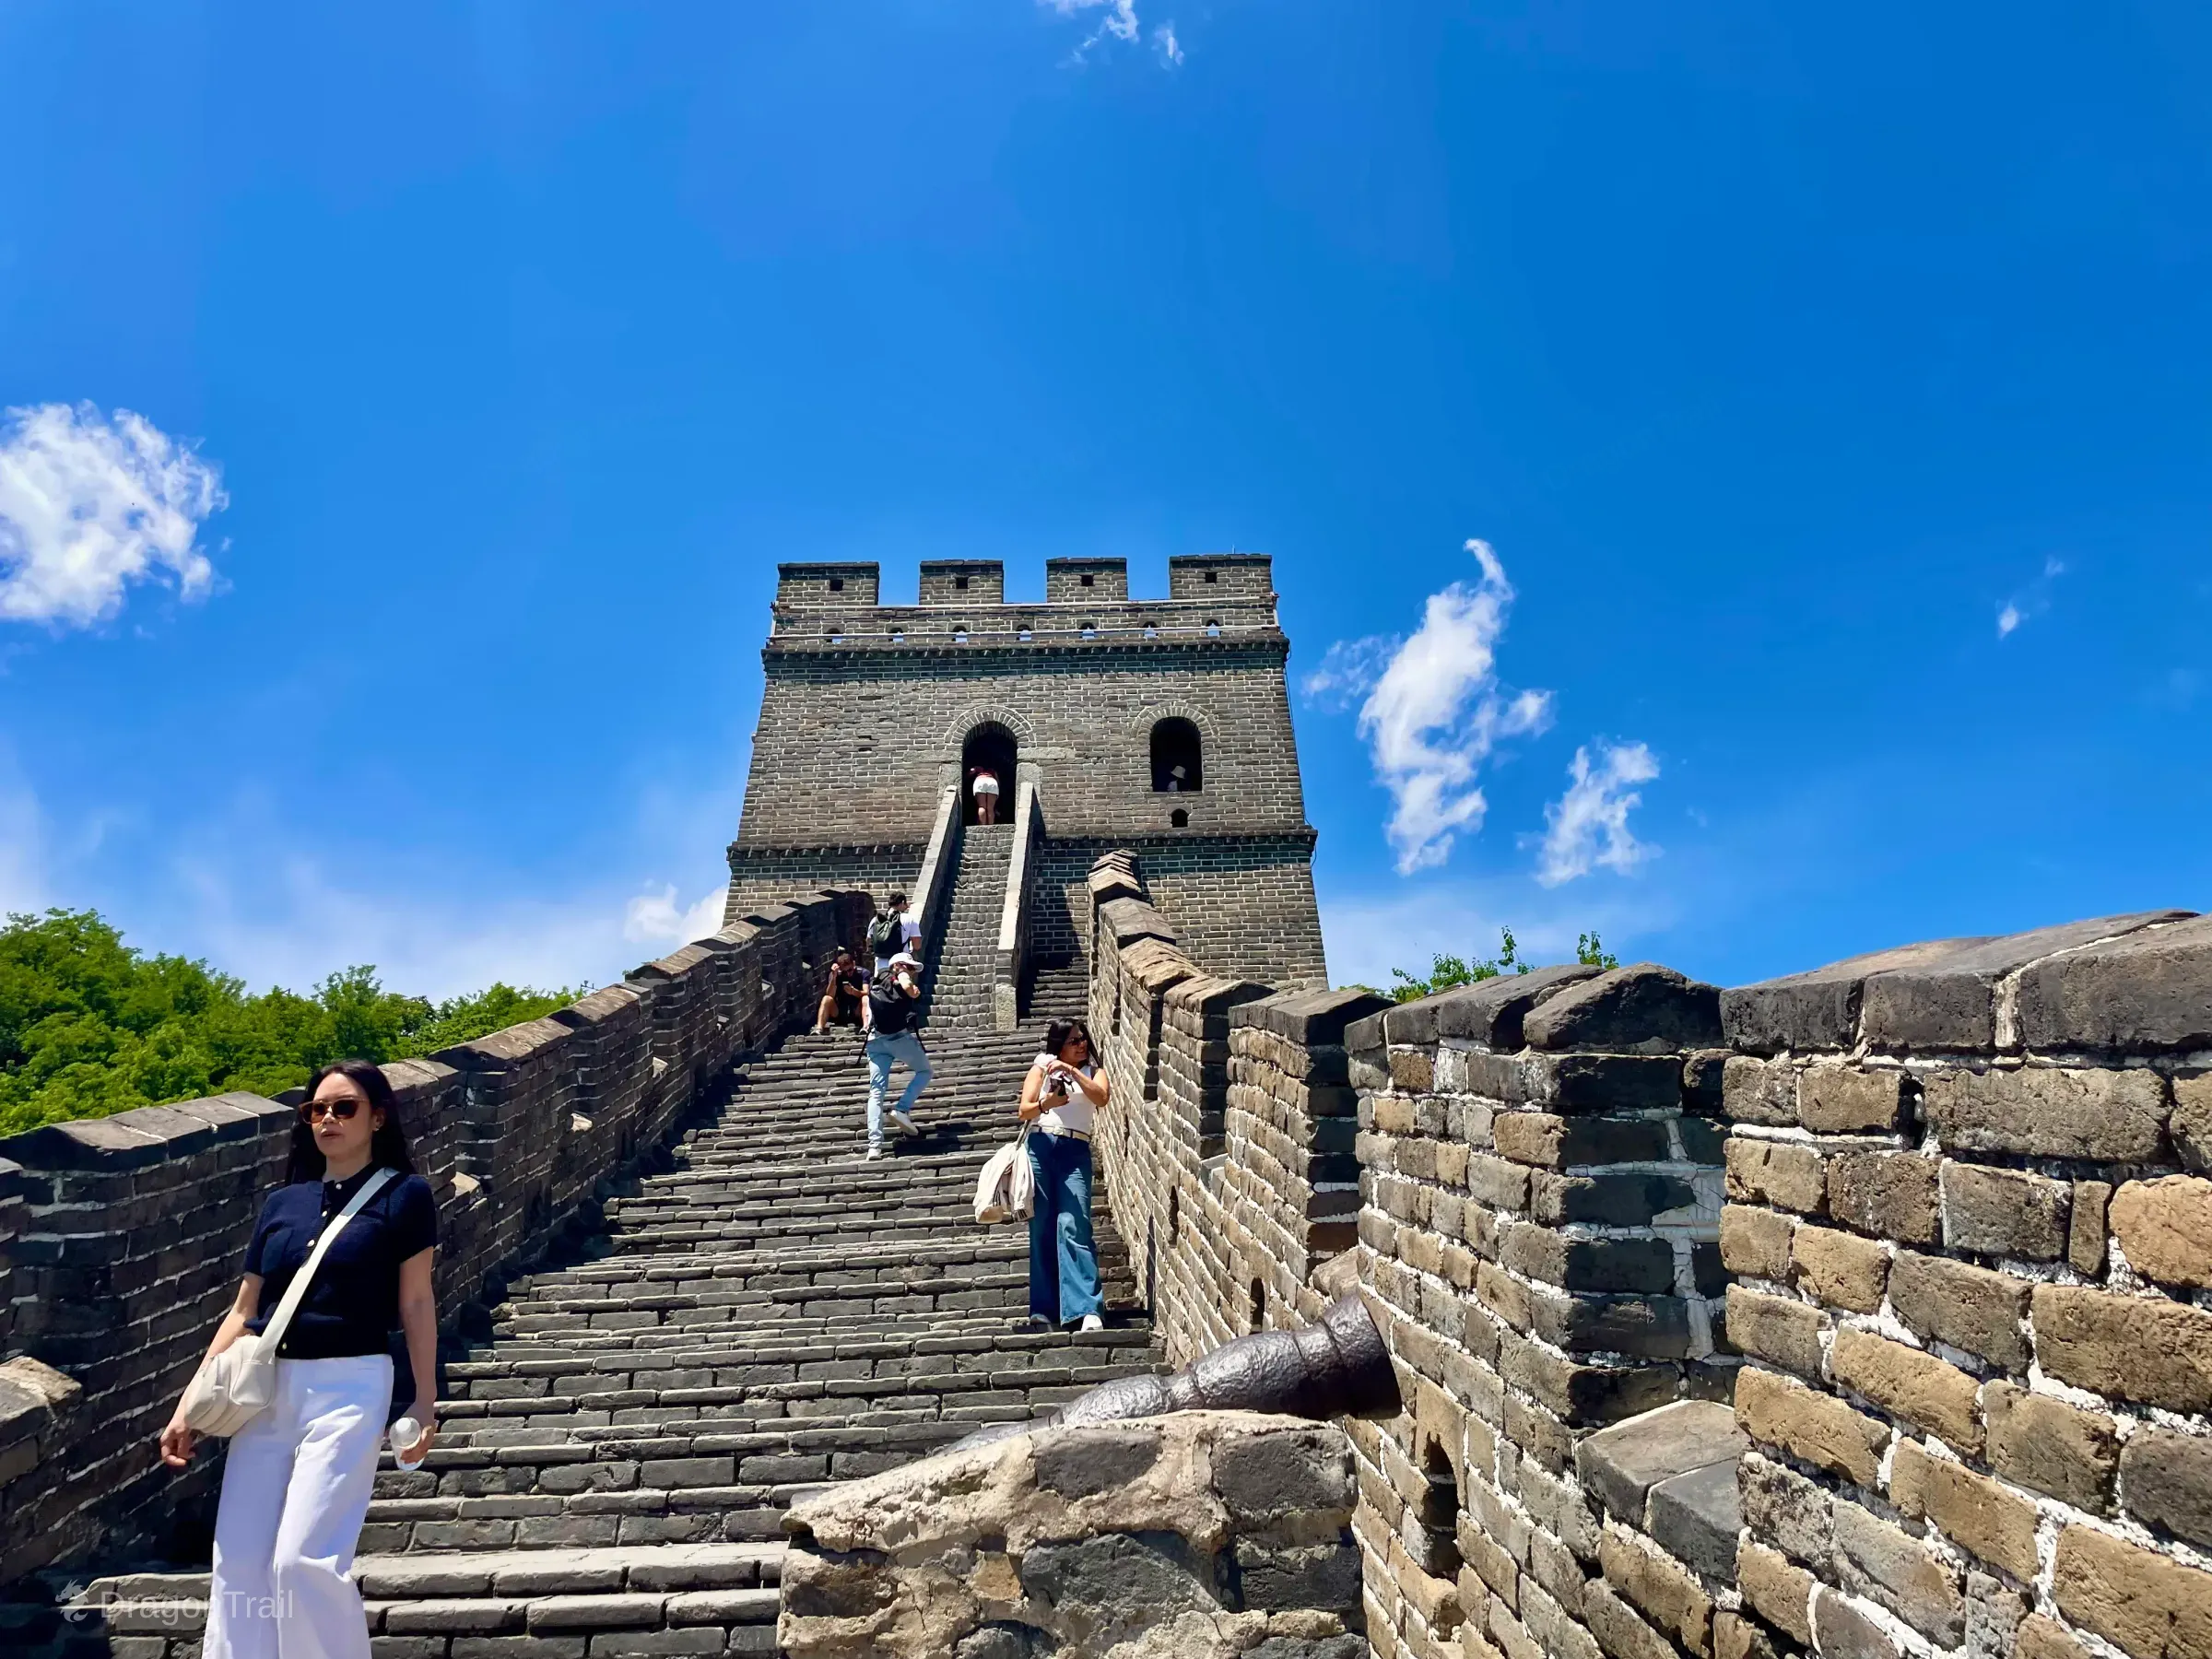
The climb toward Tower 13 at the western edge of Mutianyu's middle section.
Tower 13 is a quieter middle-zone tower before the west hand-off toward Tower 14. Ming iron cannons are displayed below Towers 5, 9, 10, and 13 on the open wall — allow a few minutes if you are walking the connector with photography stops.
West Mutianyu Watchtowers: Towers 14–20
The west zone starts at Tower 14 — west cable car upper station and the default launch point for most first-time visitors. Tower 15 is a common early photo stop; Towers 17–18 hold a classic Ming wall section; Towers 19–20 form the Hero Slope / Hero Platform steep climb with the strongest open-ridge panorama for many walkers. Towers 21–23 lie beyond the current open daytime visitor section — do not plan beyond Tower 20 without a new official notice. Entry and exit for the cable car remain at Tower 14; turn back whenever the clock or weather shifts.
- Tower 14 — west cable car hub; safest turnaround for seniors and layover timing.
- Towers 15–16 — early west-ridge photo landmarks on the standard cable-car loop.
- Towers 17–18 — steady mid-route Ming character before the Hero Slope.
- Towers 19–20 — Hero Slope / Hero Platform; steepest classic west section.
- Towers 21–23 — beyond the current open daytime visitor section; do not plan current access.
Tower 14 — West Cable Car Hub
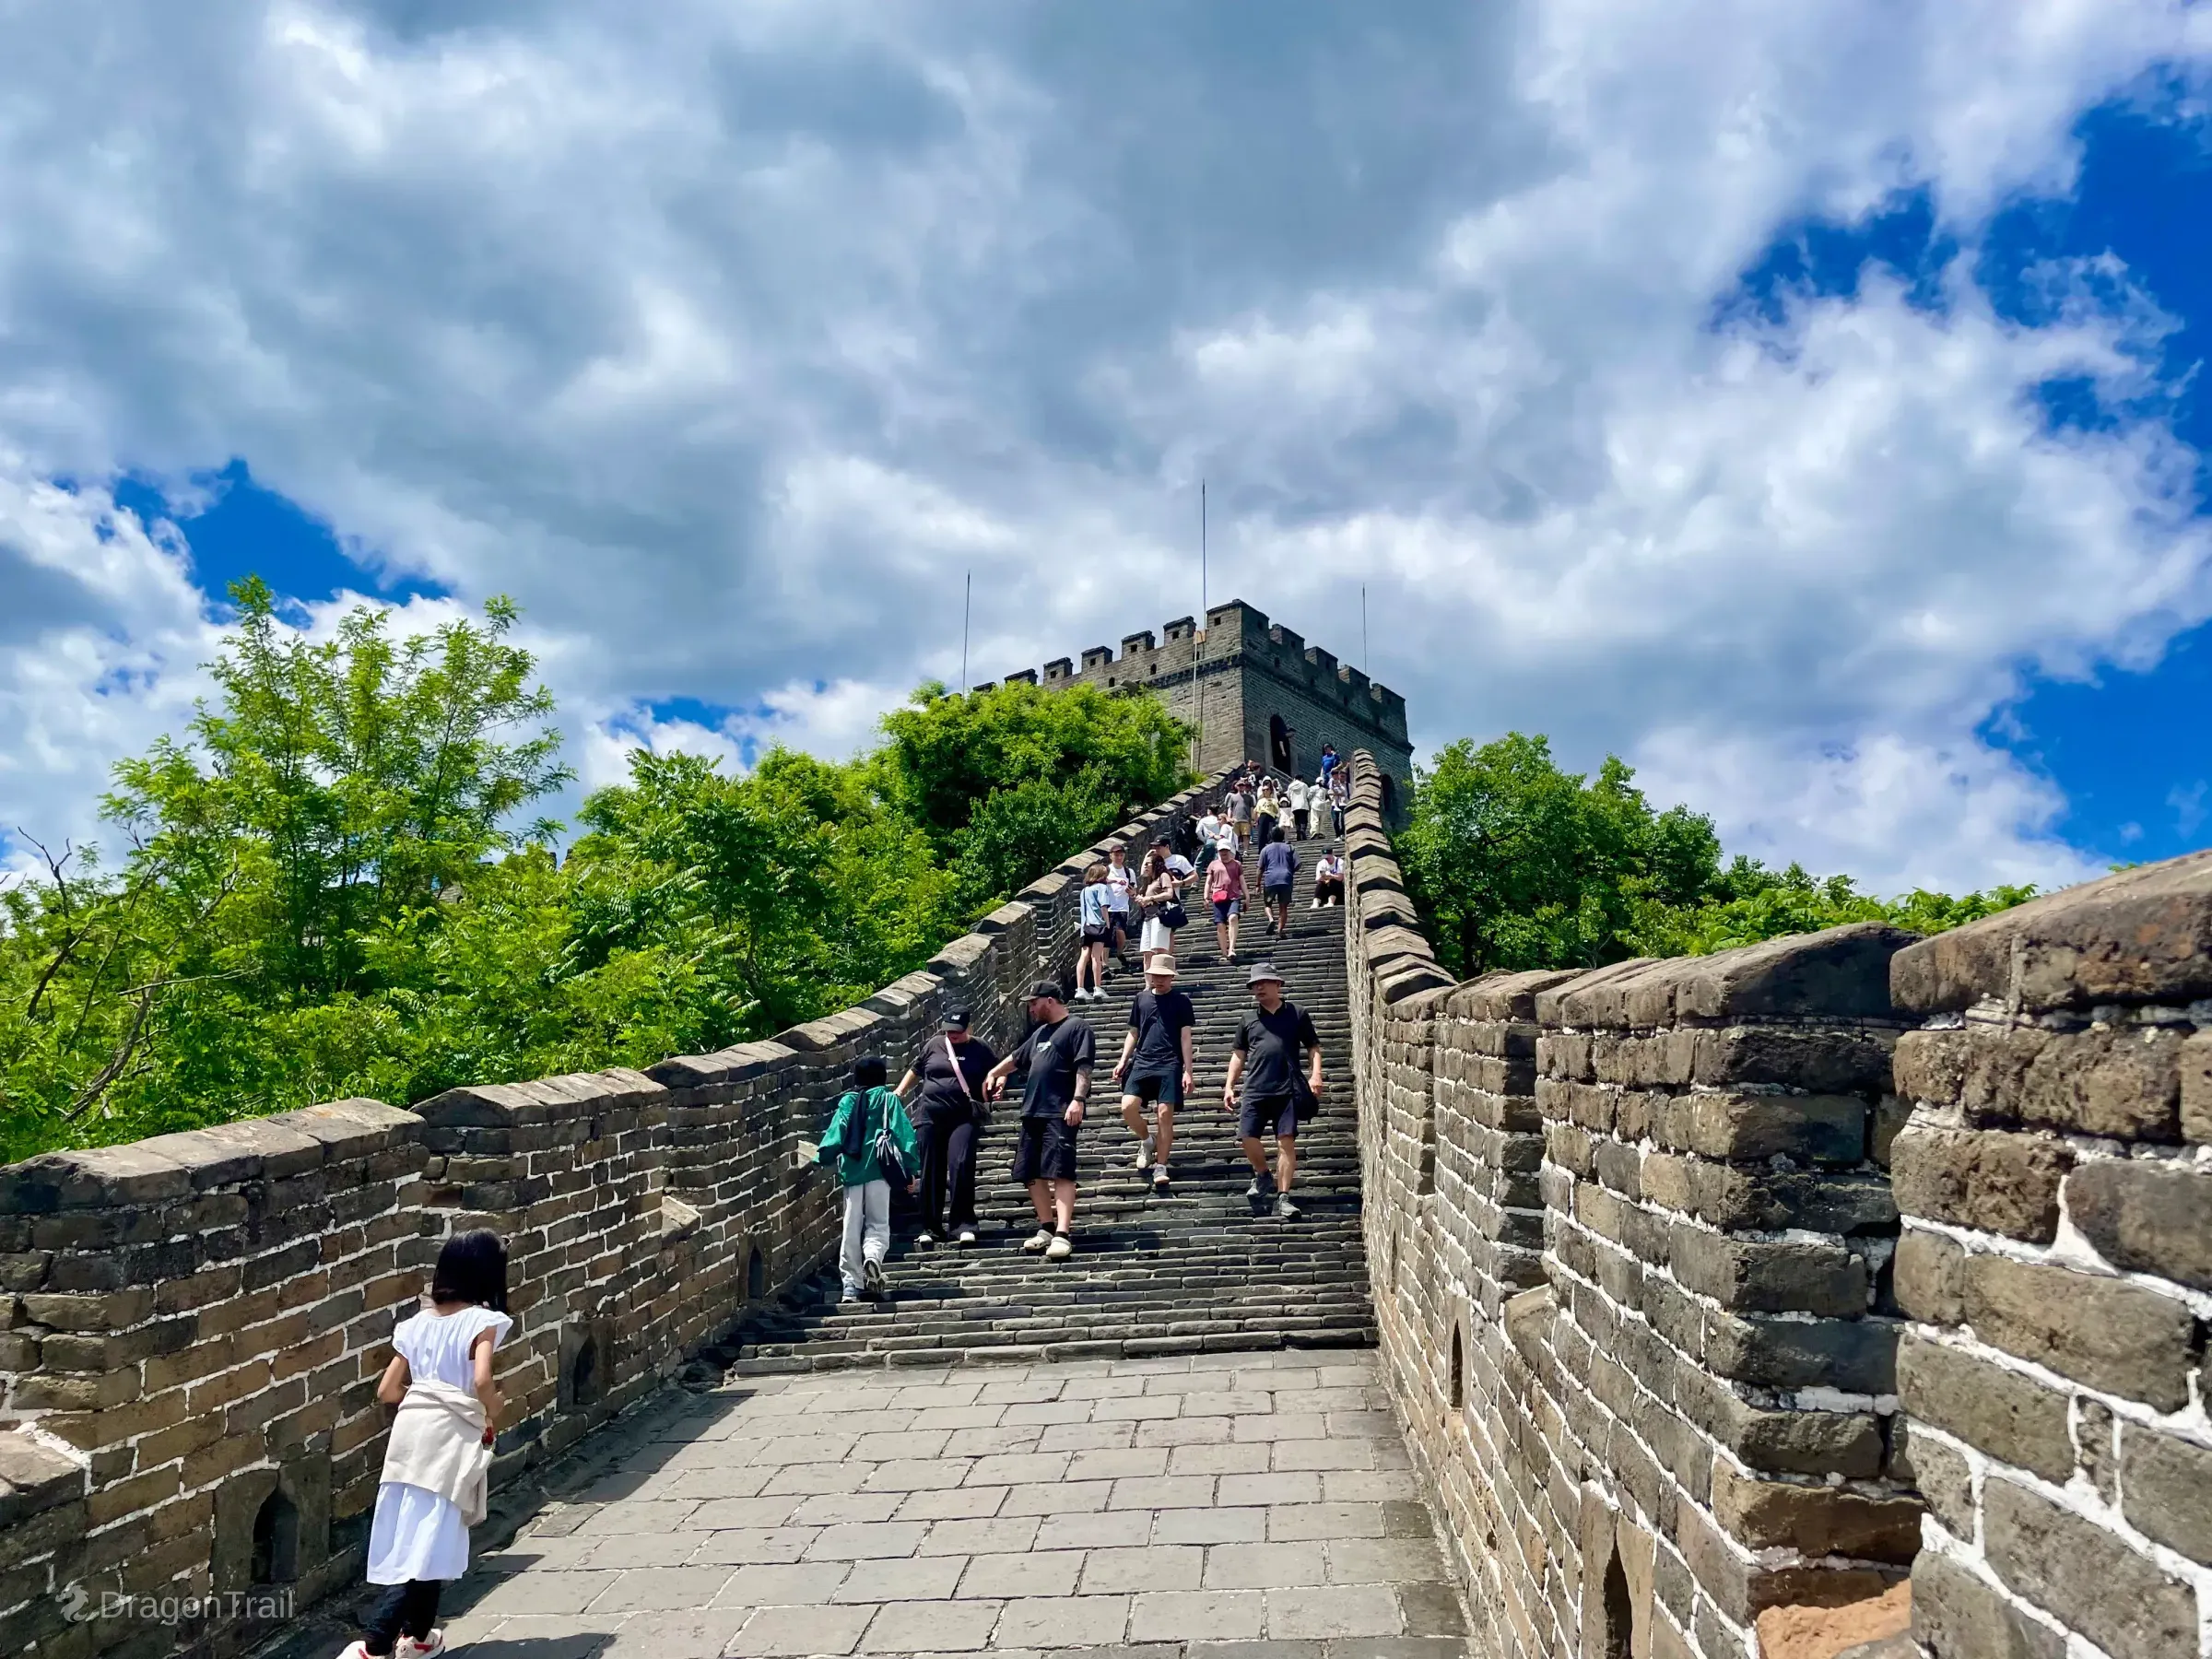
The west cable-car route begins around Tower 14 and its adjoining wall.
Tower 14 is the west cable-car upper station and the default launch point for most first-time Mutianyu visits. Entry and exit for the enclosed cable car remain here — the safest turnaround for seniors, families, and layover timing. Most classic west walks start and finish at Tower 14.
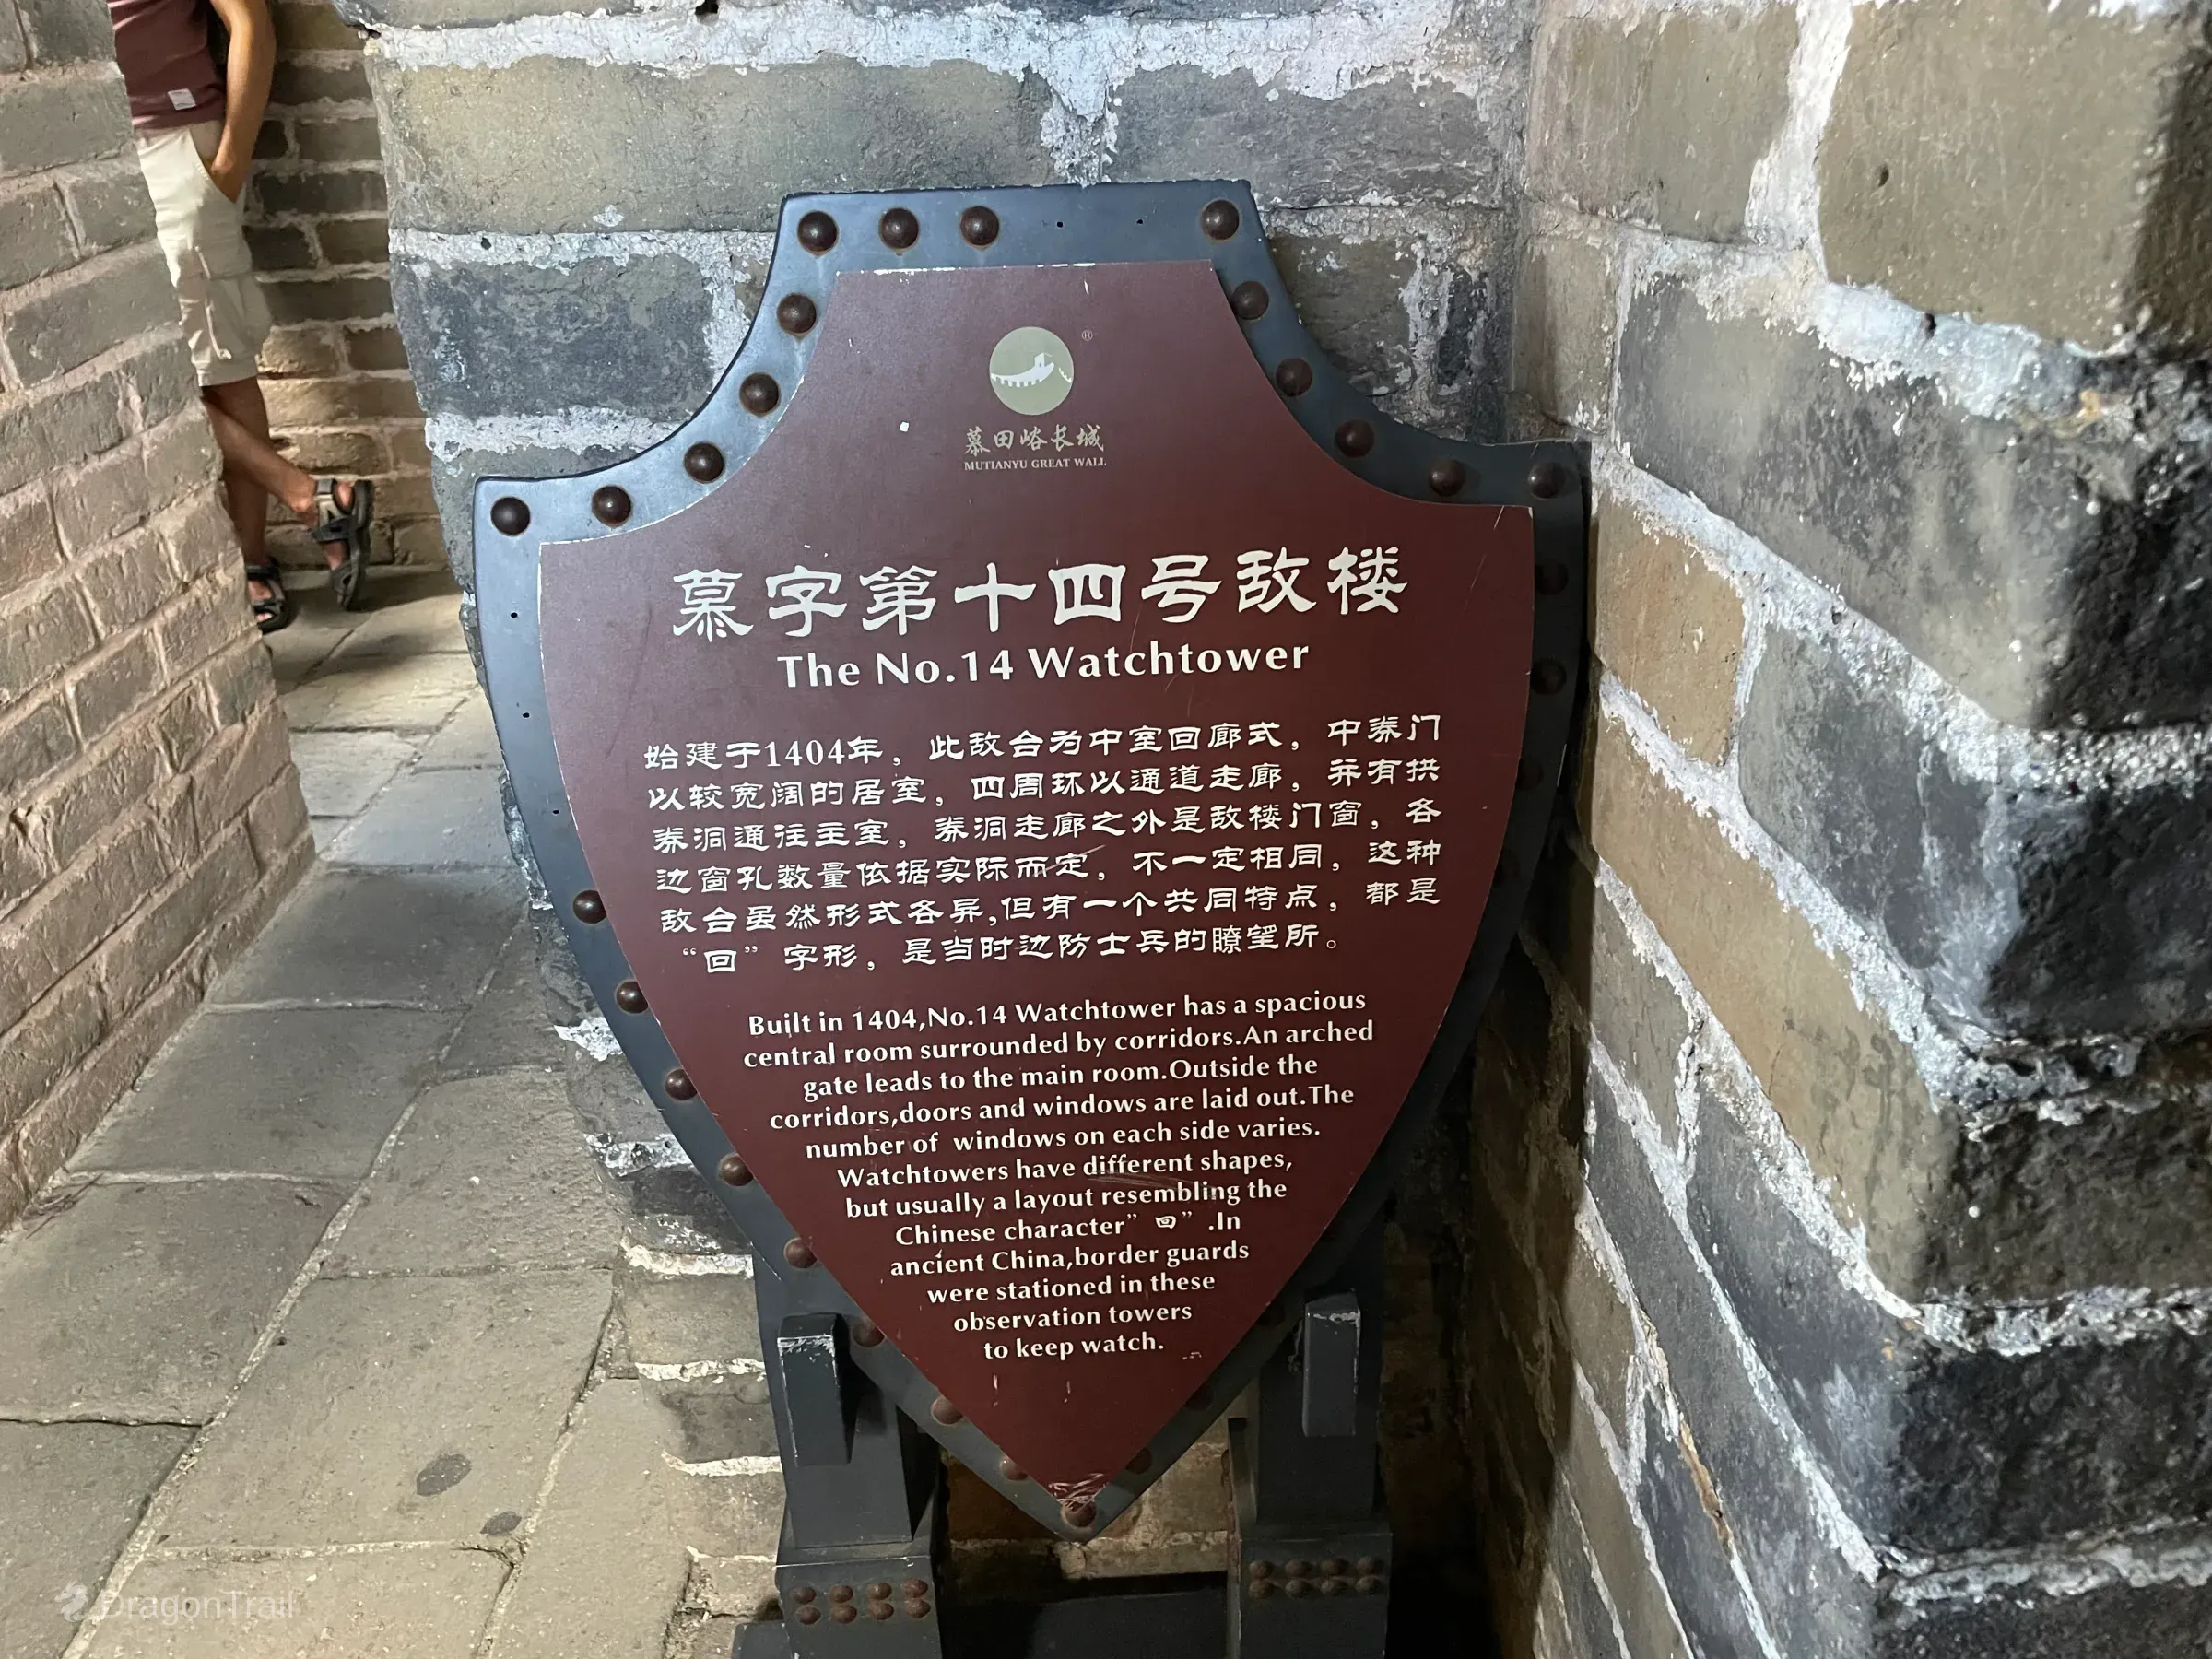
Tower 15 — Early West-Ridge Photo Stop
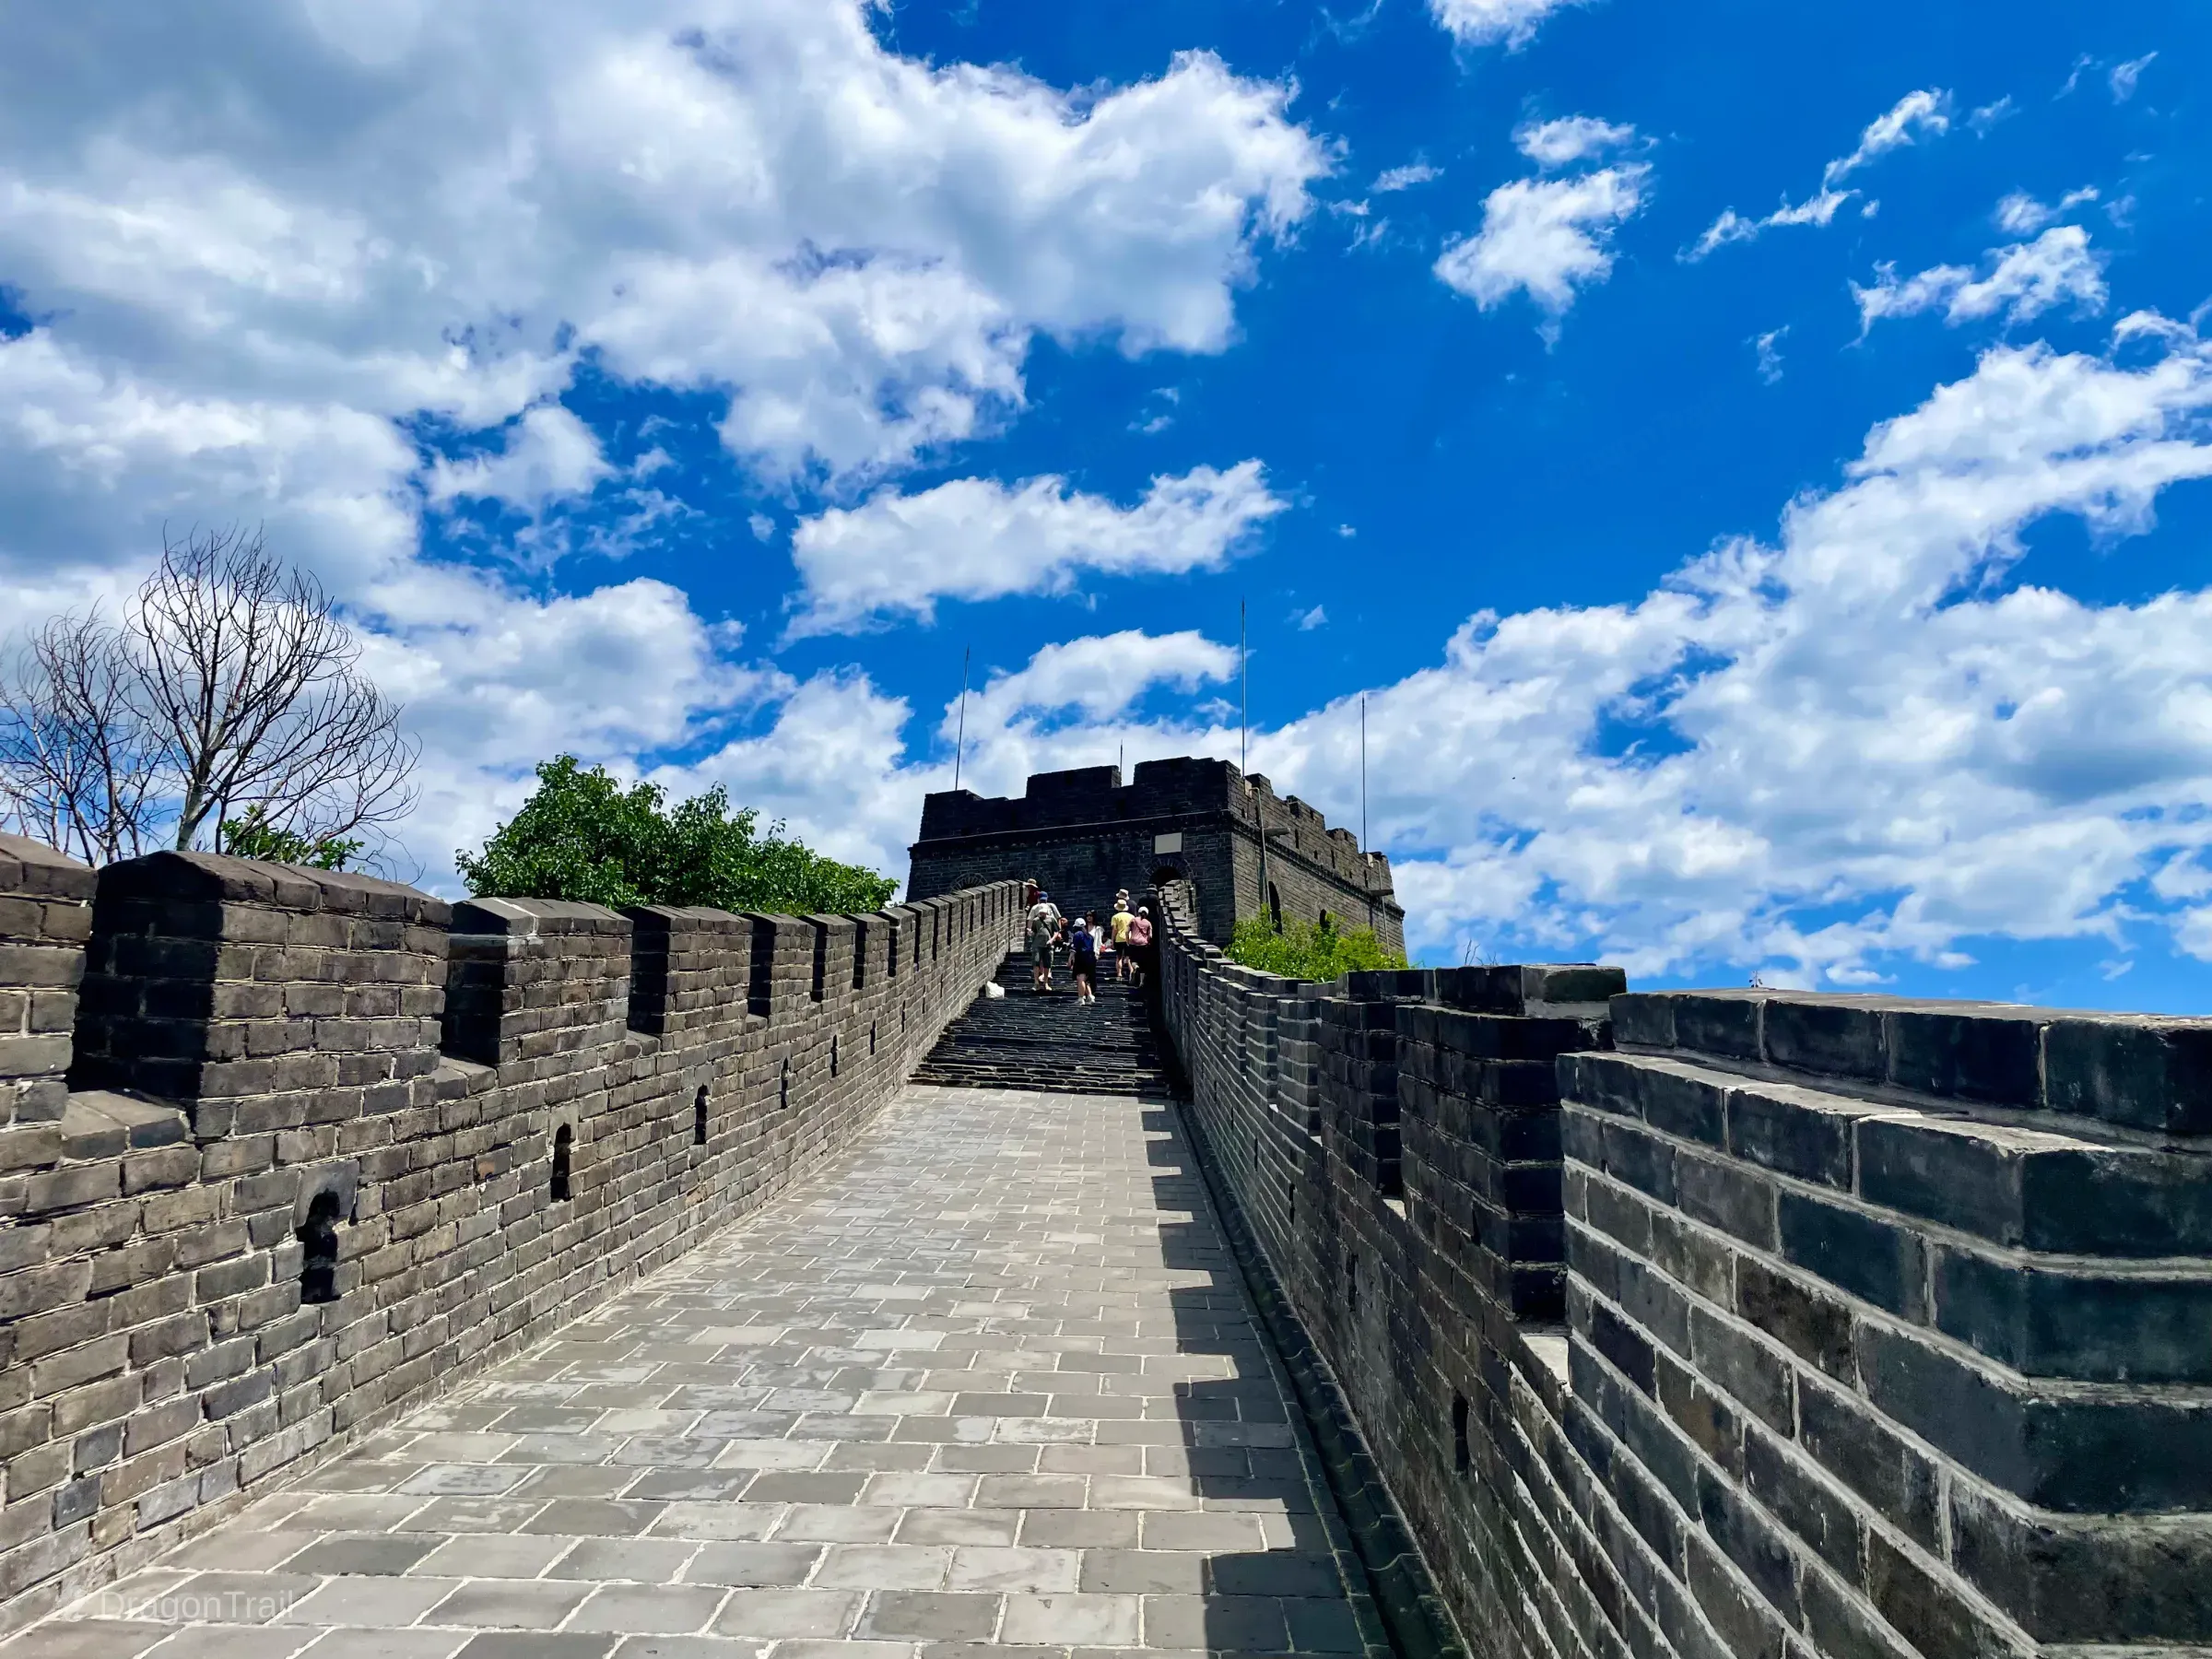
The west wall climbing toward Tower 15 from the Tower 14 side.
Tower 15 is a common early photo stop on the standard cable-car west loop. Official notes describe a hollow watchtower with brick-and-stone steps. From here the wall continues climbing toward the higher west-ridge towers.
Tower 16 — Fuqiang / Attached Wall Platform
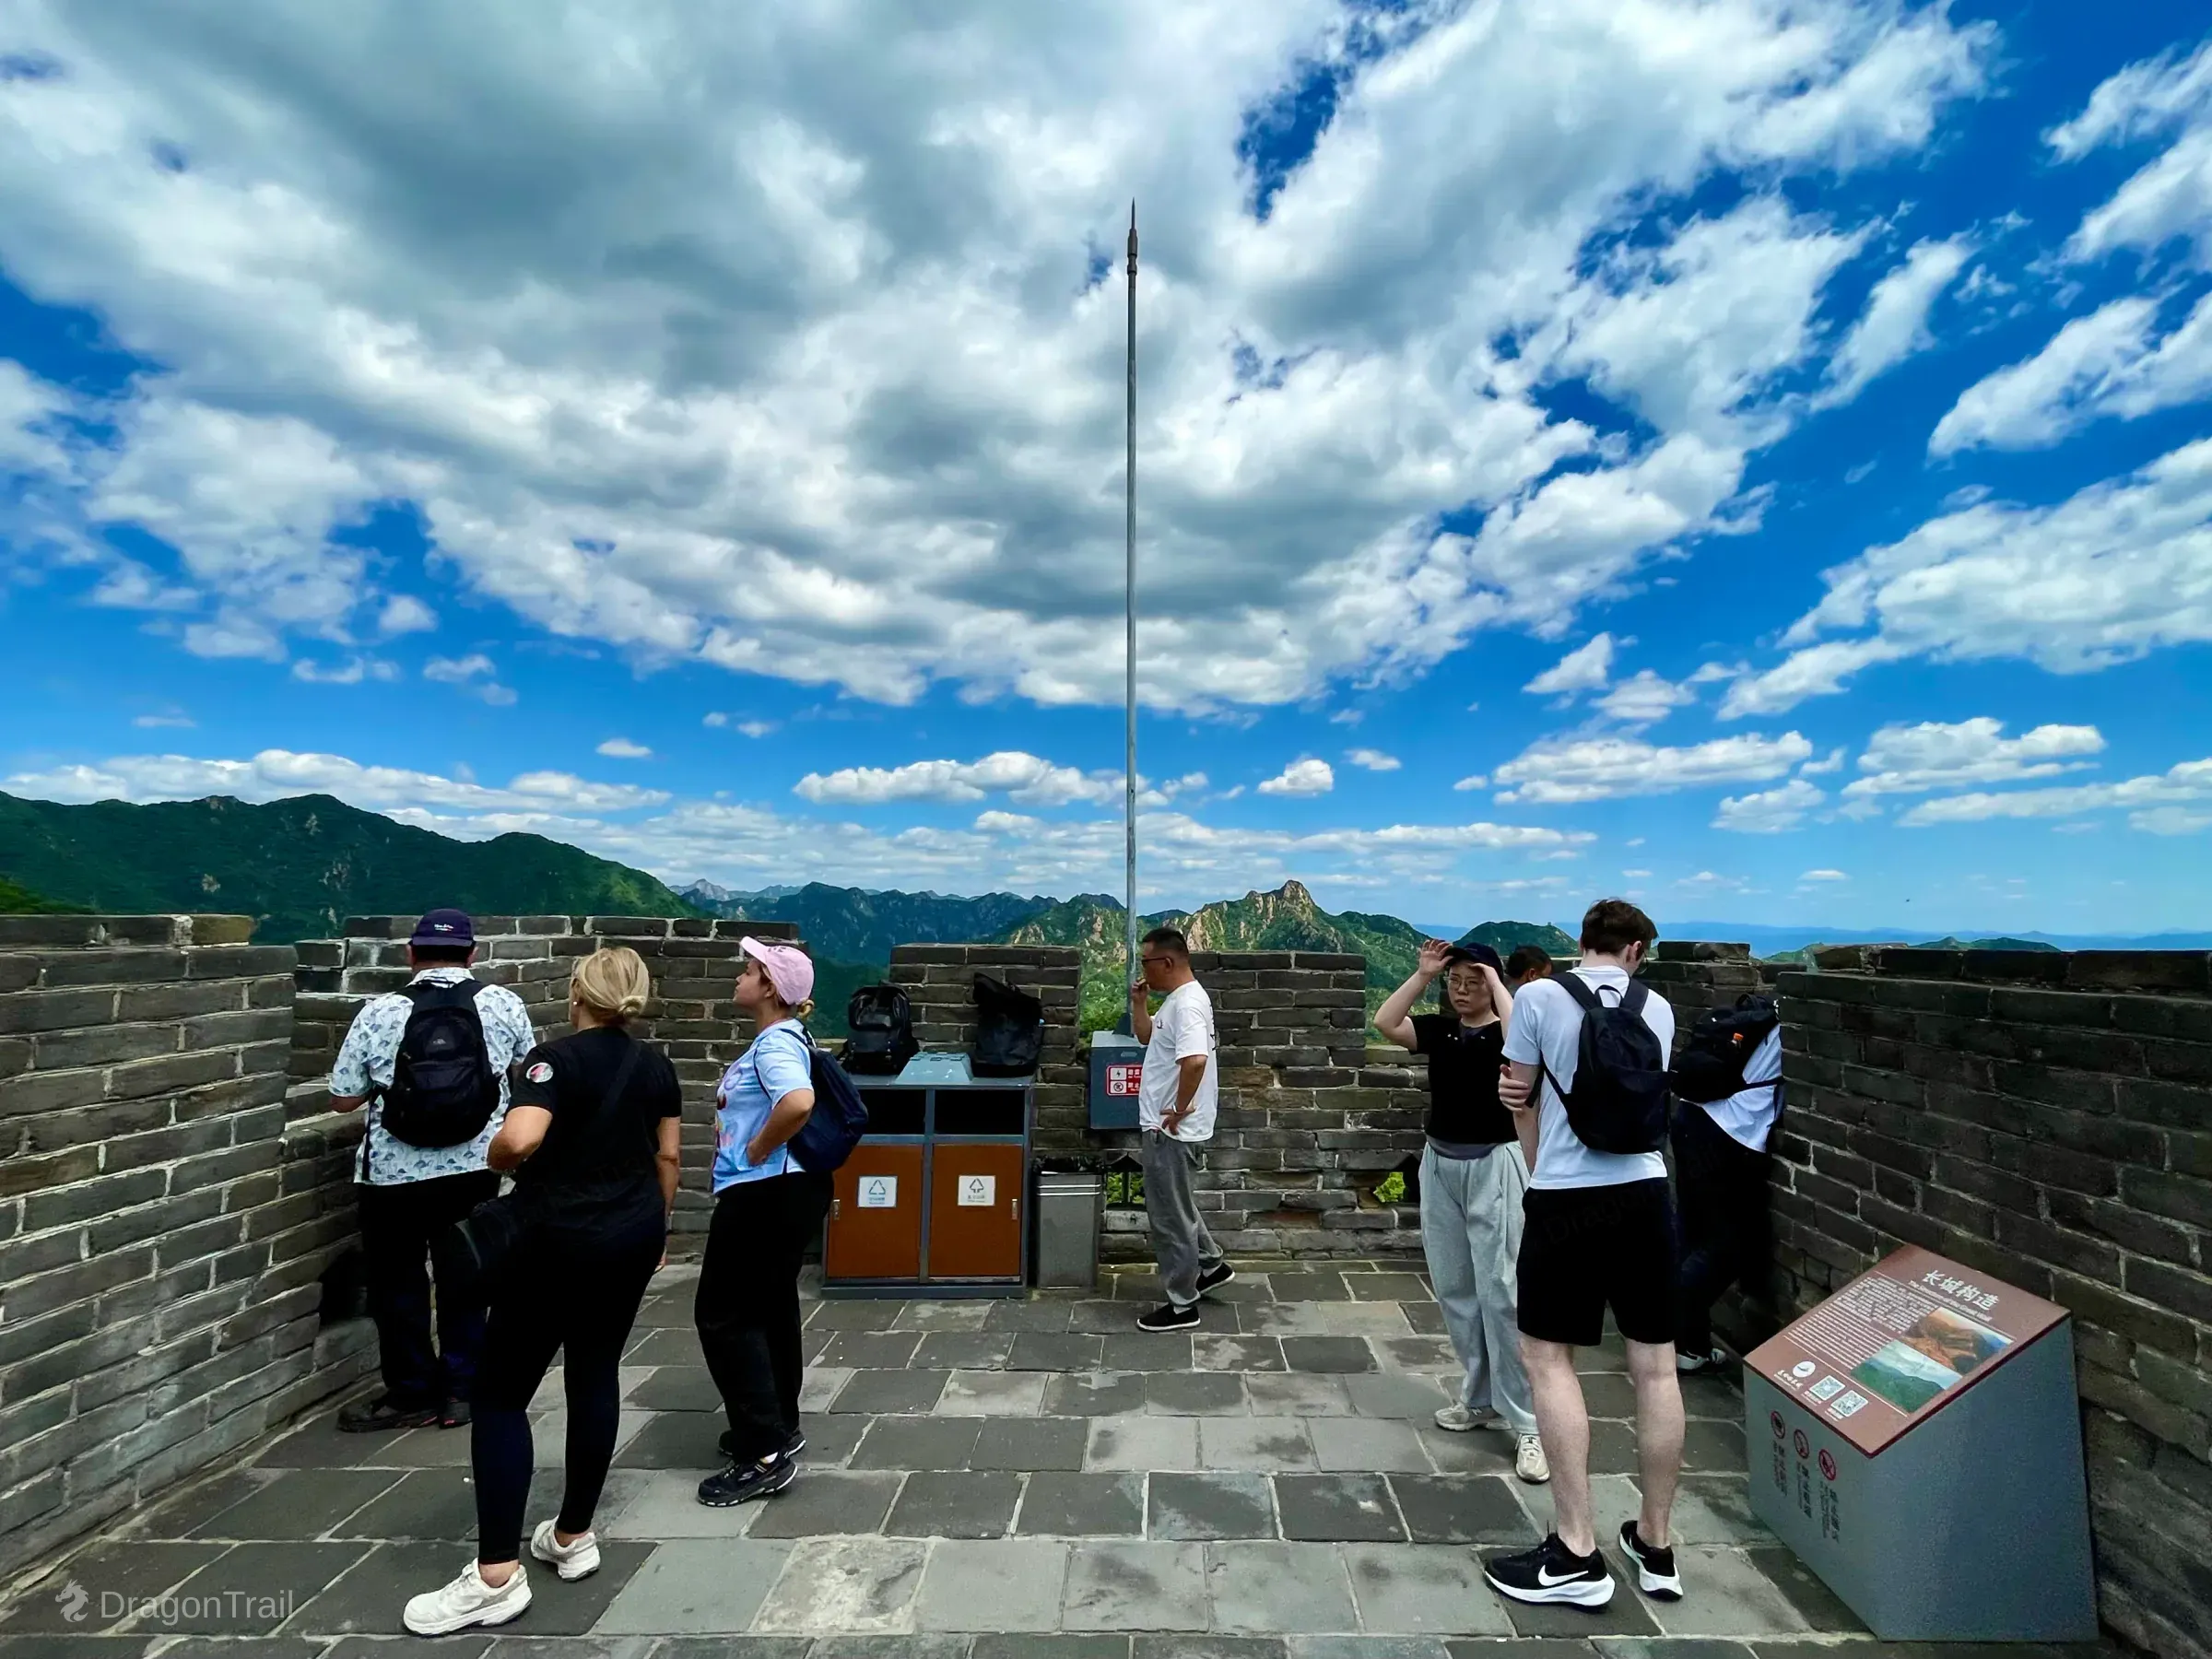
Rooftop platform of Tower 16, the Fuqiang or Attached Wall Platform.
Tower 16 is known as Fuqiang — the Attached Wall Platform. Official notes describe a convex attached-wall plan built with the mountain-stone wall, with battlements and a rooftop platform that many visitors use as an early west-ridge viewpoint.
Tower 17 — Mid-Route Ming Facade
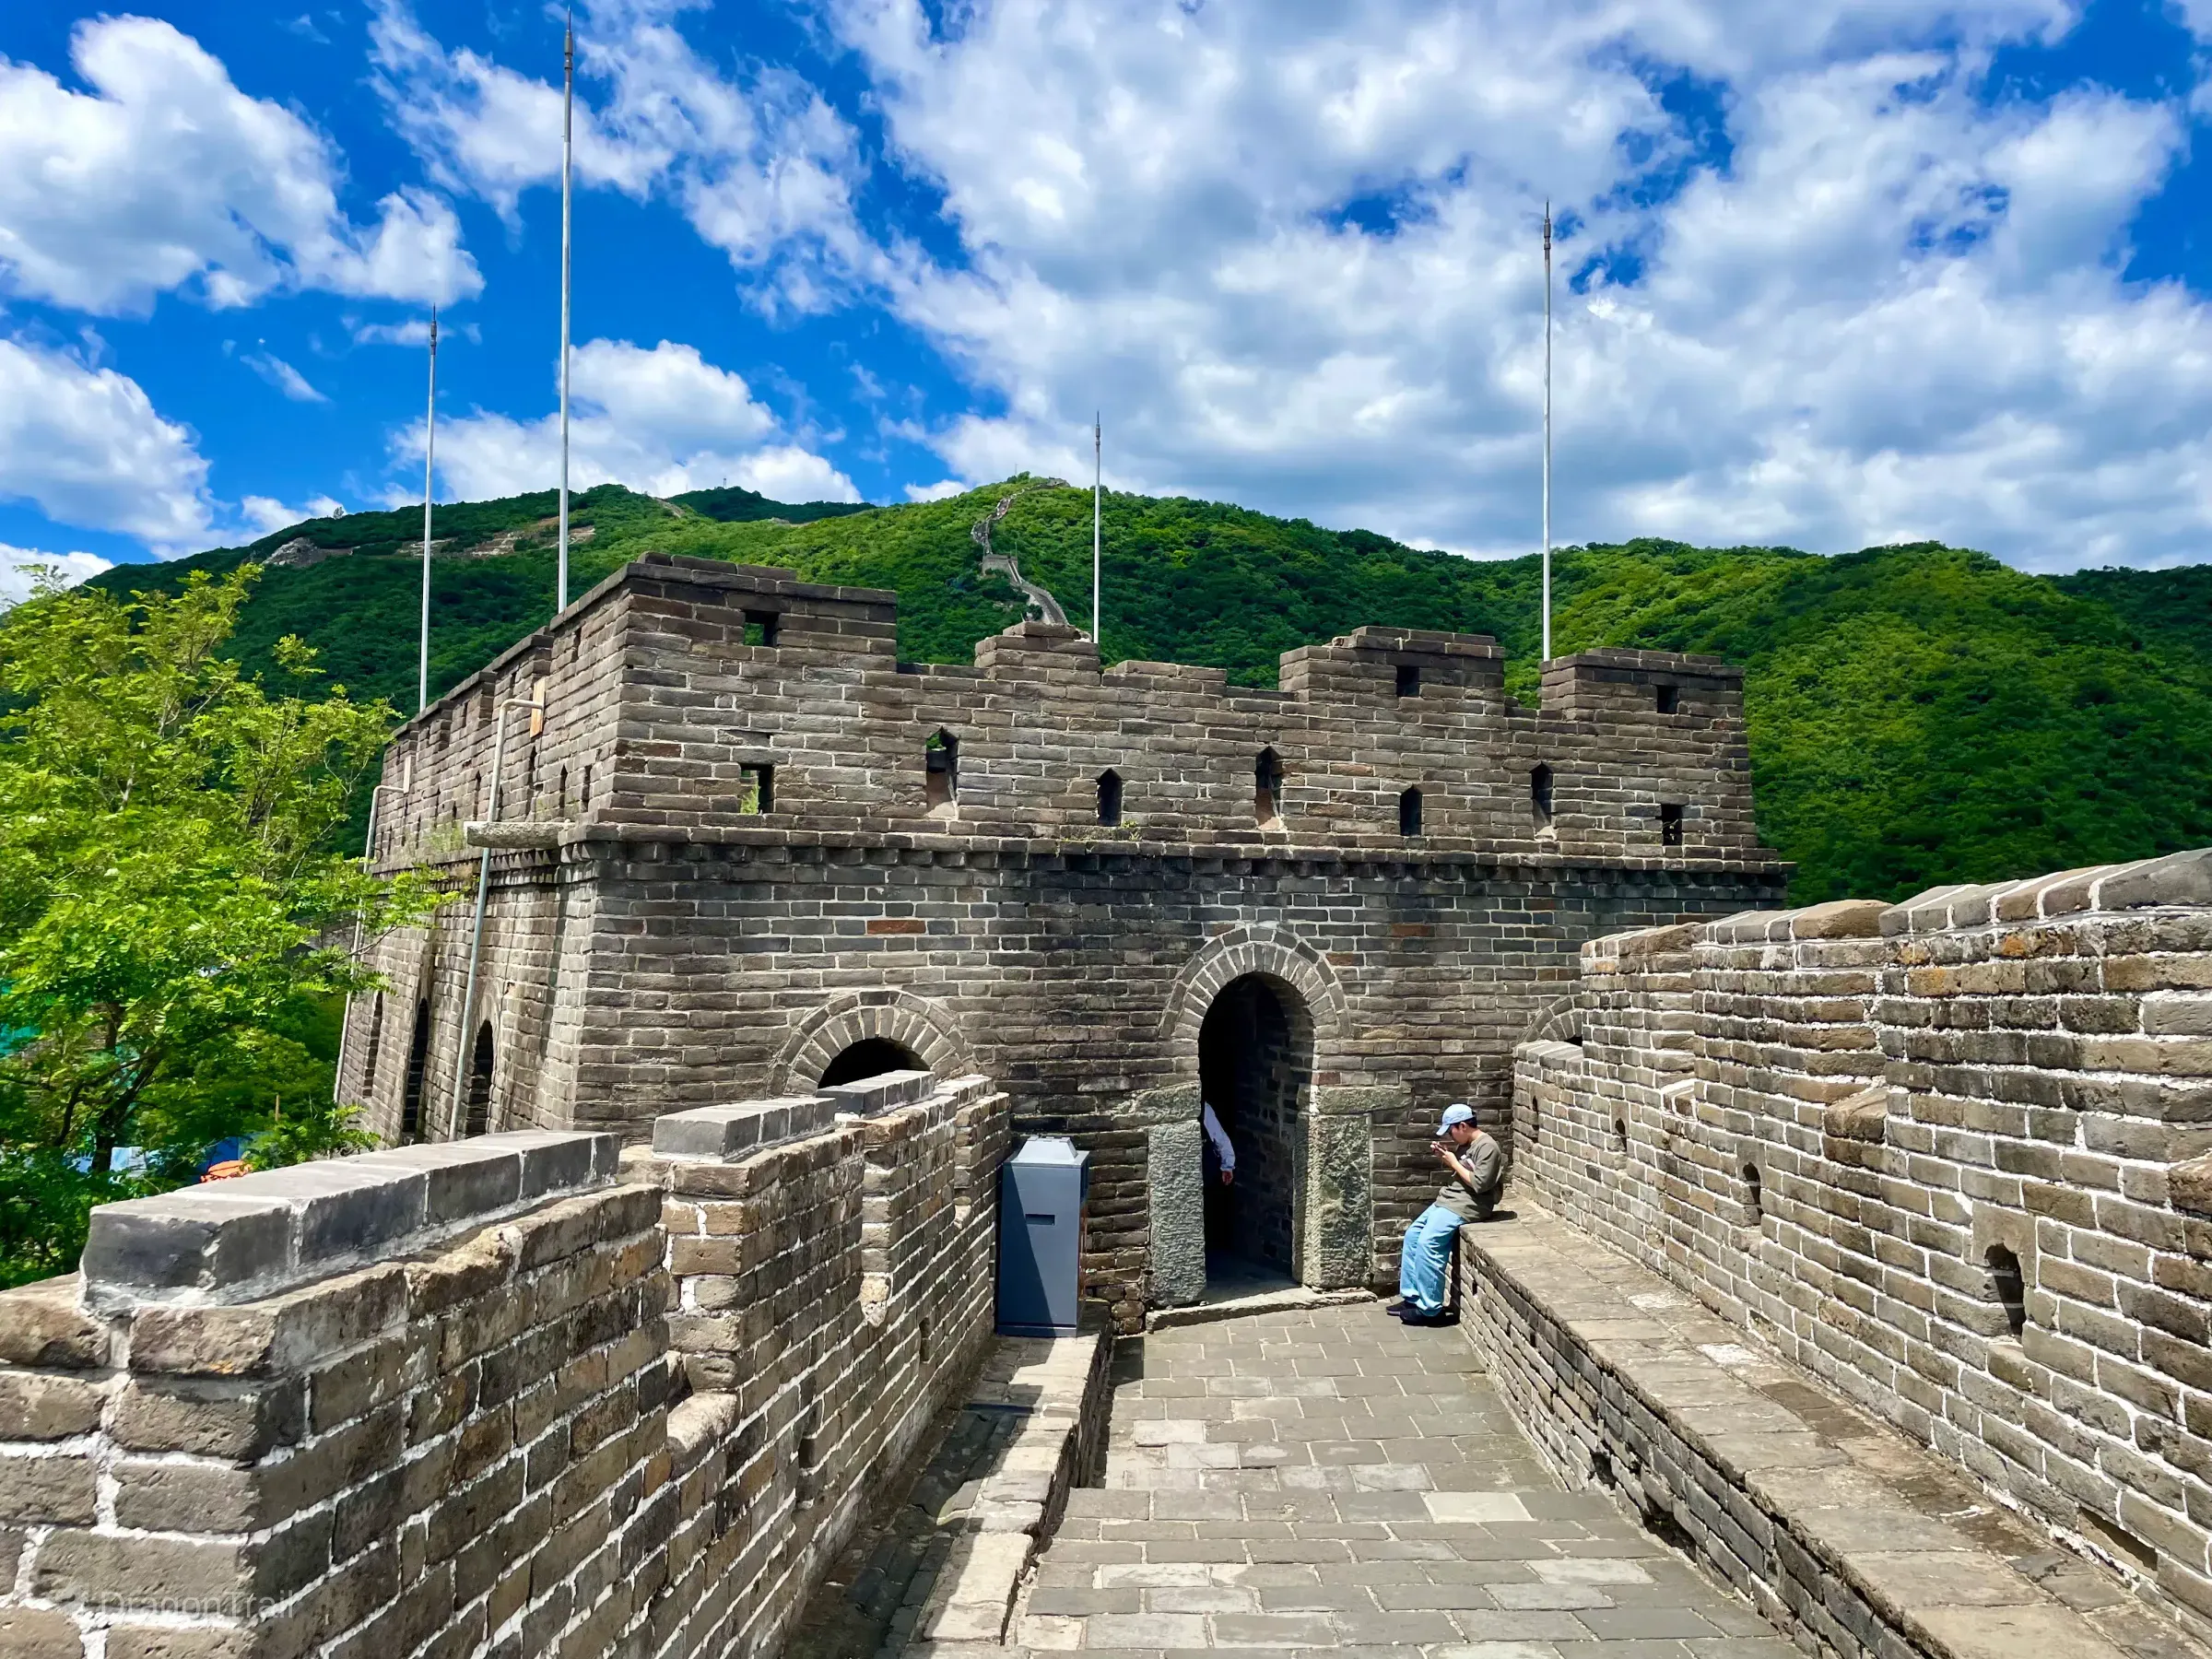
Tower 17 grey-brick facade and twin arched entrances.
Tower 17 sits in the steady mid-route stretch before Hero Slope. Official notes describe an arch-channel interior, angular eaves, and a second floor that retains cannon-platform sites. The grey-brick facade with twin arched entrances is a clear landmark on the west walk.
Tower 18 — Boundary Marker Watchtower
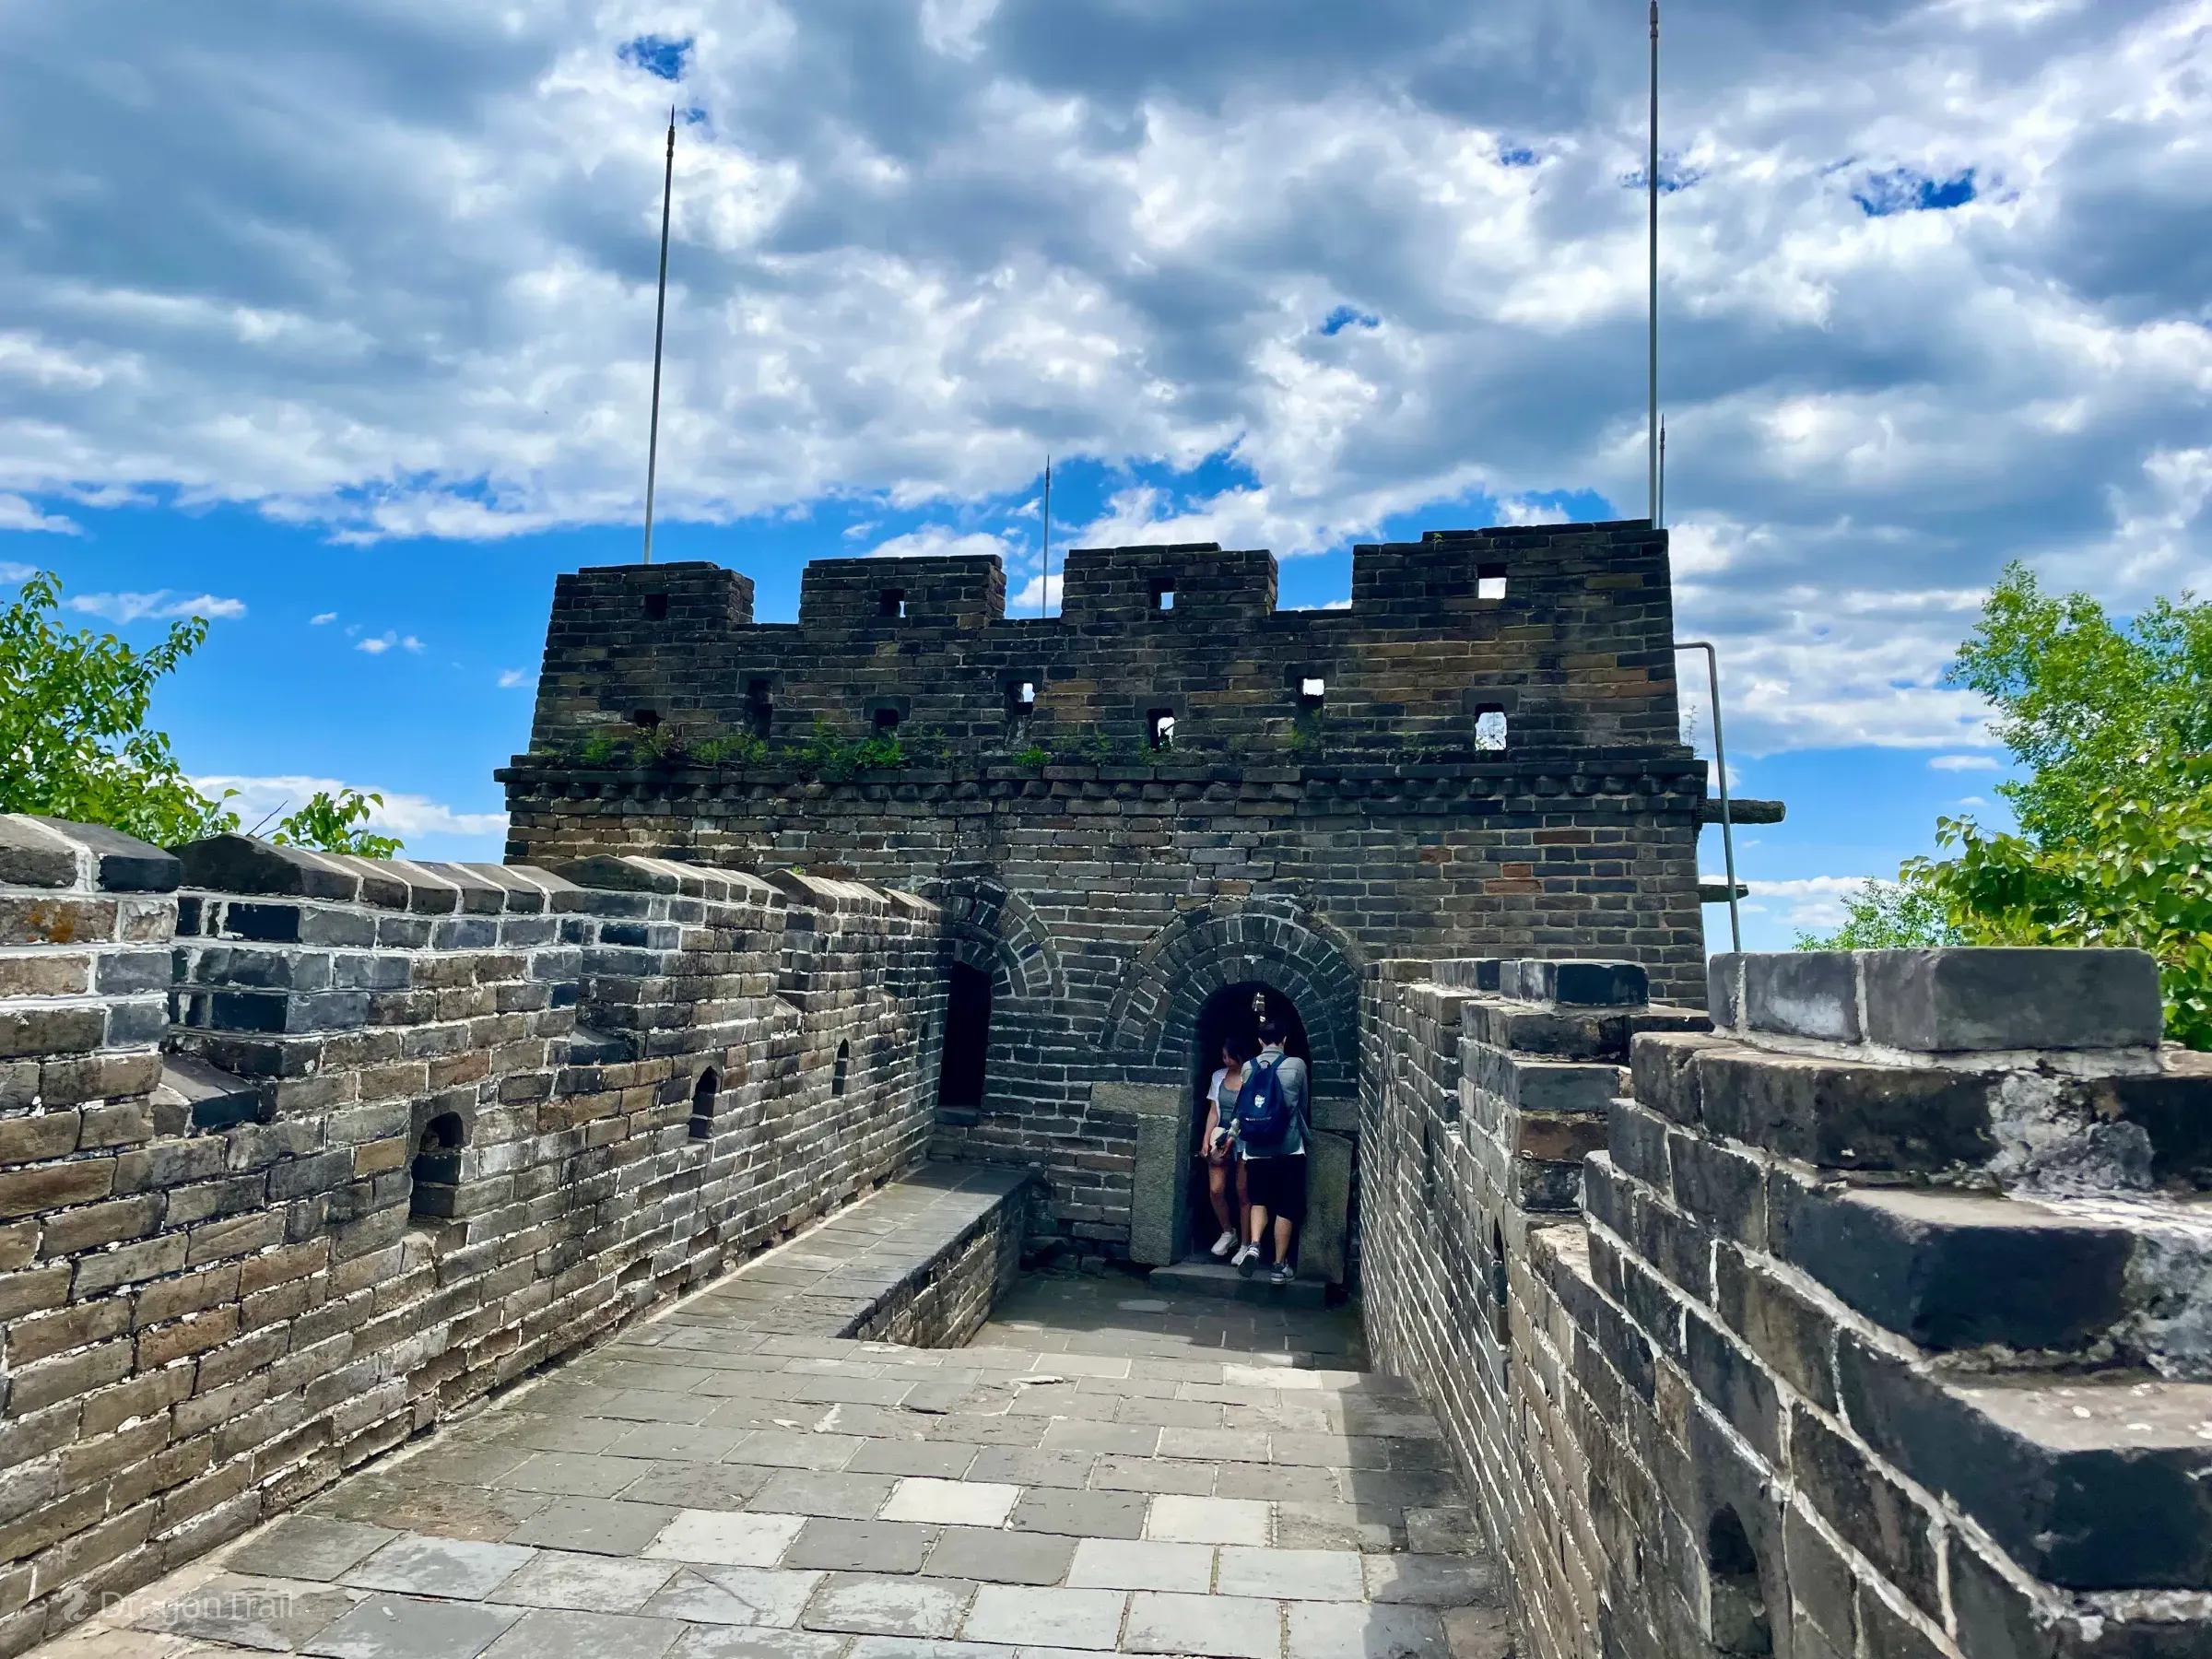
Tower 18 on the middle part of the west-ridge route.
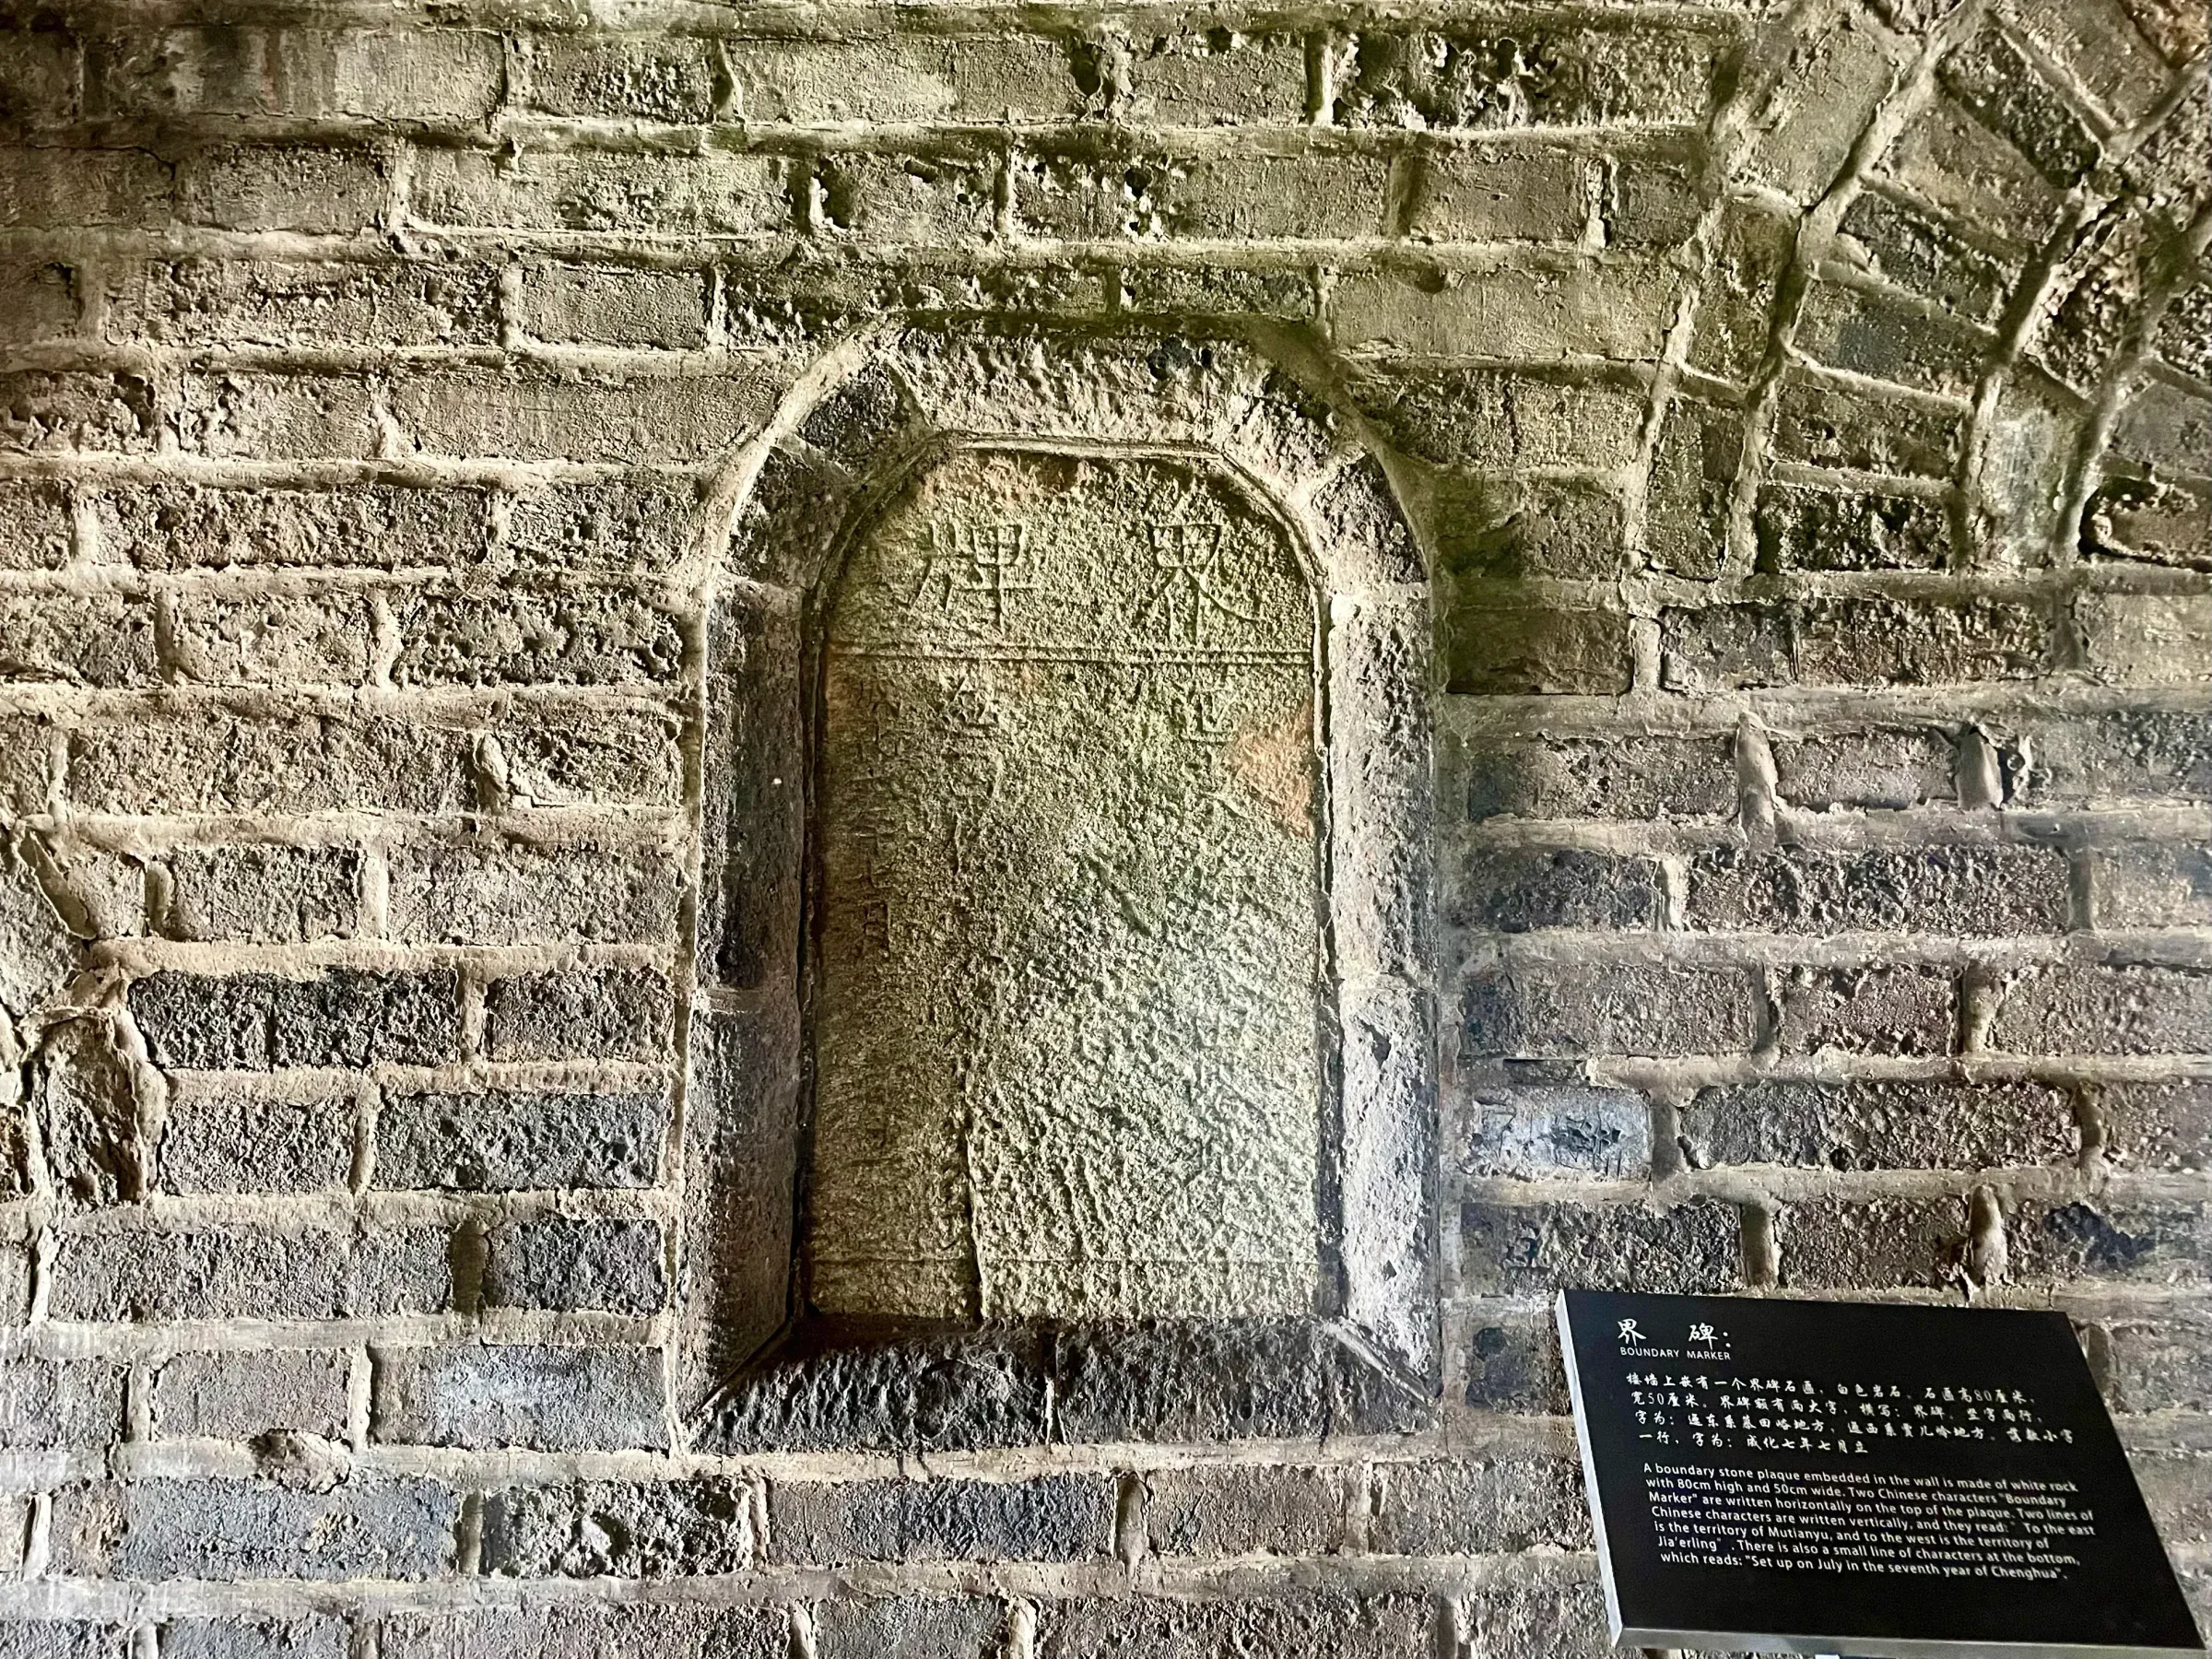
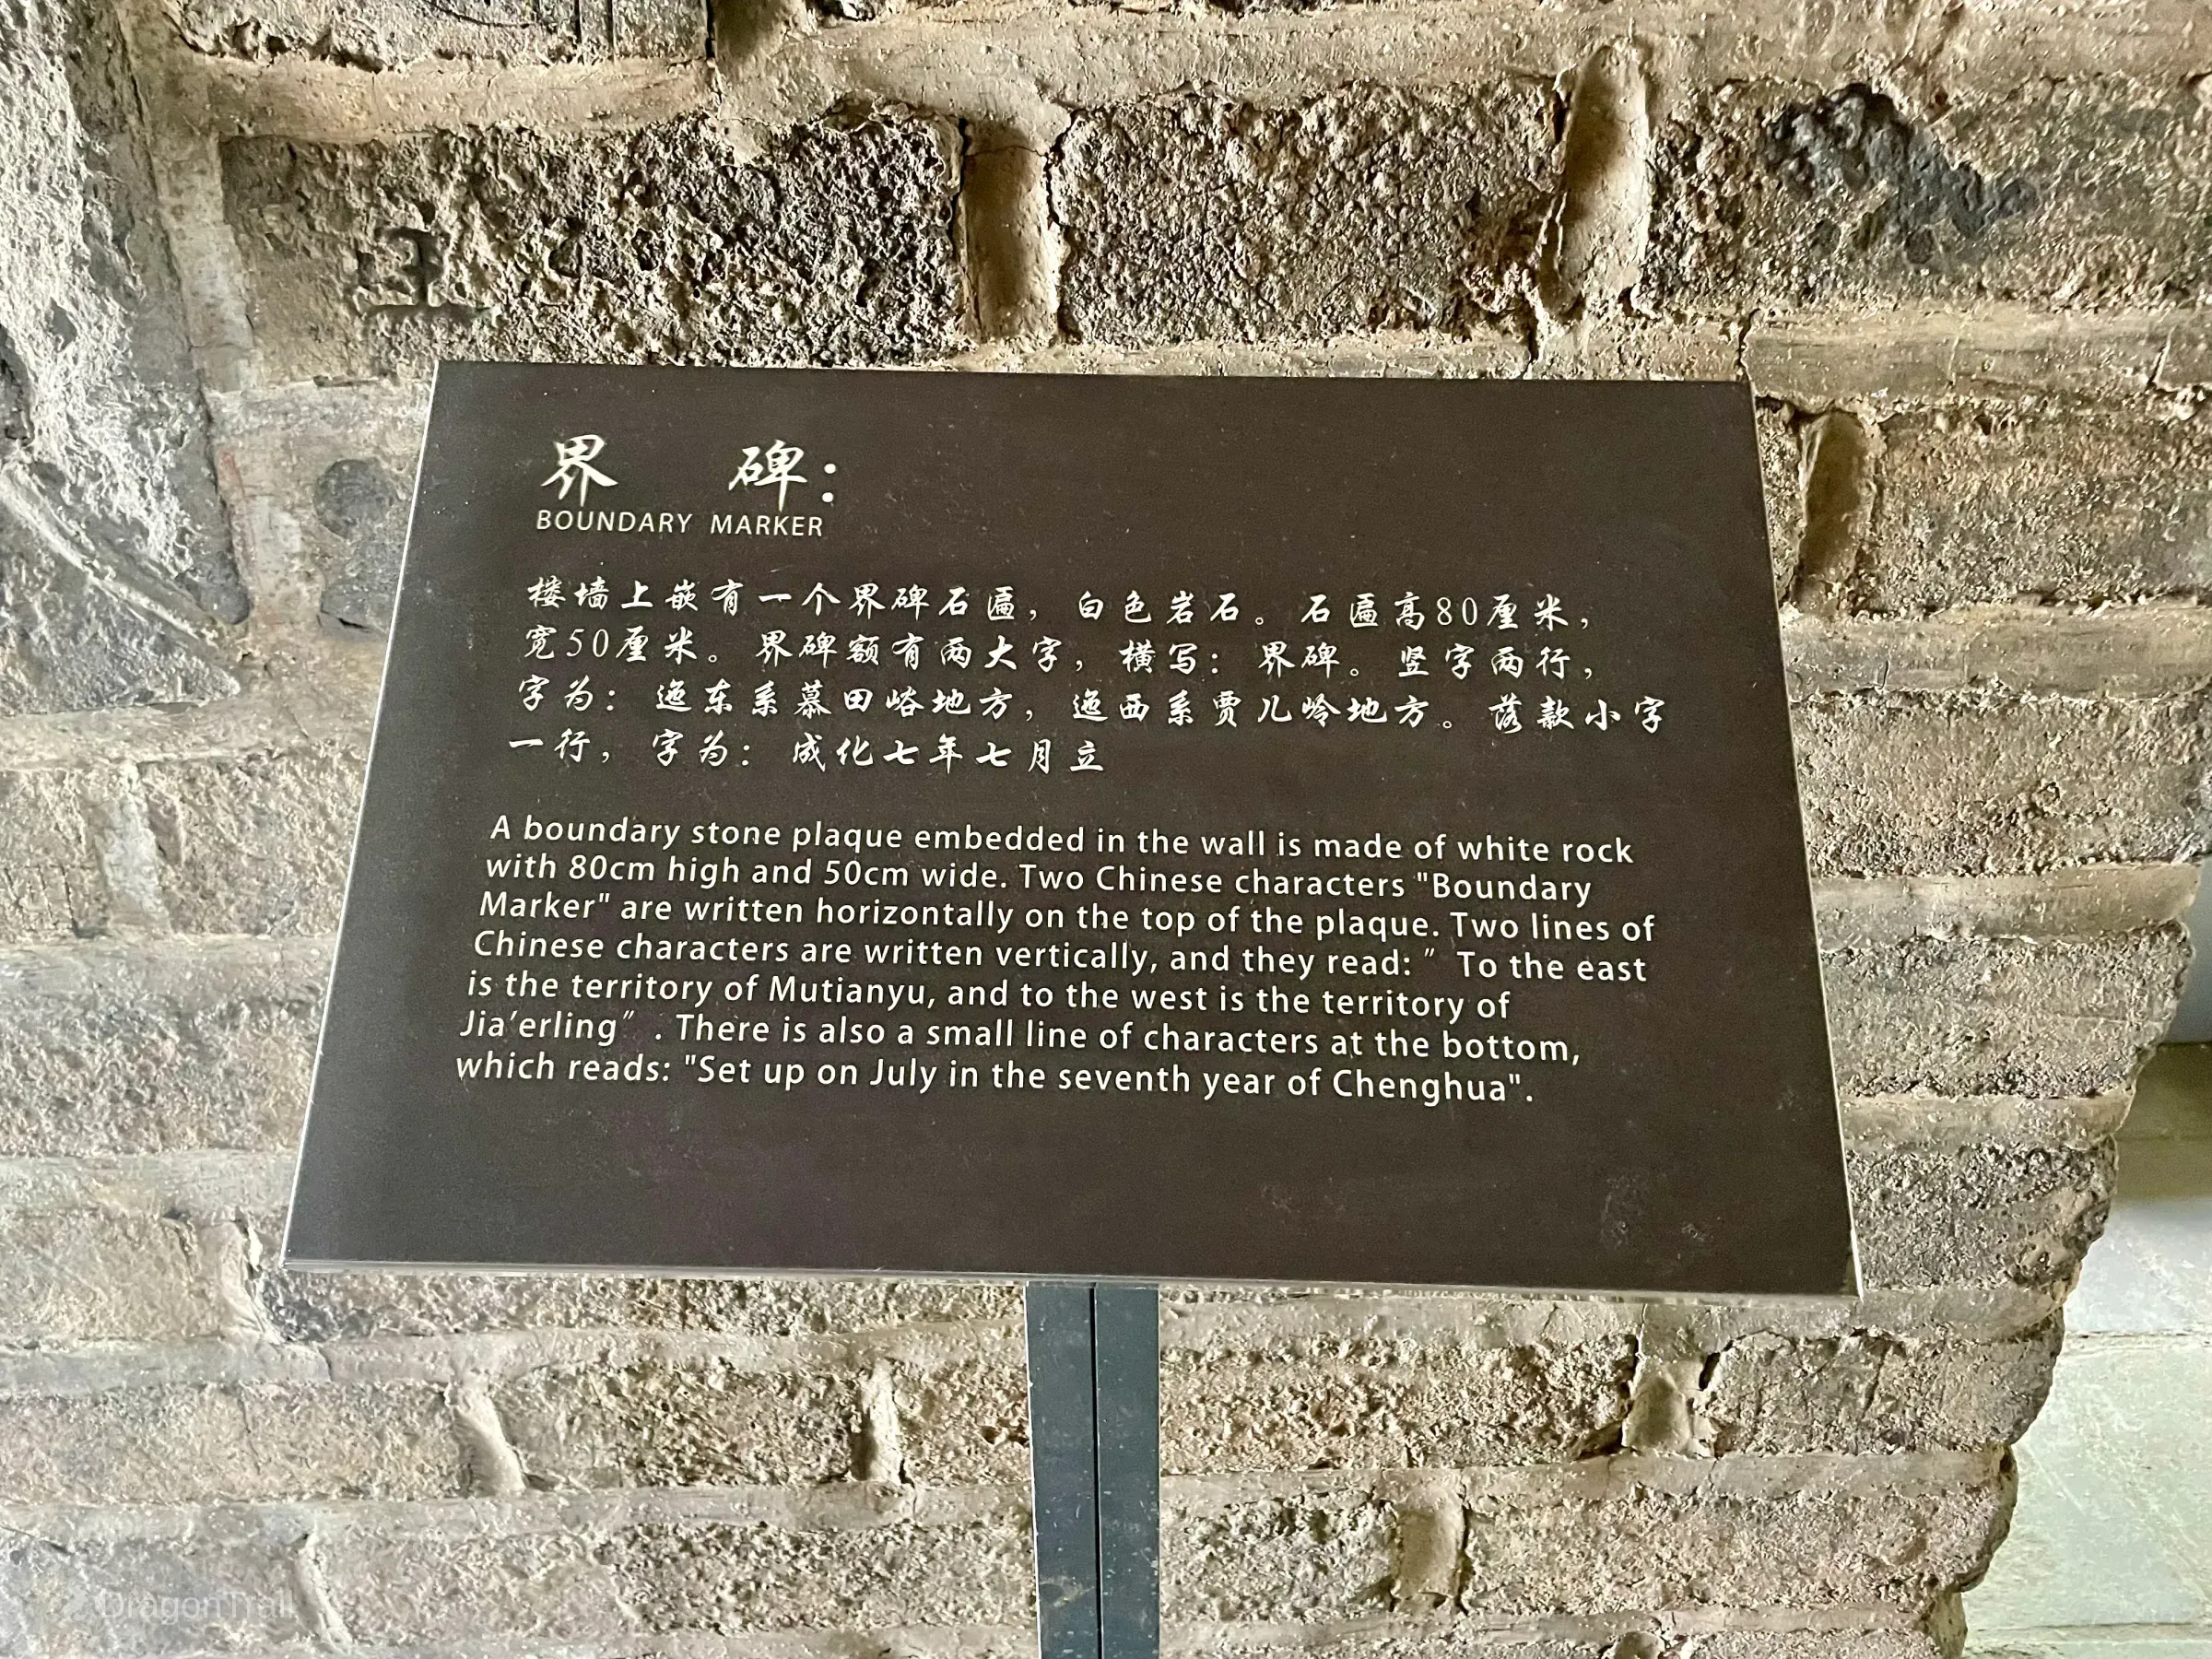
Tower 18 is a classic Ming mid-west landmark and a practical moderate turning point for many visitors. Inside, official notes highlight the historic Jie Pai boundary stone (Chenghua year 7 / 1471) that marked Mutianyu territory to the east and Jia'erling to the west.
Tower 18 also preserves a Ming boundary marker and an on-site interpretive plaque identifying the historical boundary.
 Click to enlarge
 Click to enlarge
Tower 19 — Approach to Hero Slope
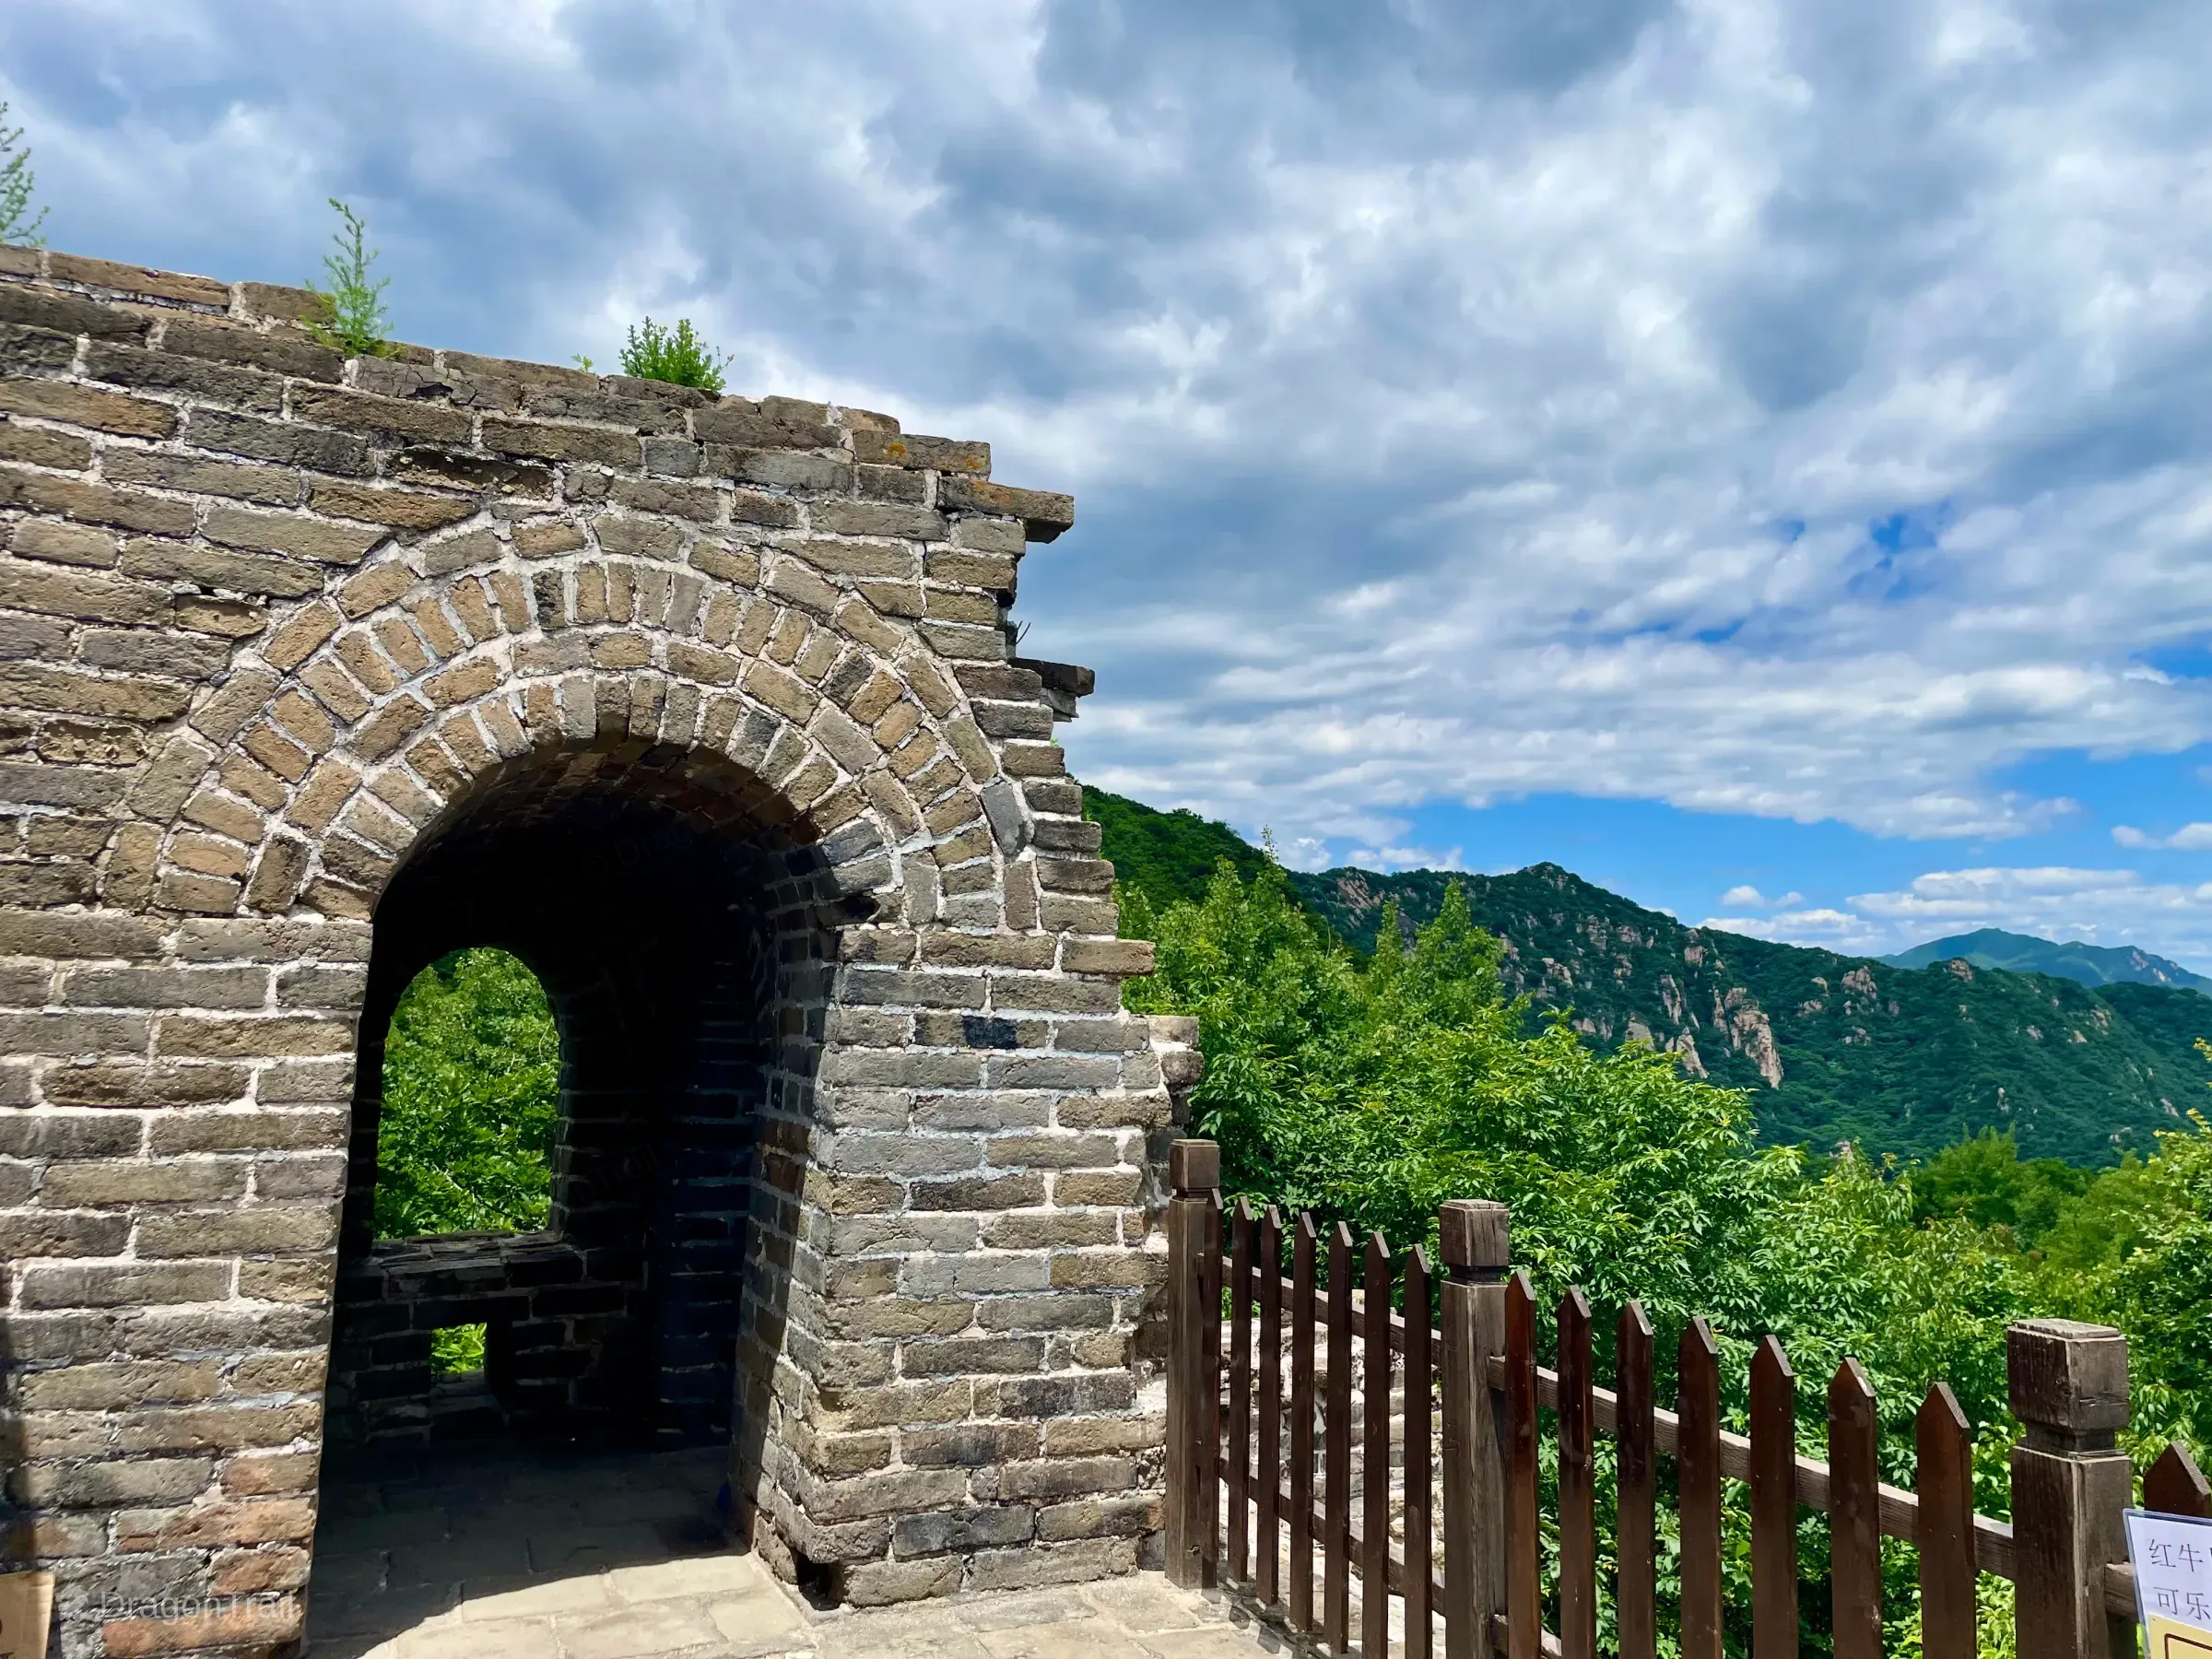
Brick arch passage inside the Tower 19 section of the west route.
Tower 19 sits on the approach to Hero Slope. Official notes describe an arch-shaped room channel and skylight-and-wooden-ladder access. The wall steepens here before the final climb to Tower 20 / Hero Platform.
Tower 20 — Hero Platform / Hero Slope
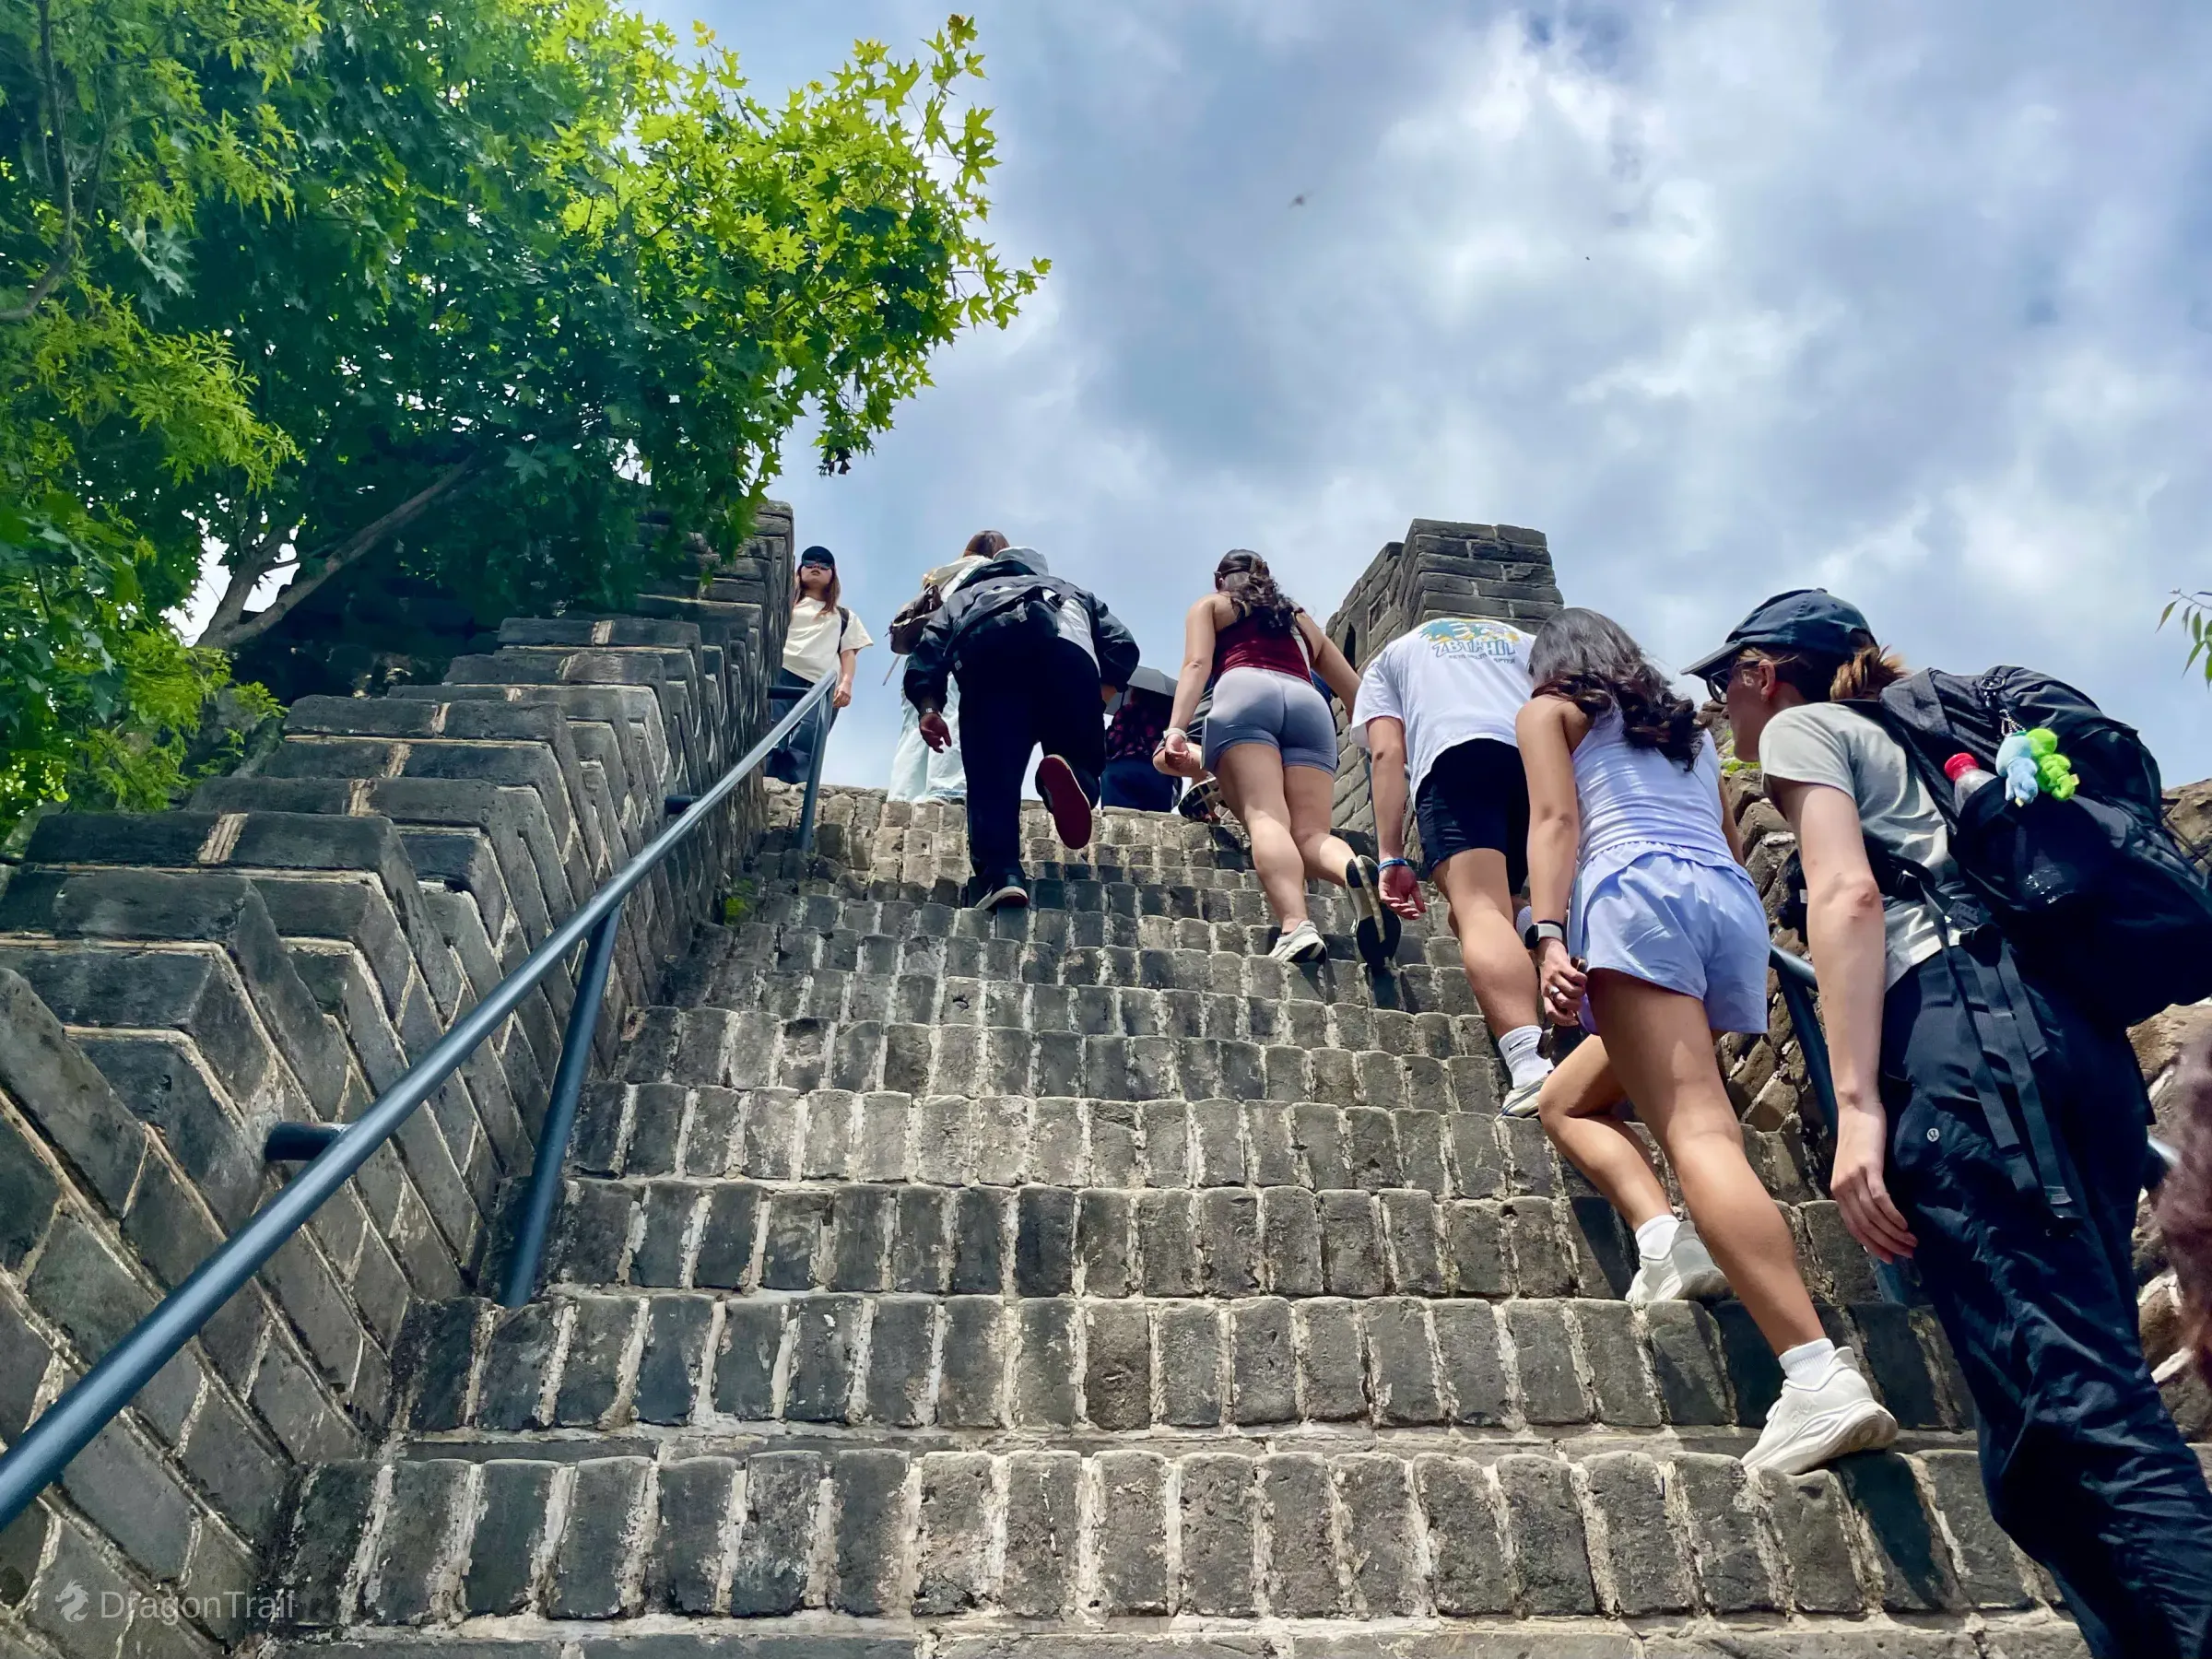
Hero Slope — the steep final stair section approaching Tower 20.
Tower 20 is Hero Platform — the classic high-point photo stop on Mutianyu west cable-car route. The steep stair approach is widely called Hero Slope. For most visitors this remains the natural turnaround before returning to Tower 14; do not continue past Tower 20 unless a new official notice reopens Towers 21–23.
Tower 21 — Cloudtop Extension
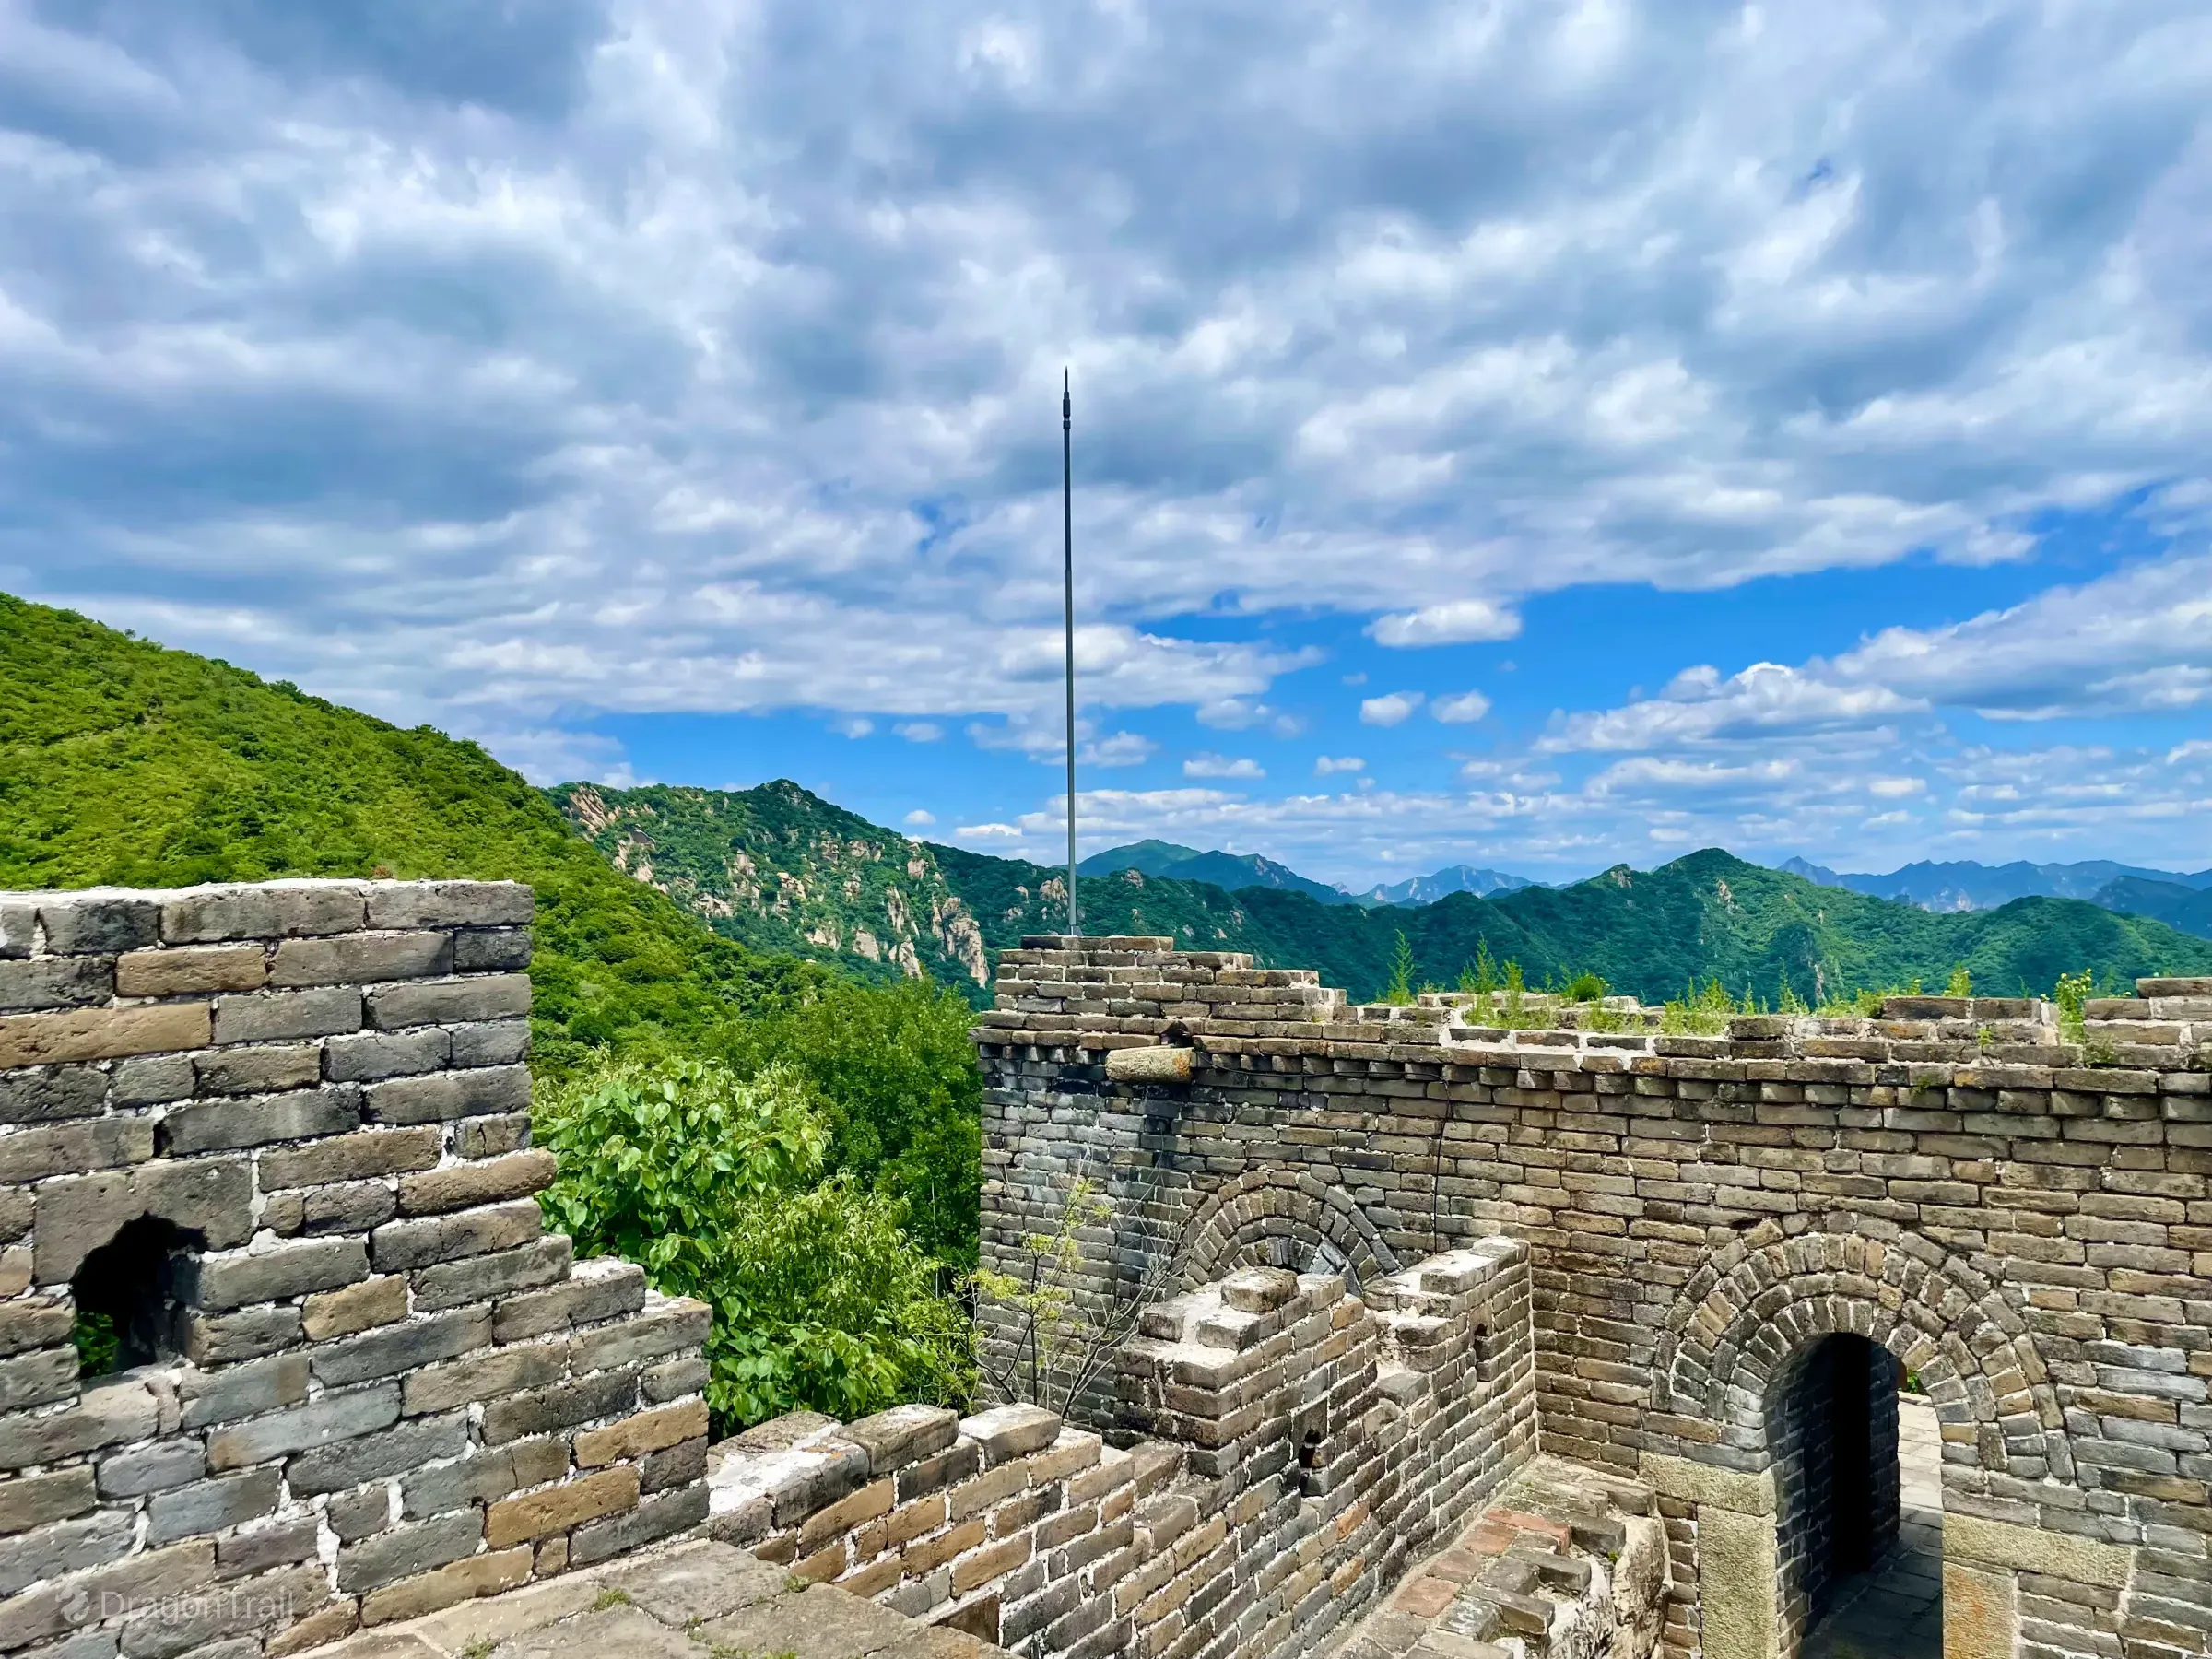
Tower 21 — weathered battlements and an arched passage on the Cloudtop (beyond the current open daytime section) section.
Tower 21 sits on the Cloudtop ridge beyond Hero Platform, outside the current open daytime visitor section. Official scenic-area notes highlight a sharp 90-degree turn at the main south entrance designed to break an attacker's advance. This stretch keeps a more weathered conservation character than the polished central restored wall — optional for fit visitors with time, weather, and a clear return buffer to Tower 14.
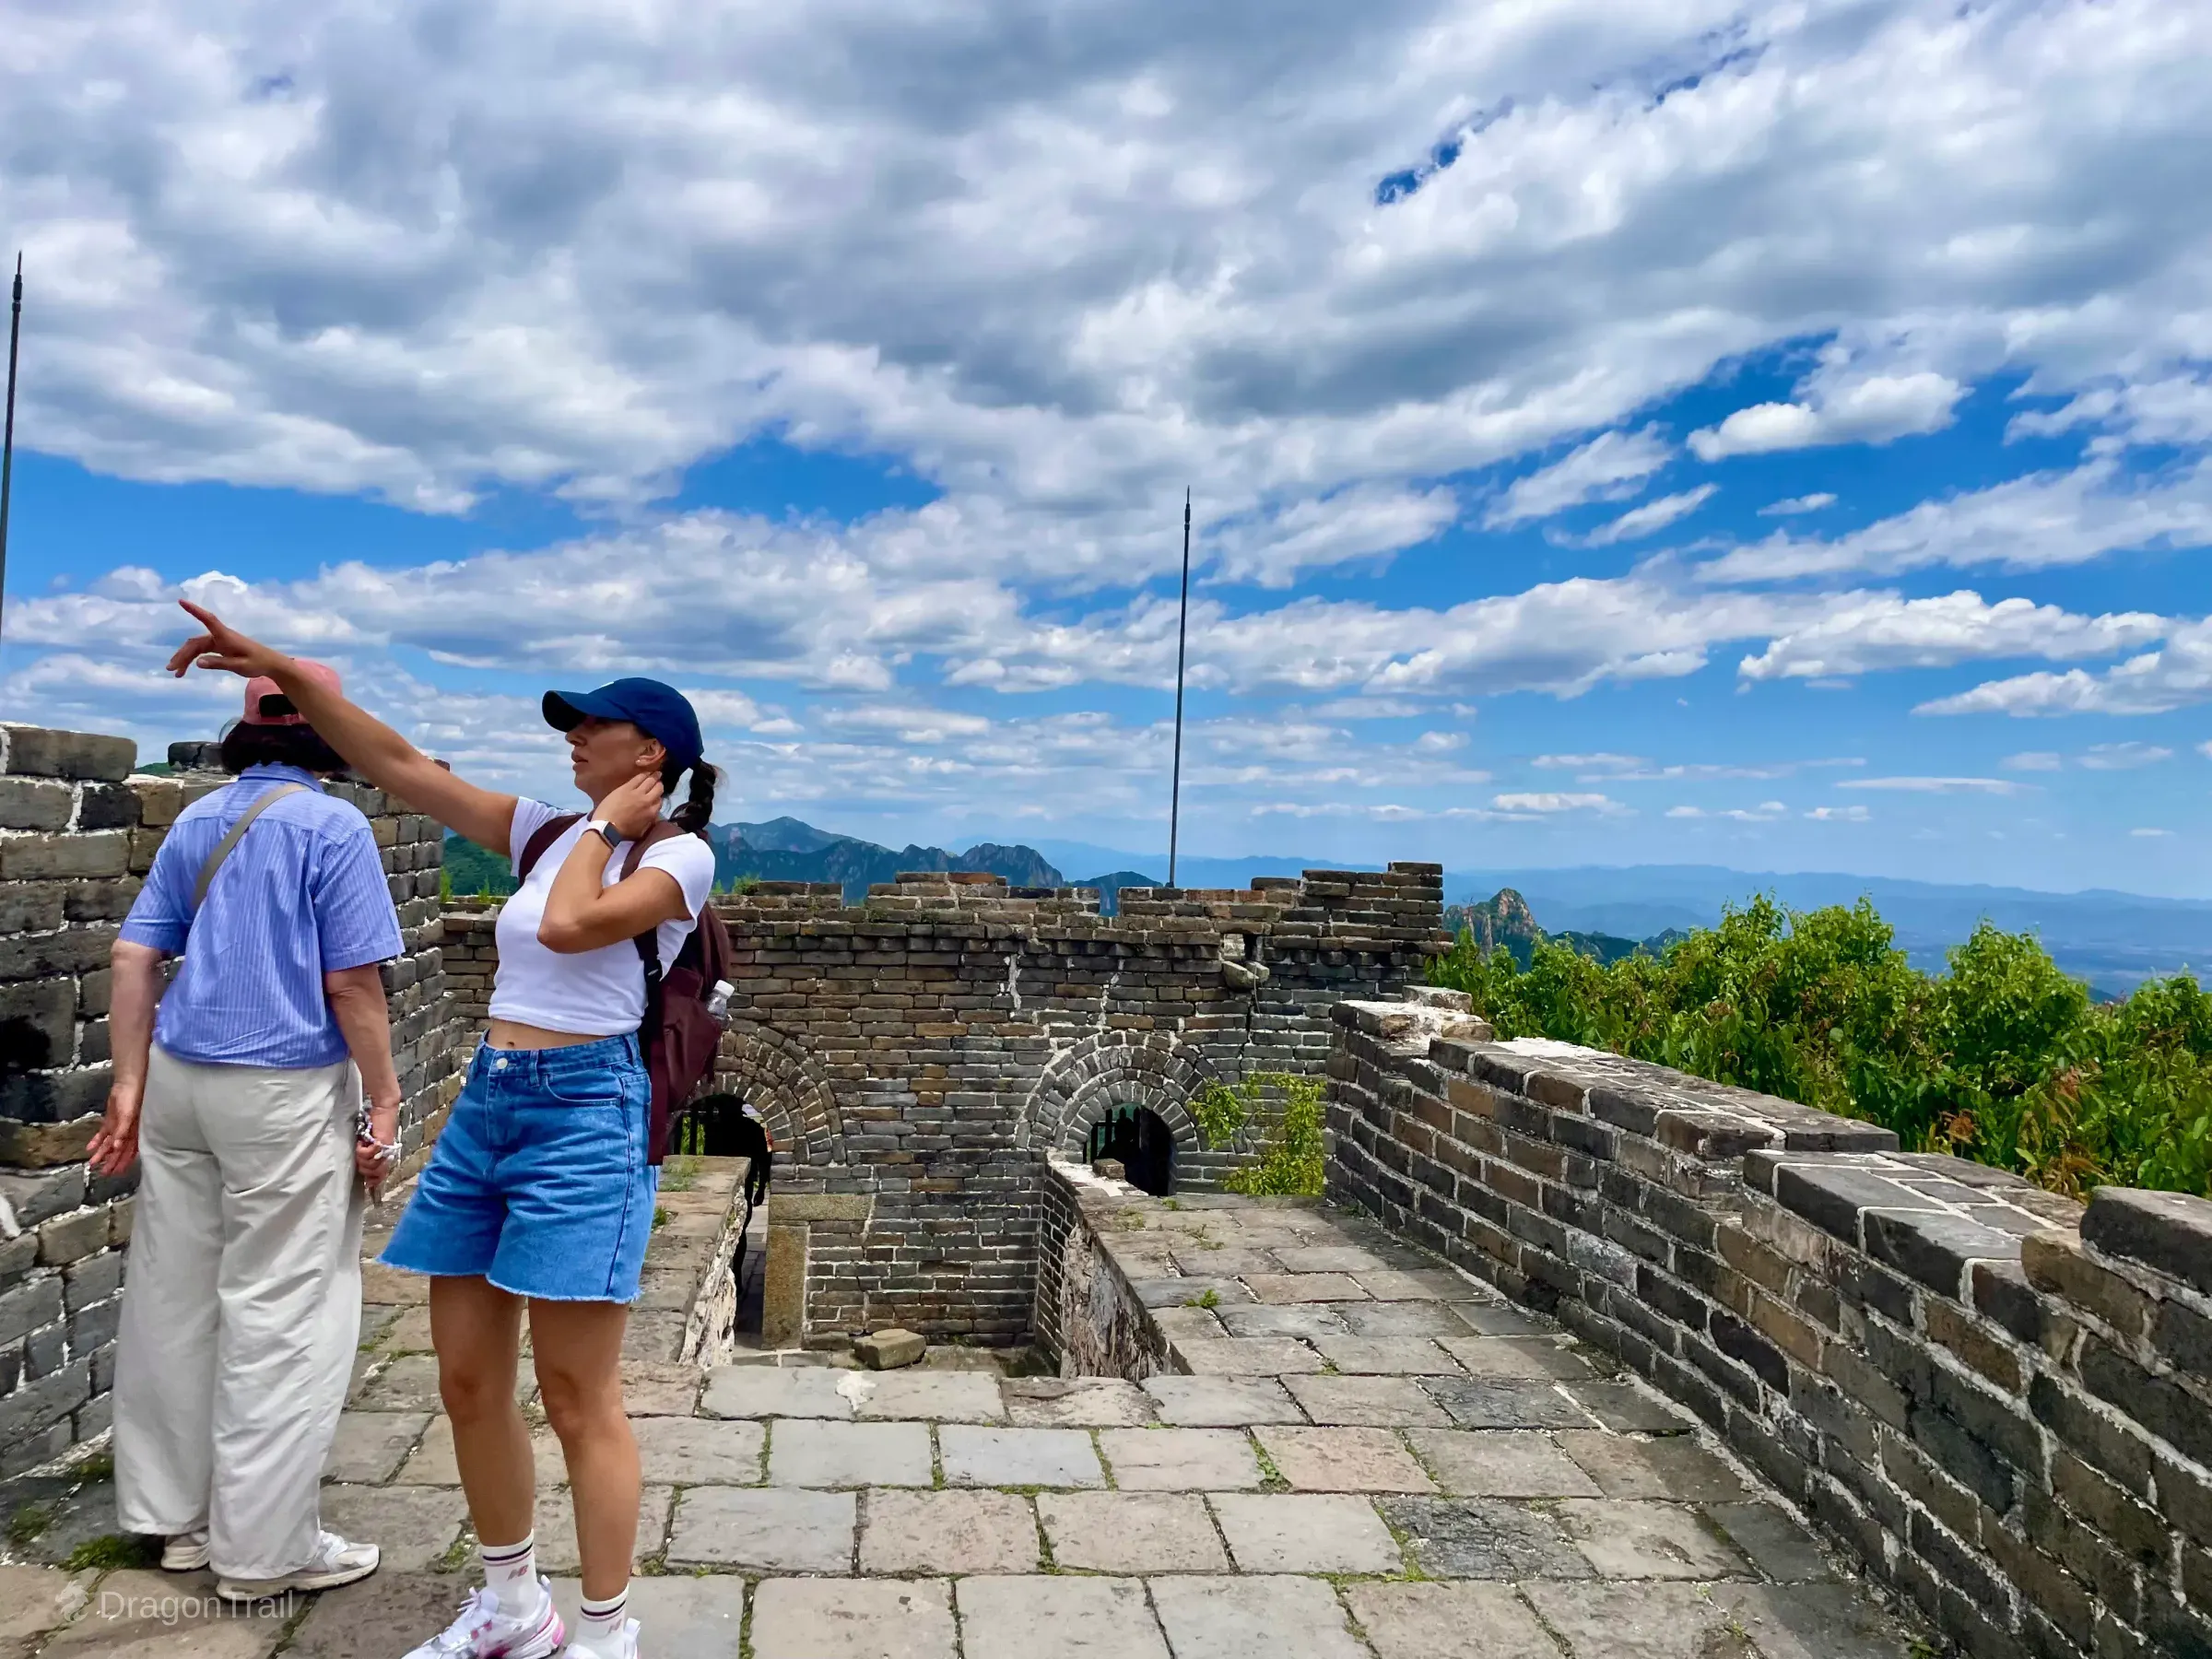
Tower 22 — Hollow Through-Hall Watchtower
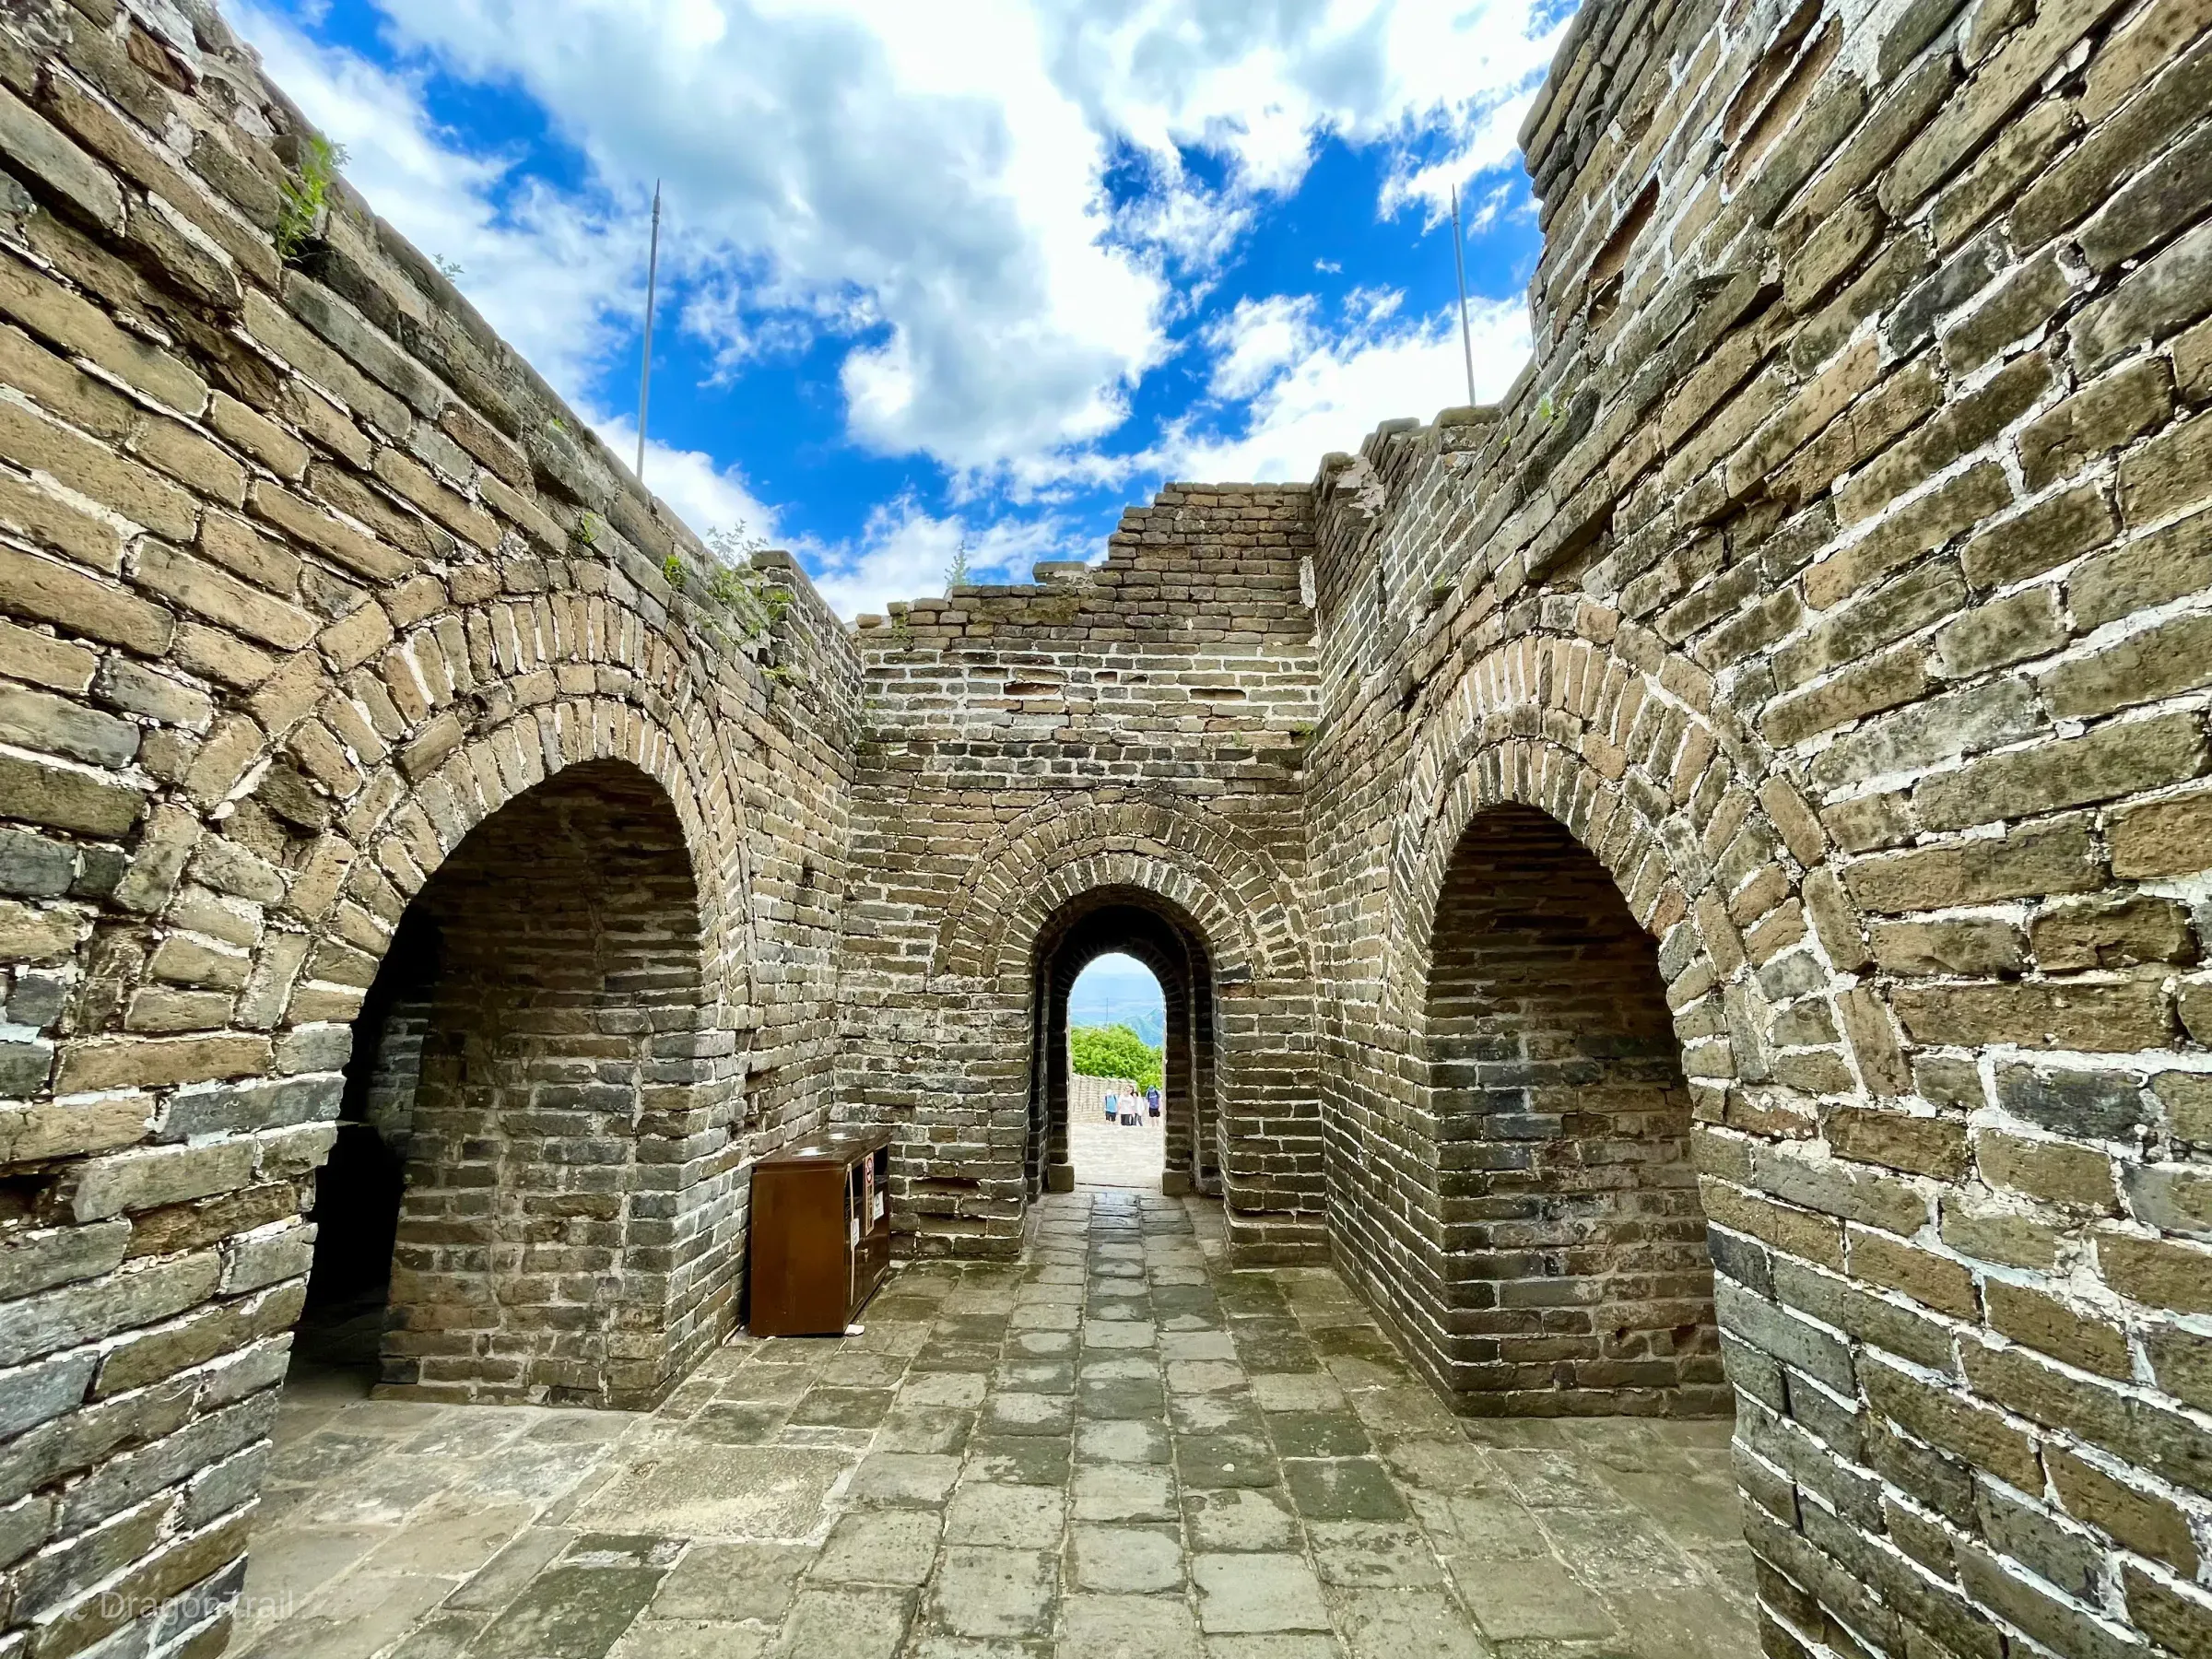
Tower 22 open through-hall interior connects multiple directions through weathered brick arches.
Tower 22 is a hollow through-hall watchtower on the Cloudtop ridge. Official notes describe an open structure connected front to back and side to side so defenders could move quickly between positions. The weathered brick arches and open sky make the interior one of the strongest architectural stops west of Hero Platform.
Tower 23 — Desheng Hall
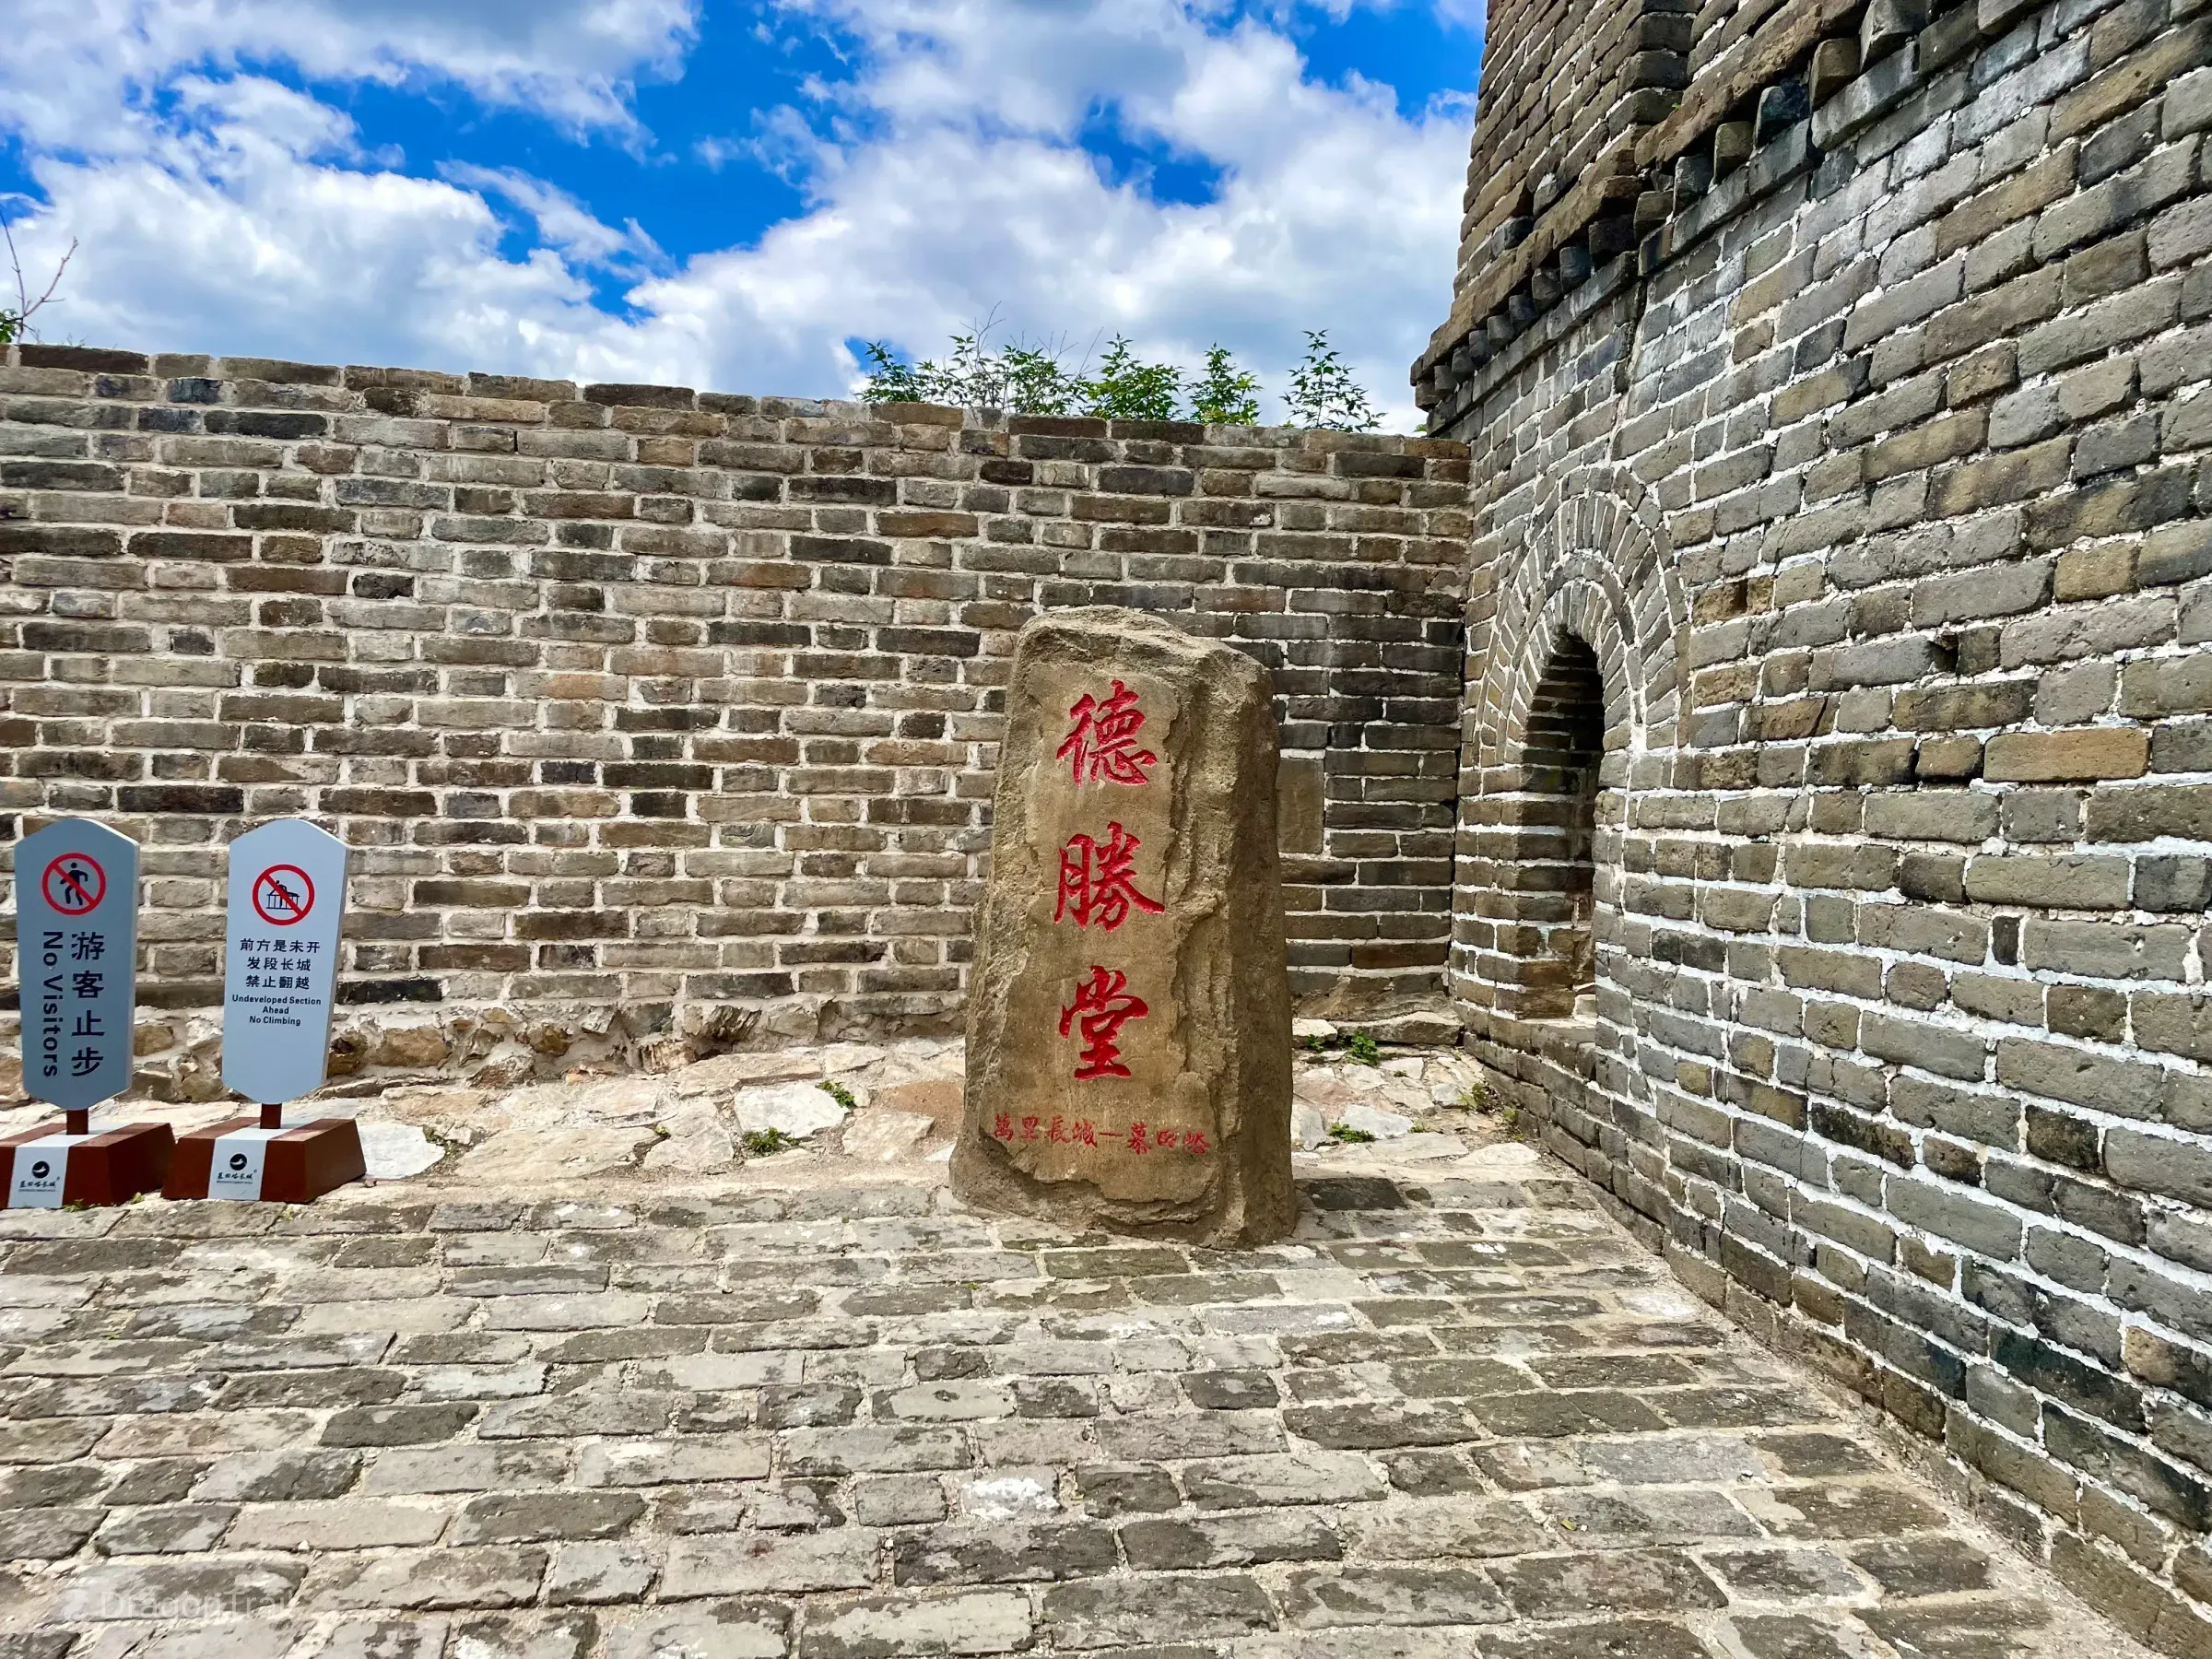
Desheng Hall stele at Tower 23 near the western end of the managed visitor section.
Tower 23 — historically Desheng Hall — sits beyond the current open daytime visitor section (Towers 1–20). Official notes place it as a key high point with a wide command and lookout view. The Desheng Hall stele and undeveloped-section signage mark the western boundary of the visitor corridor — do not continue past restricted areas.
Which Mutianyu Watchtowers Should You Prioritize?
Related planning pages
For zone layout see the Mutianyu map. For walk timing see the best route guide. For ride systems see the cable car and toboggan guides.
| Visitor goal | Tower focus |
|---|---|
| First visit / easiest logistics | Tower 14 west route |
| Toboggan-focused visit | Tower 6 and east section |
| Architecture | Tower 4 |
| Middle-route walking | Towers 7–12 |
| Glass Steps | Tower 10 |
| Strong west panorama | Tower 20 area |
| Full-section walker | Towers 1–20 |
FAQ: Mutianyu watchtowers
- Current official visitor information lists the open daytime section as Towers 1–20. Most visitors walk a subset — commonly Towers 6–1 on the east side, Towers 14–20 on the west side, or a middle connector that links the two ride hubs.
- It depends on your route. Tower 14 is the west cable car hub most first-time visitors start from; Tower 6 is the east chairlift and toboggan hub; Tower 4 (Zhengguantai) is the strongest architecture stop on the east side; Towers 10 and 11 are the signature middle-zone landmarks; Towers 19–20 are the classic Hero Slope panorama on the west side.
- Yes for well-bodied walkers with an early start and 5–7+ hours on the wall, but it is genuinely demanding. The full traverse uses both ride systems or a long ridge walk between Tower 6 and Tower 14. See the best route guide before attempting it.
- Yes — Towers 21–23 lie beyond the current open daytime visitor section. Do not plan to walk there without a new official notice.
- At Tower 10 on the middle connector — a glass ladder and glass-step insert on the northern wall climb where you can see original Ming stones below the walkway.
- The toboggan descends from the Tower 6 area on the east route. It does not connect to Tower 14 or the west cable car without a long on-wall walk between the two ride systems.
Plan a Mutianyu visit
Use this tower guide with the map and route pages — towers make more sense once you know whether you are starting east at Tower 6 or west at Tower 14, and how much ridge time you actually have.